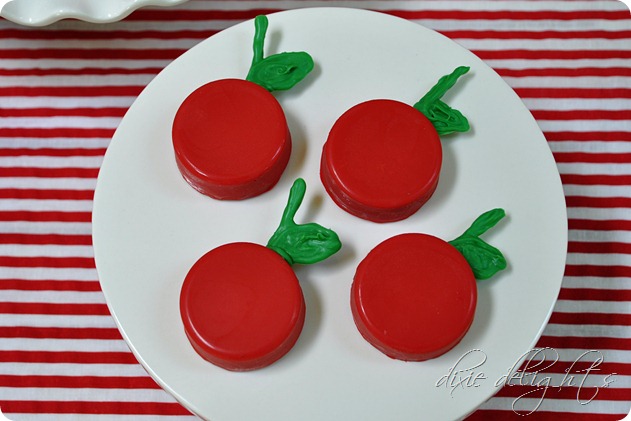
Sister and I have used these Oreo molds a few times and, in spite of my best intentions, I’ve yet to share the details. I managed to take pictures of the steps most of the way through making the Oreo Apples for our First Place First Grader party and first day of first grade lunch.
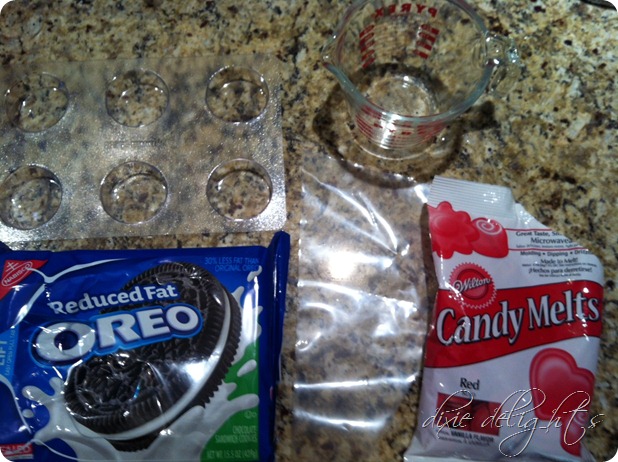
First, you’ll need to get your Oreo molds. I searched high and low at places like Michael’s and Hobby Lobby to no avail, and ended up buying them online from Spinning Leaf. A six cavity mold is $6 and I bought two.
In addition to the mold, you’ll need chocolate candy melts (red and green if you are making apples), Oreos and a disposable pastry bag (mine are plastic by Wilton and were purchased at Michael’s.) [The fact that Honey bought reduced fat Oreo’s makes me laugh a little. And the fact that he went to the grocery store at all makes me laugh a lot…I envision him strolling the aisles (for probably the third time in his life) trying to figure out where on earth they hide the Oreo’s. He’s a good man, that Honey.]
1. Put your pastry bag in a microwaveable cup and add about half the bag of chocolate. Melt according to the package directions.
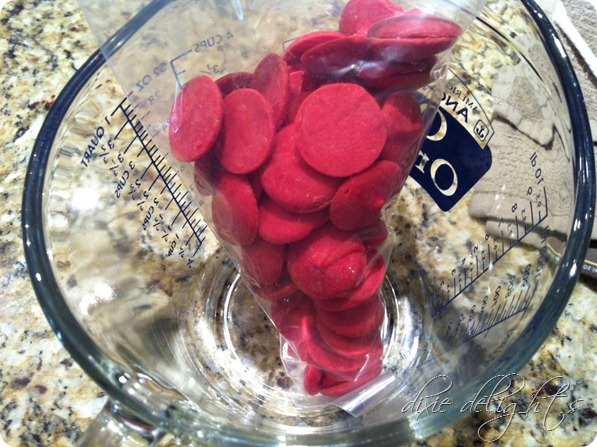
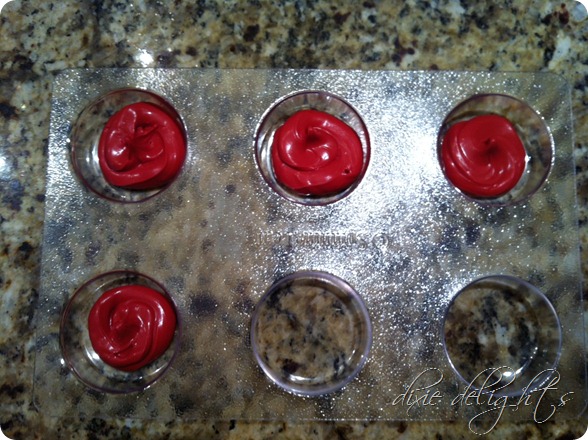
2. Once melted, snip the tip off the pastry bag with scissors. Put a generous amount of chocolate in each cavity of the mold. You want to have enough chocolate in them so that when you press your Oreo down it will come up the sides of the mold a good ways.
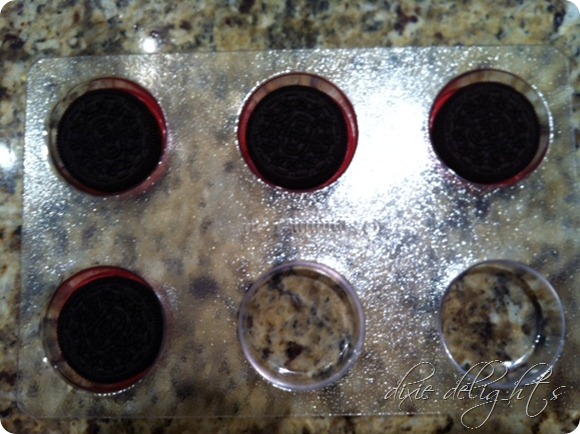
3. Gently press an Oreo in each cavity.
4. Pipe more chocolate on top of the Oreo’s.
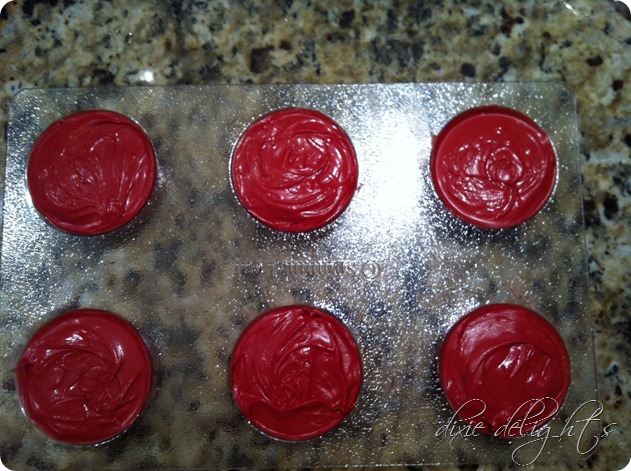
5. Tap the mold down on the counter to encourage the chocolate to fill down the sides of the mold and completely cover the cookies. You might need to add more chocolate on top as you work it down the sides.
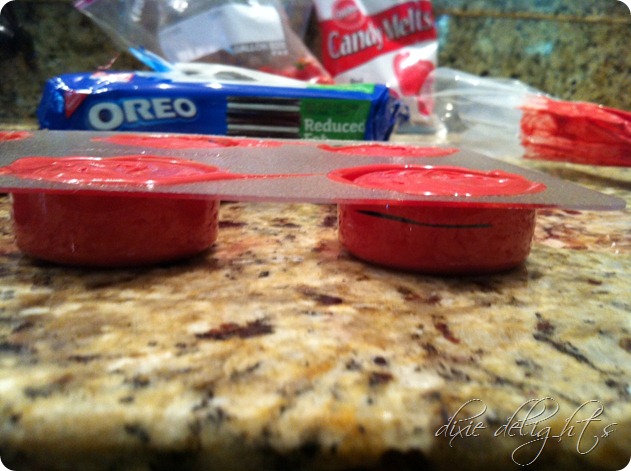
6. Level out the tops with a knife and use a damp paper towel to clean up the top of the mold. Put the mold in the fridge to set.
[Here’s where real life set in and I just had to get it done rather than stop to take pics every two mintues.]
7. Unmold the Oreo’s by gently pressing on the tops and sides to release. This should be fairly easy.
8. To make the stems, melt your green chocolate in a new pastry bag using the same method you used for the red. Lay a piece of waxed paper on a plate and pipe out a stem/leaf shape for each apple. Put the plate in the fridge to set. It should only take a minute or two. Once set, use a blob of green chocolate on the cookie to adhere the stem/leaf. I had to prop it up on the side of my cutting board until it set.
So that’s it. Sorry I flaked half way through. I realize I’m not great at explaining things… probably because I’m generally making them up as I go.
Happy back to school, y’all!
xoxo
Flattered for the feature at Frugal Girls!

I can imagine making all sorts of oreos with that mold!! Thanks for sharing where you purchased it!
Those are adorable!!! Love them!
These are SO cute! I only wish I could find nut free candy melts :(
How cute thanks!
After reading your previous post about Old Try, I placed an order. I LOVE them!!! Thanks for the recommendation.
How cute love it good idea!!!!! Thanks!!!!!!
Thanks!!!!!
just read Aamy's comment – I bought the manners from old try for my kitchen, too! It will match the new decor perfect once the frame arrives.
Was going to tell you though, I have rested oreos on a fork and dipped in bowl of melted candy and covered no problem – pretty fast to make a whole pack. I made Mardi gras oreos last year- big hit with the teachers.
XOXO
These are so cute! Those molds will come in handy for a lot of fun holiday ideas! Thanks for linking up to our Strut Your Stuff Saturday! We are so glad you came and hope you'll be back! -The Sisters
What a cute idea! I can imagine the children are running around like crazy after all that sugar- the teacher might need to eat several to keep up with them!!
Never knew there was such a thing as an oreo mold. :) We always just dip ours in melted chocolate. We also use plain old ziplock bags instead of pastry bags for any sort of decorating work with chocolate. Works like a charm.
And ummm… reduced fat?? What was he thinking?!?! How did he not get Double Stuffed??
These are so cute! Have not heard of an oreo mold. My kids would go crazy for these! I would love for you to share at my party if you get the chance:
http://kraftykat76.blogspot.com/2012/08/gettin-krafty-with-it_27.html
O my goodness, these are so cute! I'm a teacher and I'd love to have these as goodies for my students on the first day of school. I'd love for you to share these over at Whimsy Wednesdays over at http://www.thenymelrosefamily.com
SO cute! A perfect back to school snack!! We'd love for you to share this at our party! http://housewivesofriverton.blogspot.com/2012/08/riverton-housewives-round-up-30.html
This is so cool!! I'm your newest follower from "52 Mantels" blog hop. If you get a chance I would love a "follow-back" : http://godsgrowinggarden.com/
Thanks
Angie
That is so super cute and a great back-to-school idea! Love it!
<3 Christina at I Gotta Create!
Wildly Original Linky party is open.
What what?! I did not even know that Oreo molds were a thing that exists! That's awesome! And these are such a cute back-to-school treat.
I would love to have you add this to a collective link party I co-host, Eat Make Grow: http://www.hideousdreadfulstinky.com/2012/08/eat-make-grow-thursday-5.html
I host along with two other bloggers, so one link shows up on all three blogs, and we feature a couple of bloggers each week. We're always looking for great content like this! Hope to see you over there.
OMGosh – I've GOT to get one of those molds! Thanks for sharing. :)
Go to witon on line the have some molds with flowers.
I just LOVE these! I'm going to pin them now:)
XOXO
Kelly at Smart! School {House}
http://www.facebook.com/SmartSchoolHouse
Thanks!! !!
Thanks