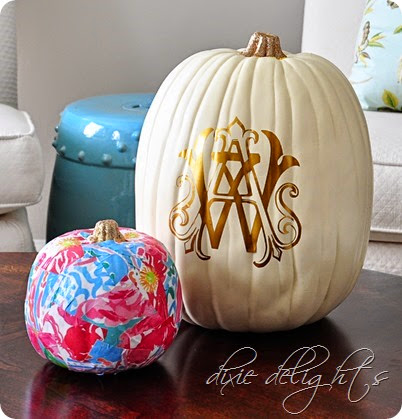
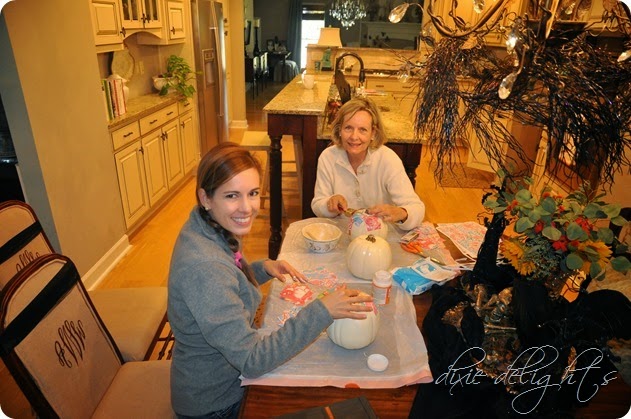
It’s super easy, inexpensive and just all around fabulous at the end. The monogram on the large pumpkin is from HKL Designs. I asked her to cut it out for me this summer and have no idea where I originally intended to put it. I think this is as good a place as any!!
You’ll need:
a craft pumpkin
paint brush
laser color copies of your favorite patterns on regular printer paper
scissors
glitter
Here’s how:
1. Cut your patterned paper into no bigger than 2.5” squares. You will want some of those squares cut in half again to cover the rounded parts at the top and bottom of the pumpkin.
2. Working one square at a time, paint a light coat of modge podge on to the pumpkin. Press down the paper. Paint another light coat of modge podge on top. Firmly press down all of the edges. It will have to crease in places to lie flat. This is fine!
3. Continue working one square at a time until the whole pumpkin is covered. You might want to do the top half, let it dry and then finish the bottom half.
4. Once the entire pumpkin has dried, give it a final coat of mod podge.
5. Once the pumpkin has dried again, paint a thin layer of mod podge over the stem. Cover with glitter and tap off the excess.
Notes:
– If you want Lilly Pulitzer patterns, you can grab the FREE Bunting Pattern and Lilly Backgrounds.
– If you use the printable file, you kind of get two projects for the price of one – the pumpkin and a bunting :-) I printed the patterned pages out on cardstock. I then put them back through my printer on the reverse side to print the bunting grid. I took them to office depot and made one color copy of each patterned side on regular printer paper on their laser copier. I then cut my original cardstock on the grid lines, laminated and made a cute and colorful Lilly bunting from it!
– Be sure to print or copy these using a laser printer. If you use an ink jet the ink will smear when you put the mod podge on it.
– Use a very thin layer of mod podge and try not to touch it once you press the paper down. It will tear if you aren’t careful. However, a few of ours did tear and we just put a new square on top of it.
– I used four different patterns (I didn’t end up using the boats) and it only took one sheet of each to cover my small pumpkin.
In addition to our pumpkins, we had a soccer game and two baseball games, Honey and I went to the Tech game (with Sister and her mister), we did our standard hibachi dinner, we gorged on Ina’s delish cinnamon donuts and we went to mass. It was SO nice to have a fun family weekend!!
Live colorfully, y’all!
xoxo
*Amazon affiliate link used


Love it! Super cute and it is great that your parents came to visit. I hope Honey has started to feel better.
What a beautiful and elegant pumpkin!
Amanda this is SO cute! Can I order some for you? Will make a direct deposit to your account tonight ;-)
It sounds like a lovely weekend. Love both the pumpkins!
It sounds like the perfect weekend. Love the pumpkin and pillow.
xx,
Sherry
Hoorah for the wonderful weekend together! The pumpkins are fabulous and it's always fun to see Queen Bee Marme. :) Jane ~ San Diego
Super photo of Whit, running away with the football! It's a classic! Touchdown!!!
Jane, SD
Love it! It's so you!
Shelley
Love!!! Who doesn't love a Lilly pumpkin???
Love the Lilly pumpkin!! What a cute idea!
–Kelly http://www.peachtreeroadies.com
Of course you would have a Lily Pulitzer pumpkin!…It is fabulous!…I swoon every time i walk into our L.P. store in the mall….You certainly created the greatest "signature" pumpkins!
A Lilly pumpkin? Perfect!! Especially for you ~ :) Such a great idea. Love the monogrammed pumpkin too. Glad you had a great weekend!
xo
Pat
Ah! What a fabulous post! I'll definitely have to re-create this and also share on my blog on Friday if you don't mind! Love it! xoxo