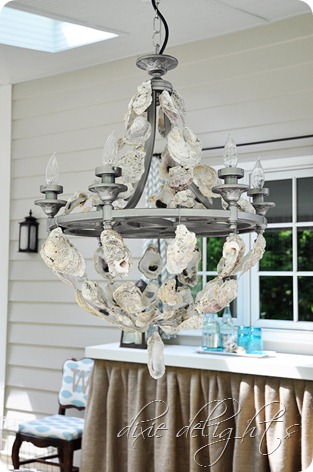
Today I’m kicking off Porch Project week at Dixie Delights! I completed loads of DIY decor projects to pull the space together and figure I’ll go ahead and start with the best of the lot – the oyster shell chandelier!! This piece is seriously like a dream come true for me. I could not be happier with the way it turned out and am currently scouting my inside for a place for another :-)
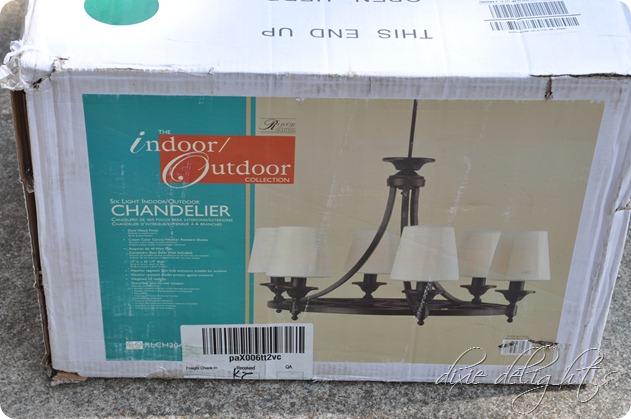
 Since the chandelier would be for an outdoor space, I was pretty limited for a starting point. I opted for this Indoor/Outdoor Chandelier by Royce Lighting from Amazon. It was just under $300 so certainly not cheap…
To doll it up, you’ll need:
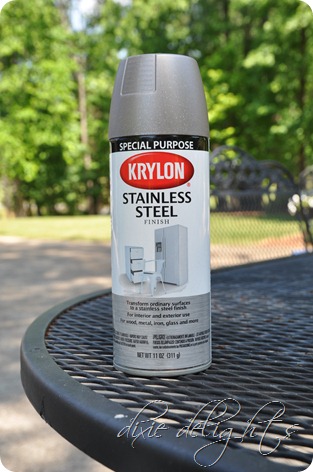
– A slew of oyster shells (these were found and cleaned by Mother and Daddy-O). I used about 75 shells on mine, but that will vary with the size of your shells.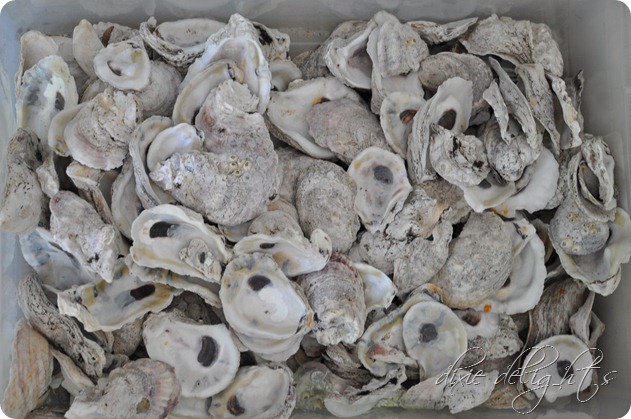 – Krylon Stainless Steel spray paint (because I thought this would blend in with the shells)
 – A Dremel with 1/16” drill bit

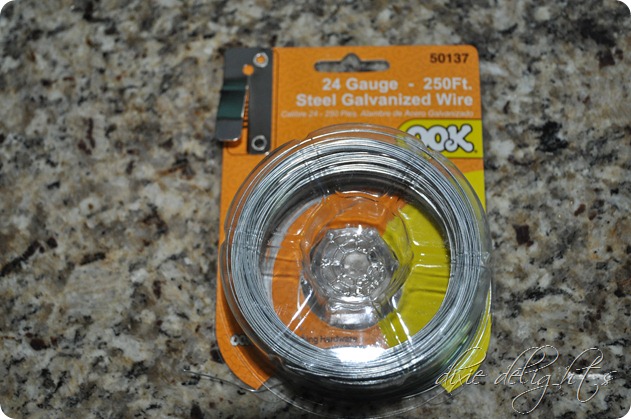
– Wire to thread together your shells
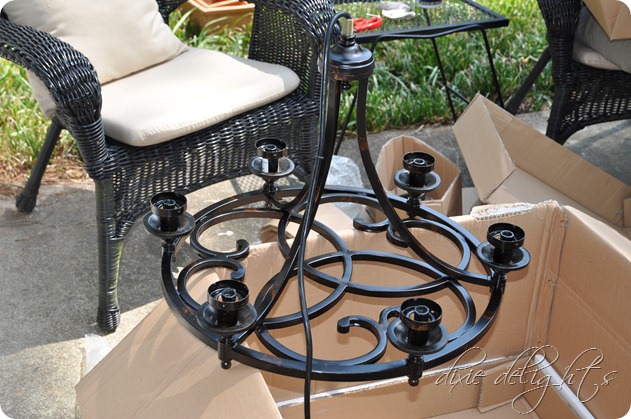
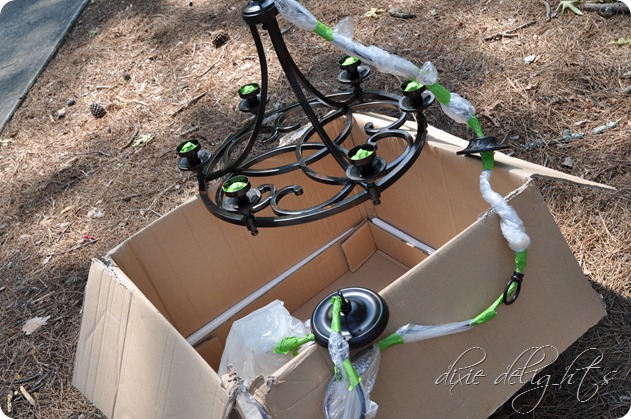
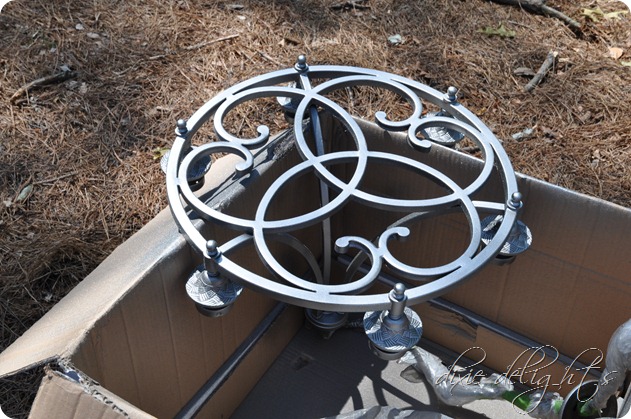
 1. Here’s what the chandelier looked like out of the box. First things first, I taped off all the electrical parts and went to town with the spray paint.
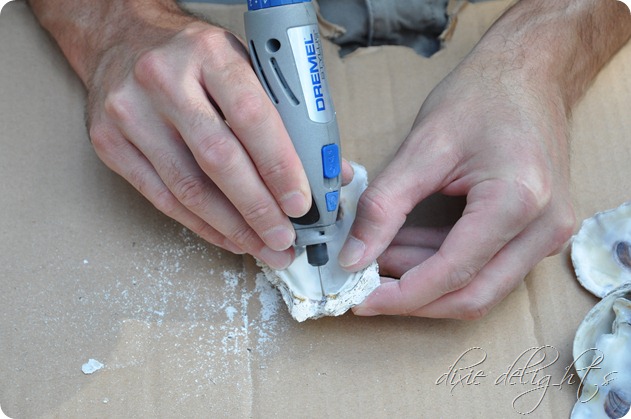
2. Meanwhile, Honey set to work drilling holes in the shells.
3. I first wrapped a length of wire around the top of the chandelier so that I’d have something to drape the shells from. As you can see, it scratched off some of the paint but you really can’t tell now that it’s hanging. From here, you just use the wire to secure shells all around the chandelier. It was much trial and error on what looked best as I got each shell up.
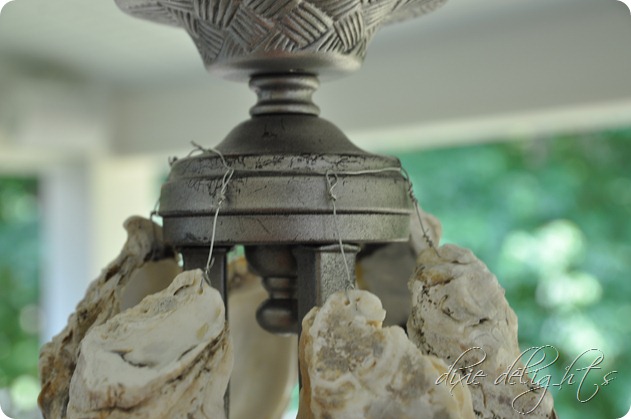
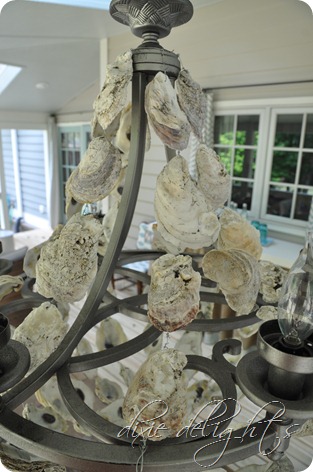
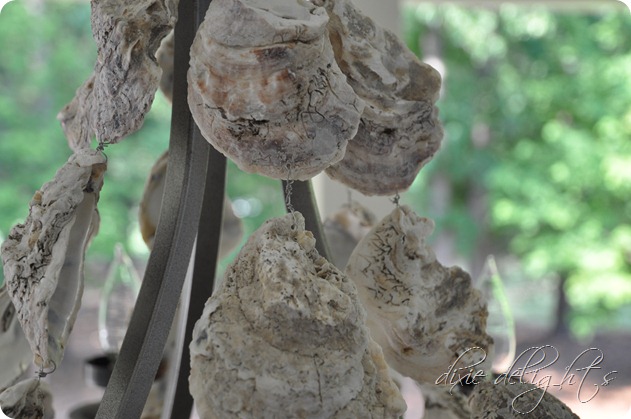 4. After I got the entire top piece complete, I waited until it was hanging in place to do the bottom shells. This made it easier to hang and also let me see what it would look like as I worked on it. For the bottom shells, I wrapped wire around the base of the chandelier and linked shells together just like in #3 above.
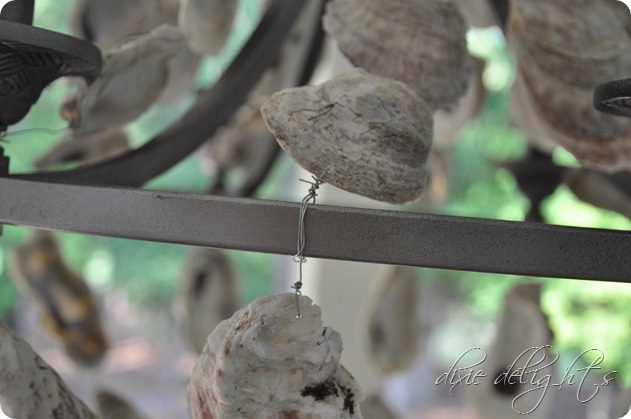
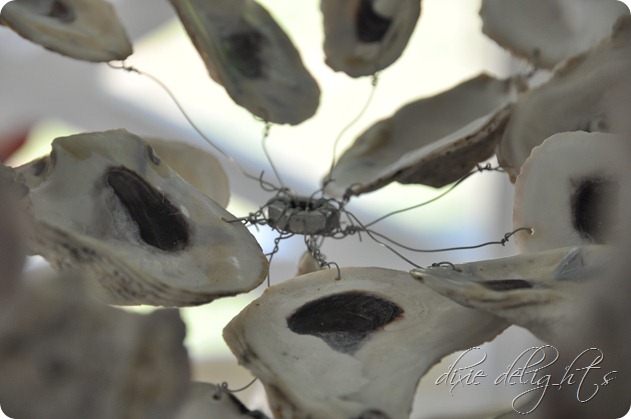
5. I used a small nut to bring all of the hanging strands together in the bottom middle. And I dangled one last shell from the base.
It was extremely time intensive…probably one of the longest projects I’ve ever undertaken (I generally like the short and sweet variety) but is literally one of my favorite things in my entire house!!!
 Stay tuned as I have so much more to share all week long!
xoxo
Flattered for the features at Completely Coastal, No Minimalist Here, DIY by Design, I Heart Nap Time and Tatertots and Jello!

Beautiful chandelier! I know that had to take a loooong time to do, for everyone involved..cleaning the shells, drilling all those holes, and wiring them. It turned out great. What an accent for your beautiful porch!
I love it! That is an amazing idea!! enjoy! Megan
I absolutely love your shell chandelier and cannot believe you made it! It's gorgeous!
Your outdoor chandelier is gorgeous! I can see why it was so labor intensive, but well worth all that work. I'm sure you'll enjoy it for a long time. Have a great weekend,
Babs
Lovely!
Good for you. That took a lot of patience – and work!!!
Wow! Such a great piece! I cannot believe you made it. So fab!
A- you know I adore the chandelier! Great job! xo
The chandelier is completely gorgeous!! I took your house tour and I love it. I'm your newest follower.
wow how beautiful, your projects are always so great. i would love for you to come and link this up at my party which as just started over at http://www.twiggstudios.com/2012/07/sunday-show-off-linky-party_14.html
thankyou luv Aimee xxxxx
Wow! The very best DIY I've seen in a long time. Way to go!
I love it! So unique and just gorgeous. You did a wonderful job in creating this.
Pat
Very unique!
I absolutely love this! I'm sure Ron will add this one to his DIY projects!
This is absolutely gorgeous! Love it!
Amazing! It would be perfect for a seaside cottage here in PEI.. we love our oysters! Filing this away for sure!
Brilliant. Absolutely brilliant. Who would have thought that shells could replace crystals and look AMAZING? You did! Ten cheers for your vision and creativity!
Wow! That is stunning and and incredibly creative! Business venture? People in the South and on the East coast would snap these right up!
Just gorgeous, Amanda! It's absolutely perfect on your beautiful porch!
CAS
Unreal. How fun is this. Great tutorial too. Thanks for joining TTT. Hugs, Marty
Wow this turned out great! It's all in the detail isn't it!
Thanks for sharing.
Lucinda
Incredible! Your chandelier looks so delightful hanging on your porch! Thanks for sharing this creative project!
This turned out FABULOUS! I'm so impressed! XO, Aimee
Wow, awesome job!! And love that the shells were found !
Wow! This is insanely gorgeous! I just love it! I am your newest follower~
xoxo
Amie @ Pinkapotamus
I love it , I am like you I like short projects nothing over one day
I just texted my son in law in oregon and said get me a box of pyster shells I had another project in mind
love that huge shell om your table I have been seeing them on blogs all summer where did you get yours?
Wow, this is just beautiful! The shells look rough by themselves, but your chandelier design makes them look so elegant!Coming over from One Artsy Mama :)
Alyssa
This is just lovely! You must have a lot of patience to work with those shells (I live on the coast and I know how sharp they can be!) Beautiful chandy : o )
This is so cool and unique. I will be featuring it tonight at my Sizzle into Summer party tonight at 8pm EST. Please stop by and pick up an I've Been Featured button.
I am in love with this!! Not only beautiful but very unique. Thanks for sharing the chandelier at the Open House party and I will be featuring it at this weeks party.
Very, very clever. I just love it! Congrats on your feature at the Open House Party.
It's truly a beautiful chandelier and such a great idea. Thanks for sharing it!
So inspirational! I am working on one using a vintage chandy with wrapped rope accents and oysters collected from the Gulf of Mexico near where I live. Thanks for sharing!