We finished a kitchen face-lift almost two months ago to the day, and I’ve finally had a chance to take pictures and sit down and write. I always like to share the “journey” here, so I’ll start at the beginning. Our kitchen was the one renovated space in our 1964 home when we moved in TEN years ago. Here is what it looked like then.
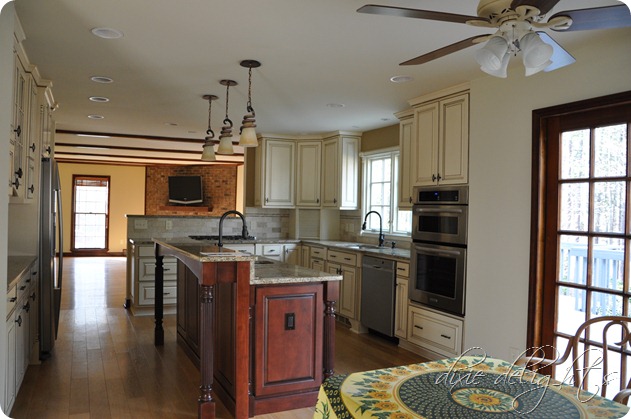
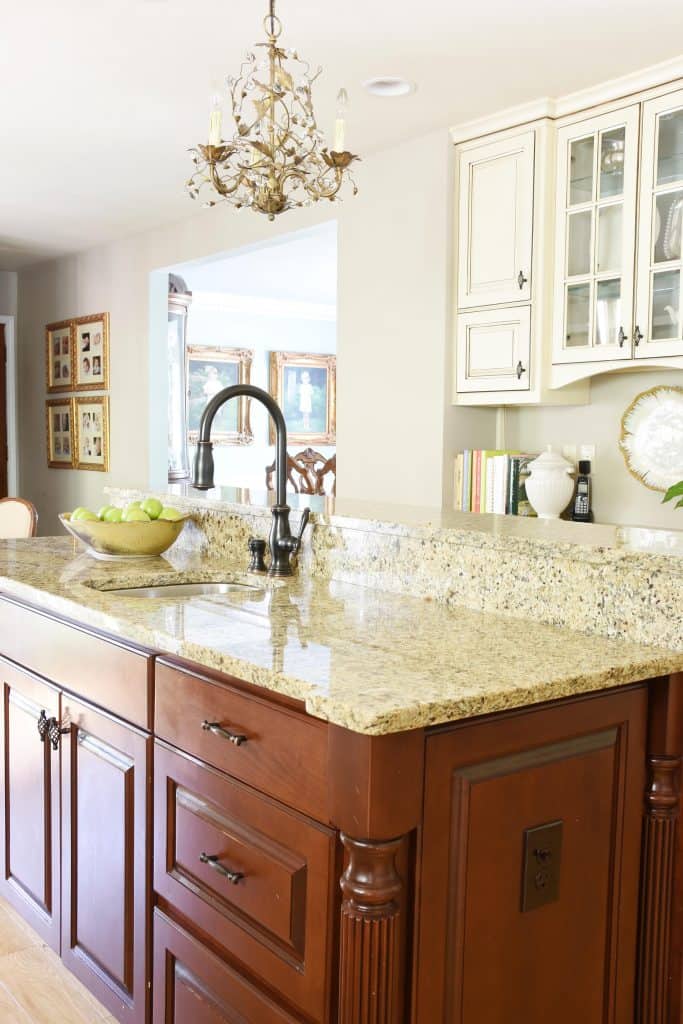
Aside from knocking out the bread bin in the far corner and changing out the lights, all we did was add decorative touches to the space. The kitchen looked exactly like this from 2009-20019.
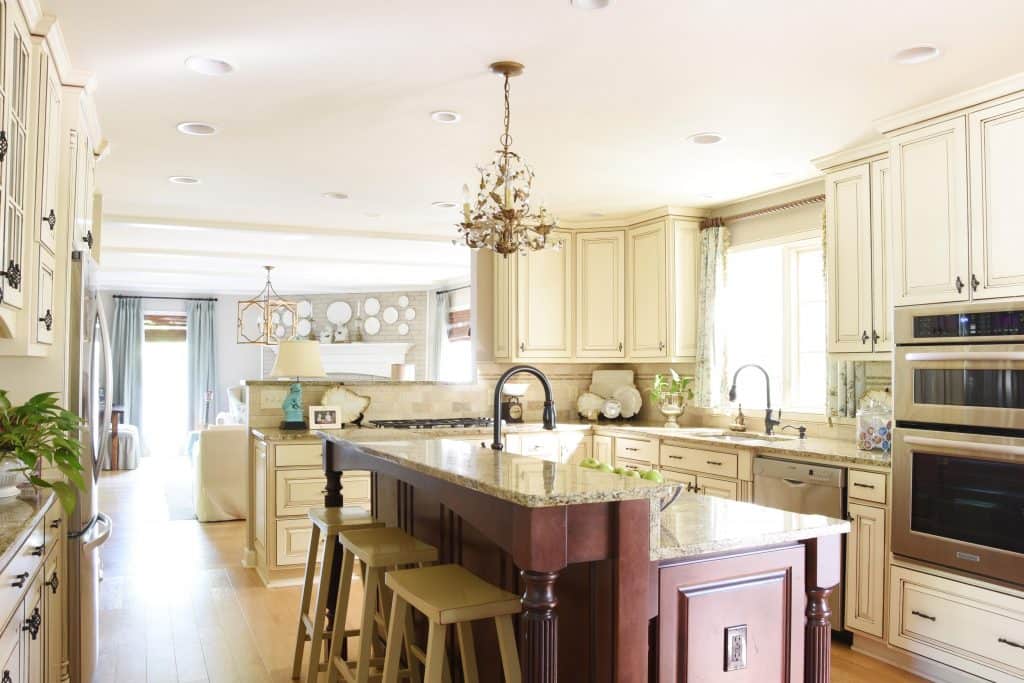
When we gutted and renovated our bathroom last year, it made us want to do the few updates we’d been dreaming about in our kitchen more than ever! After much thought, we decided to go for it. It was the last space in our home for us to add our own fingerprint. We completed the project with a mix of DIY and outsourced work, with Honey completing all of the plumbing and electrical work, as well as some carpentry.
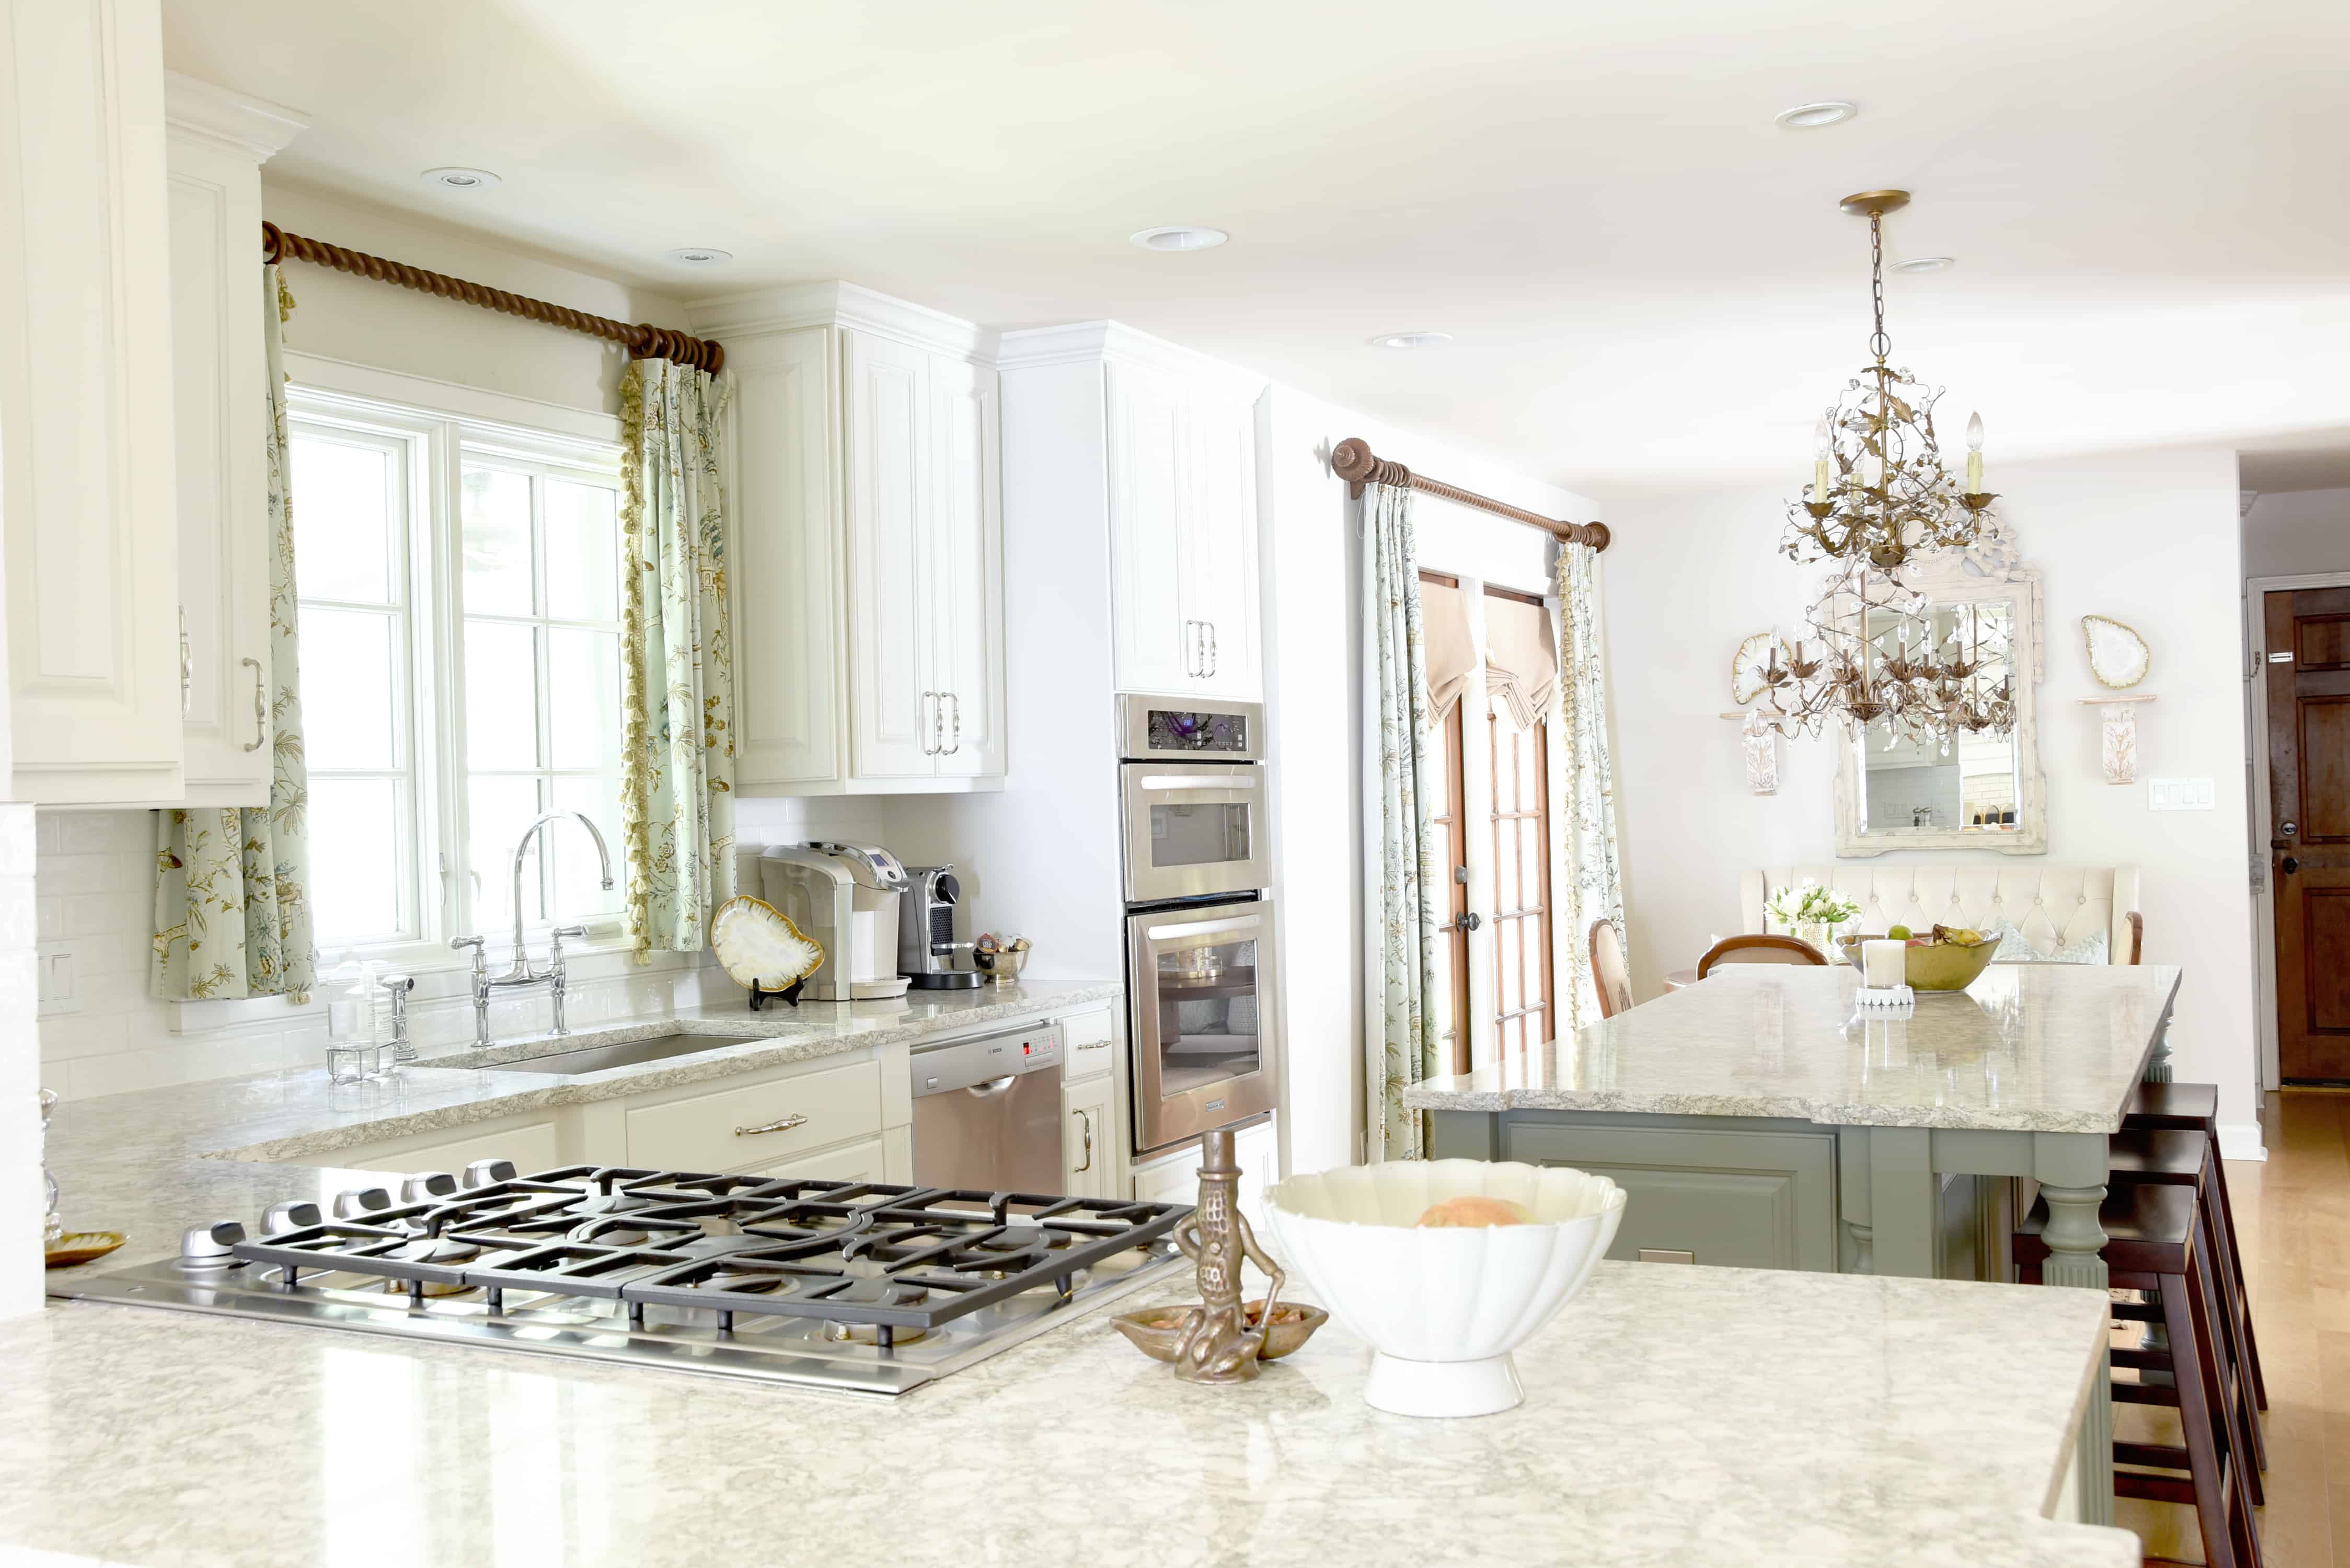
Without further ado, here is the new look!!
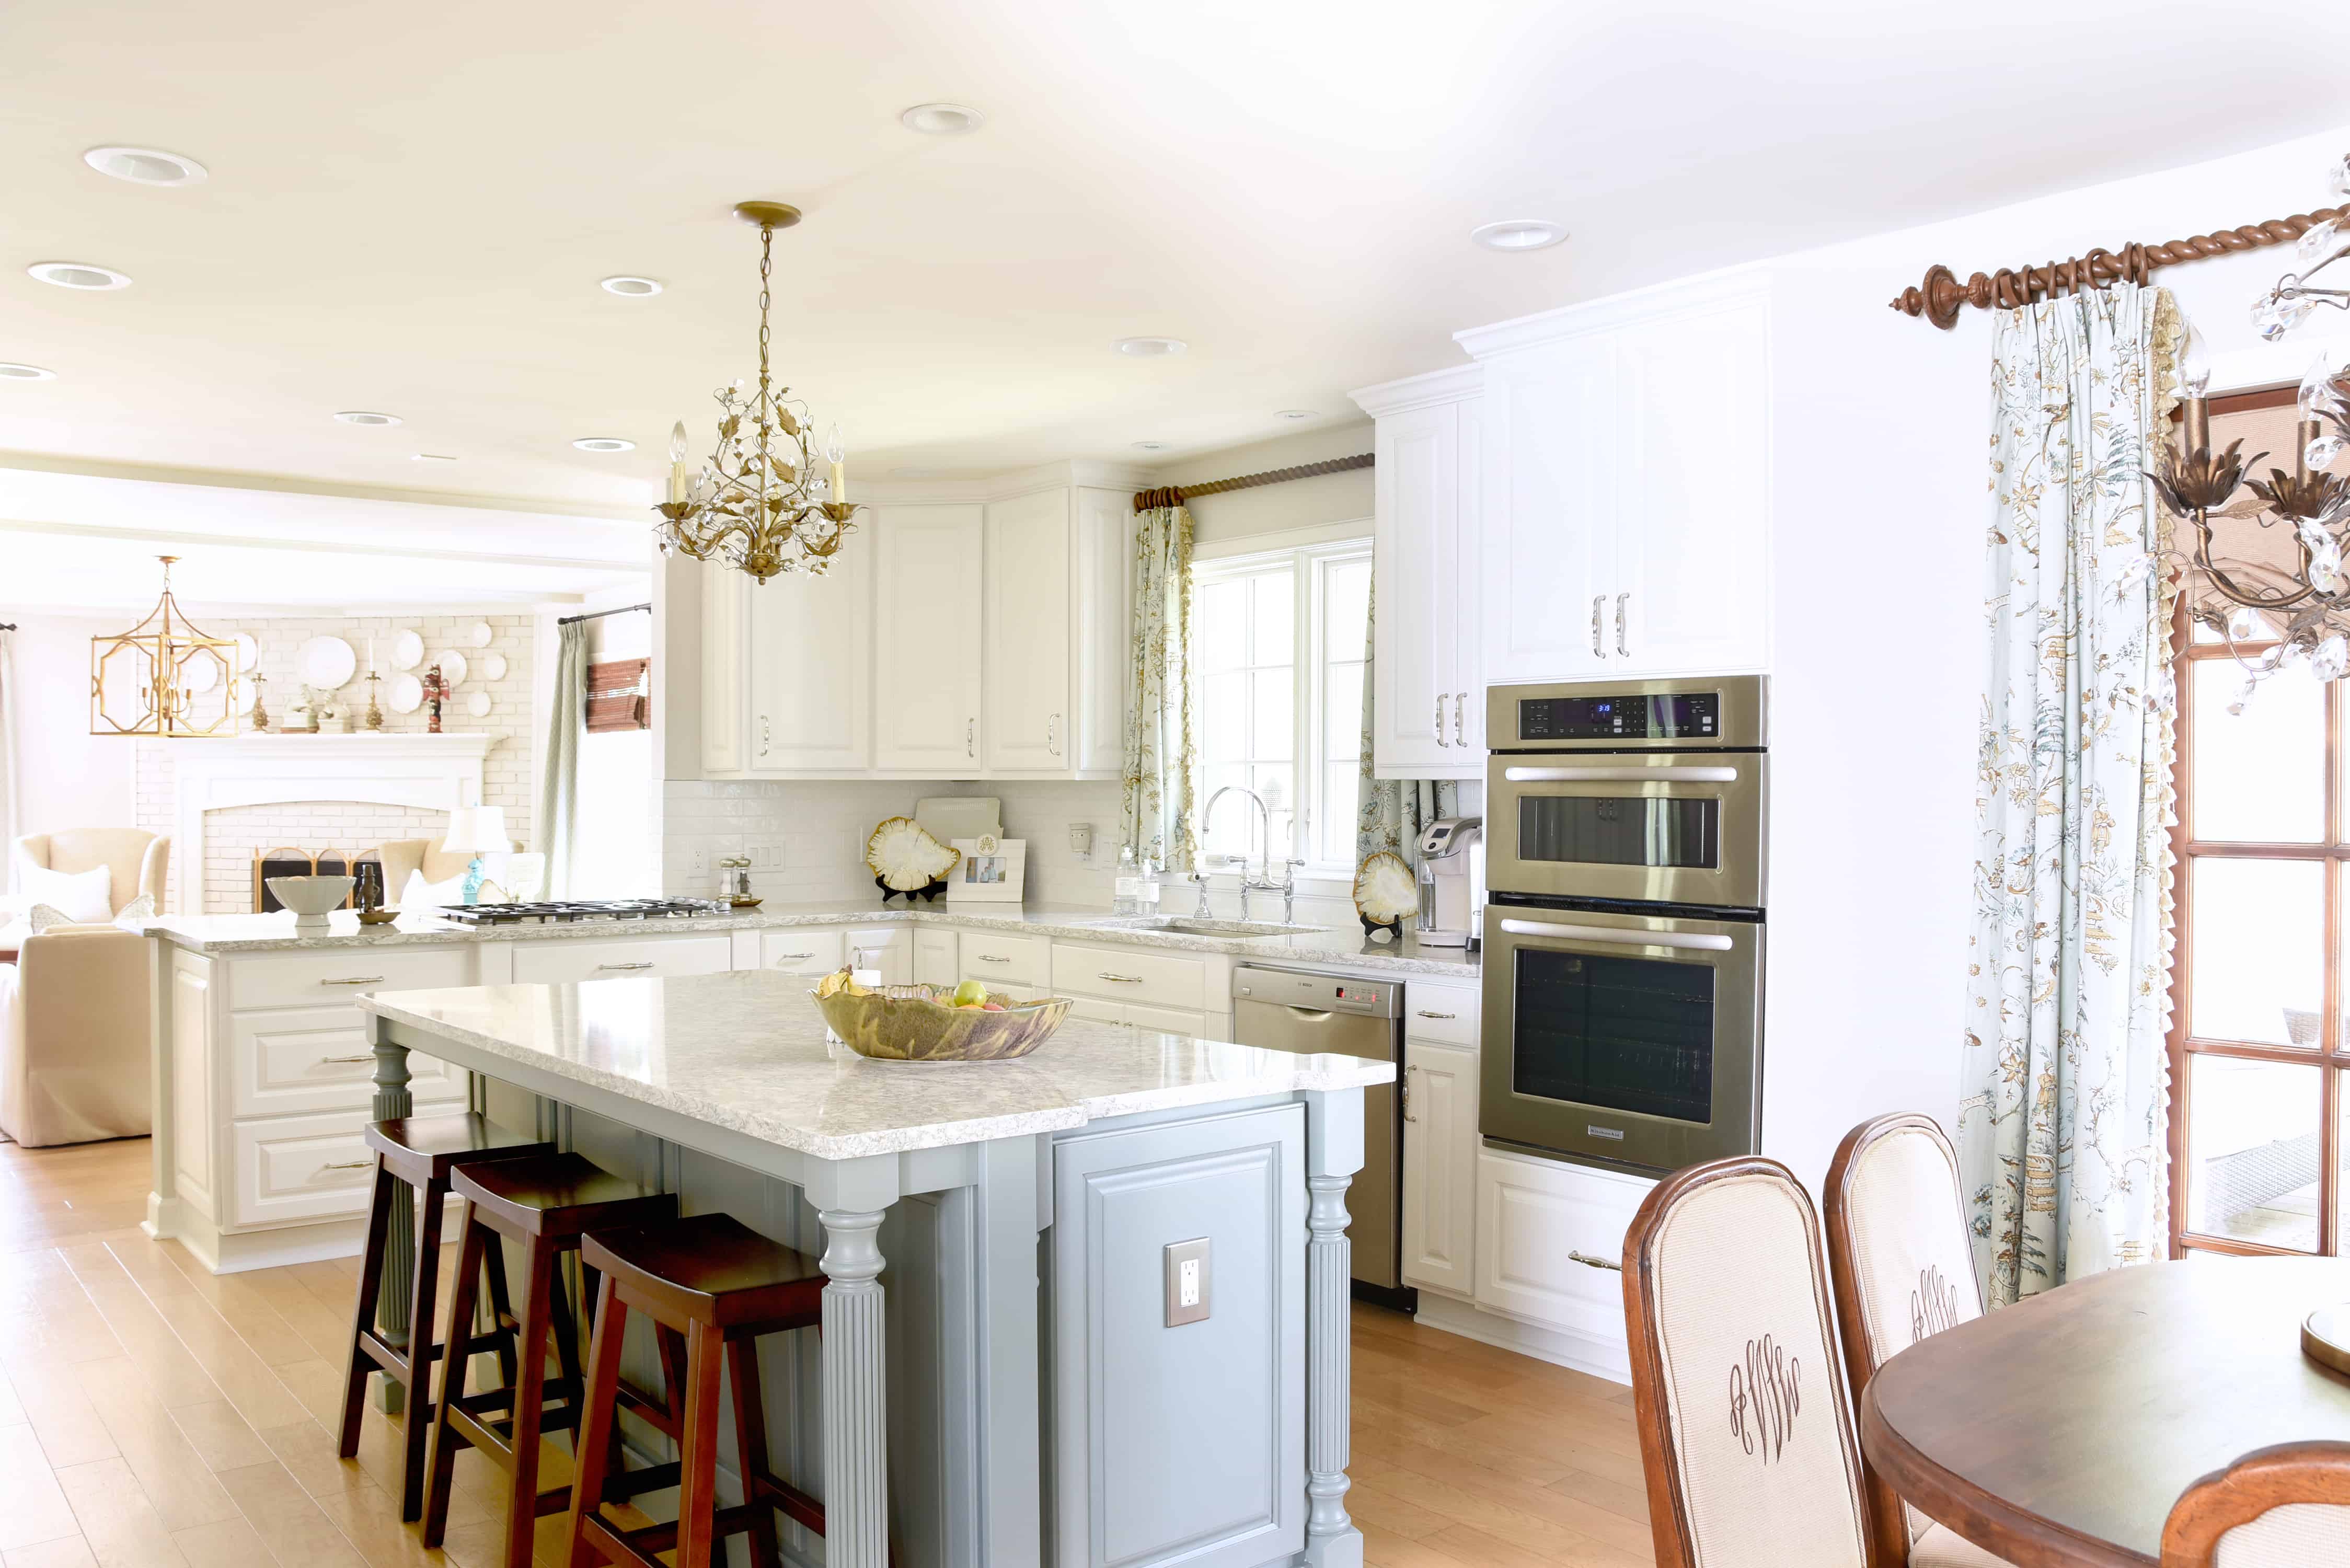
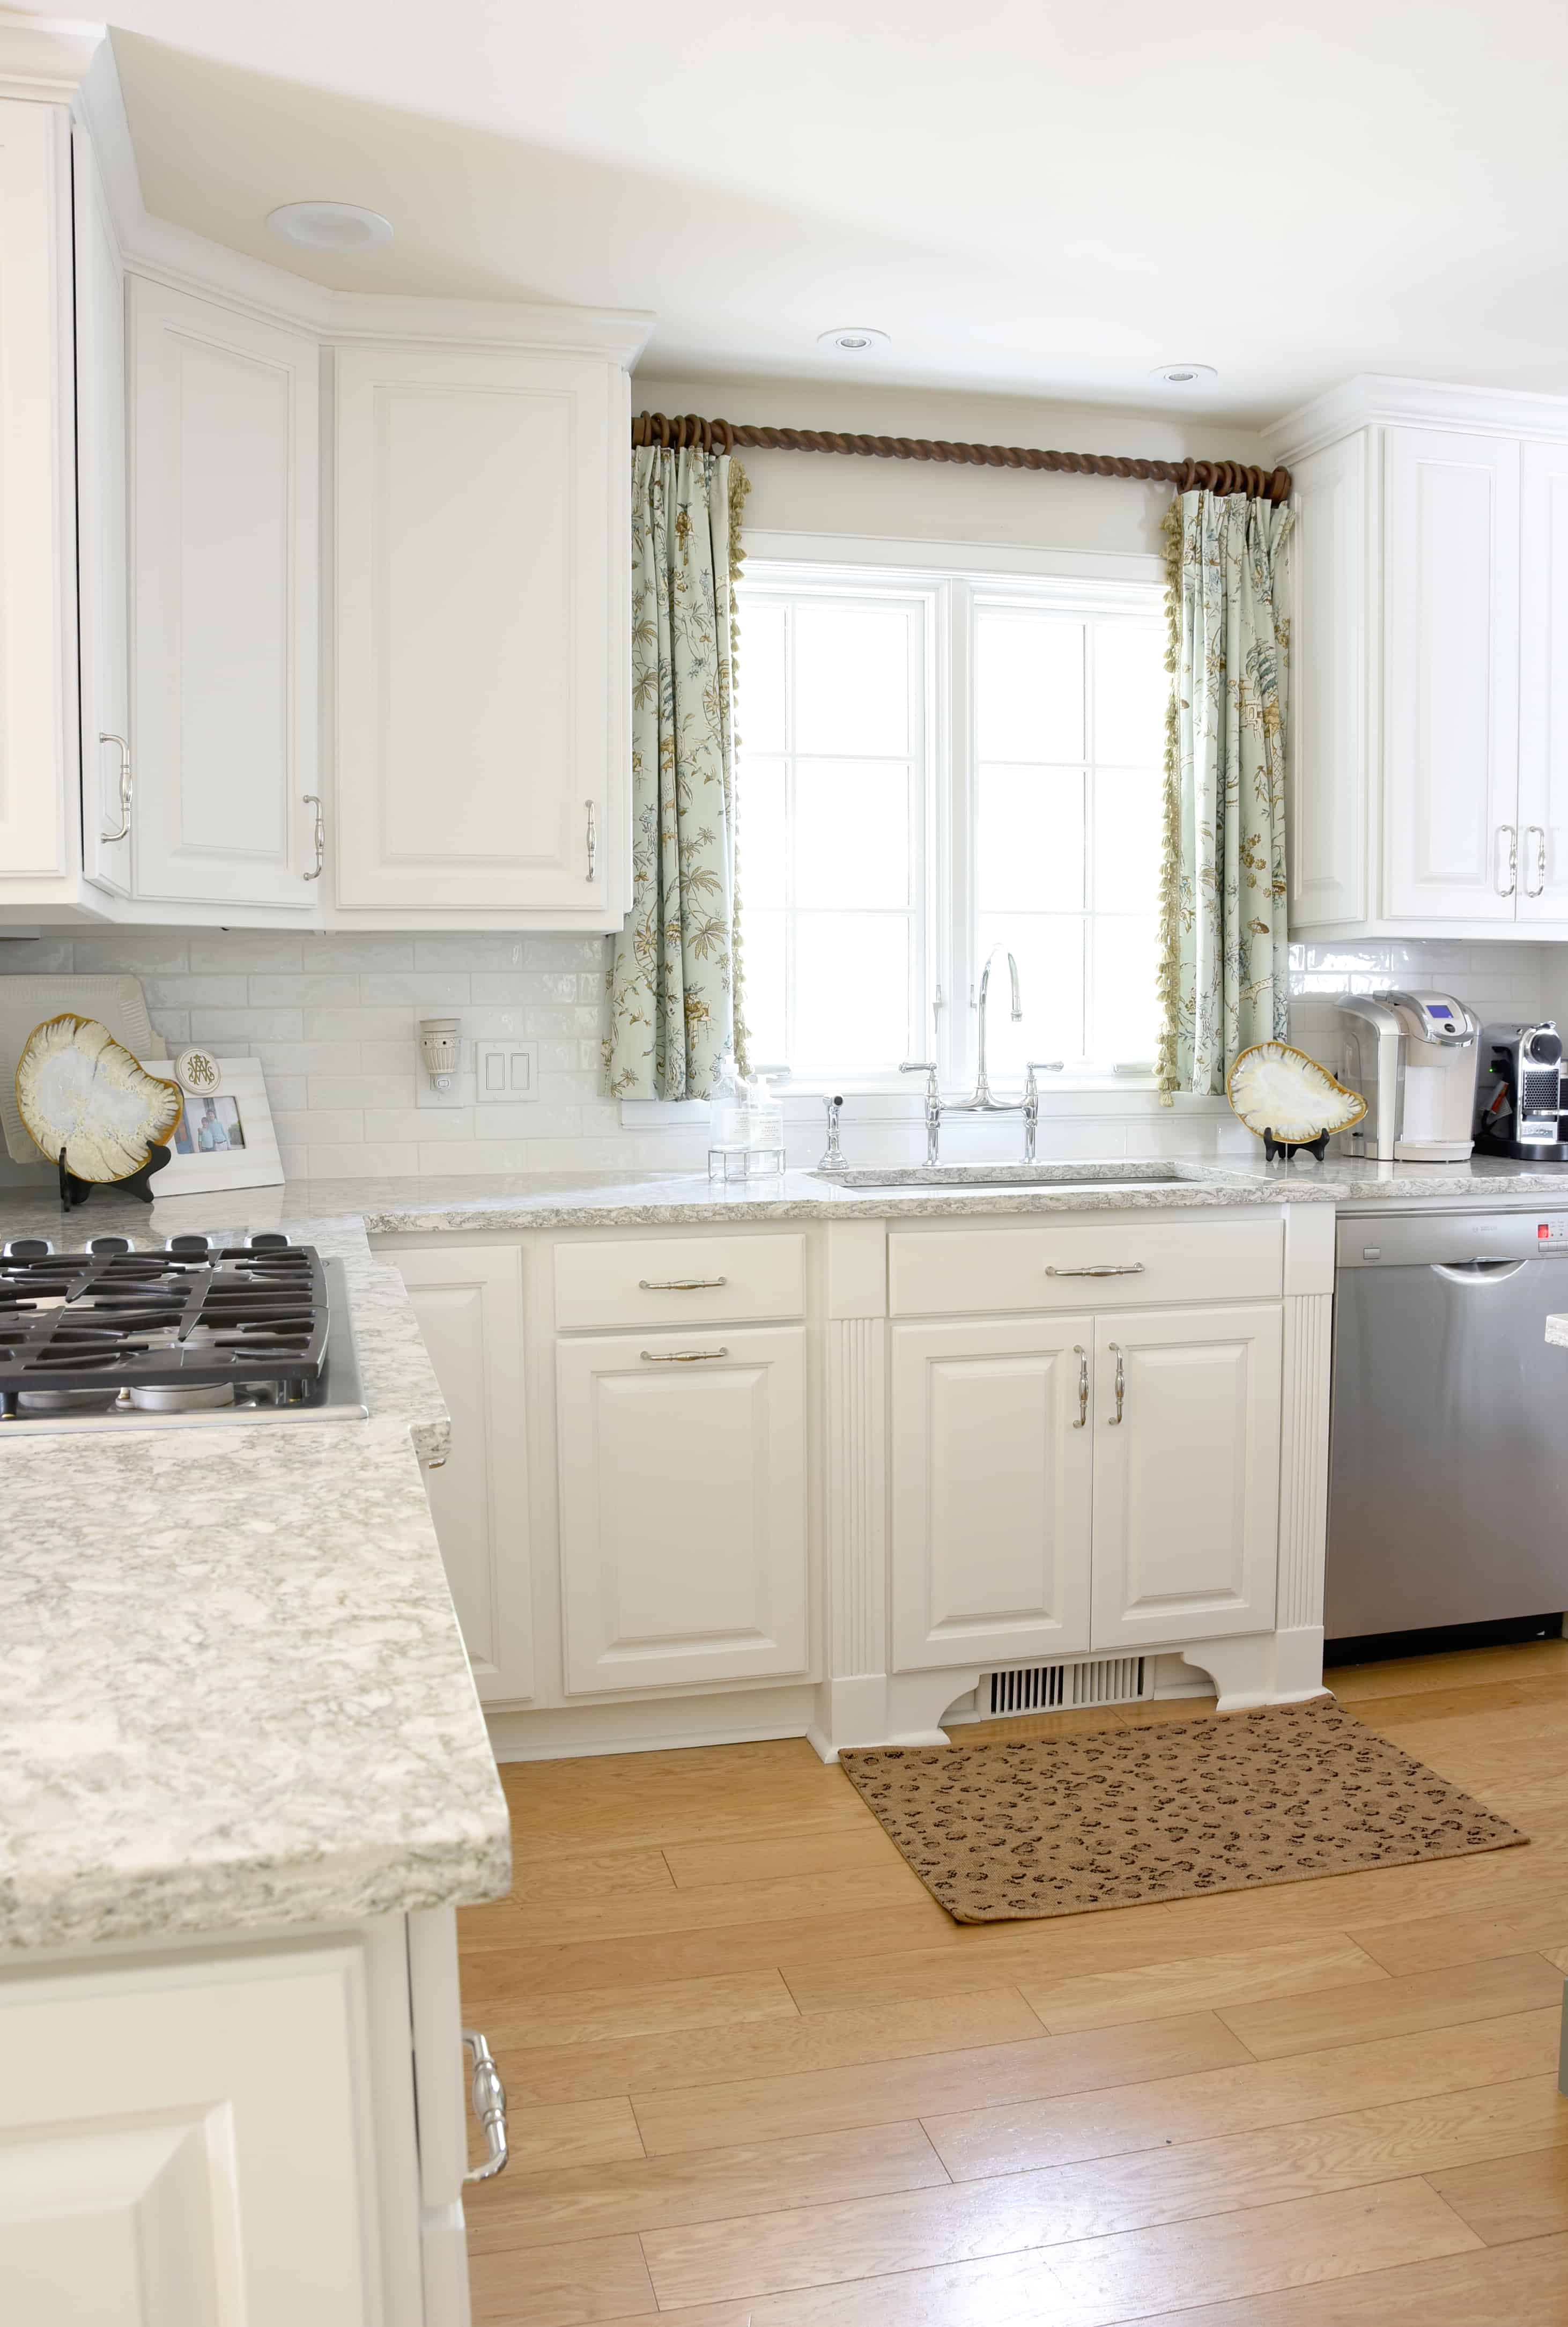
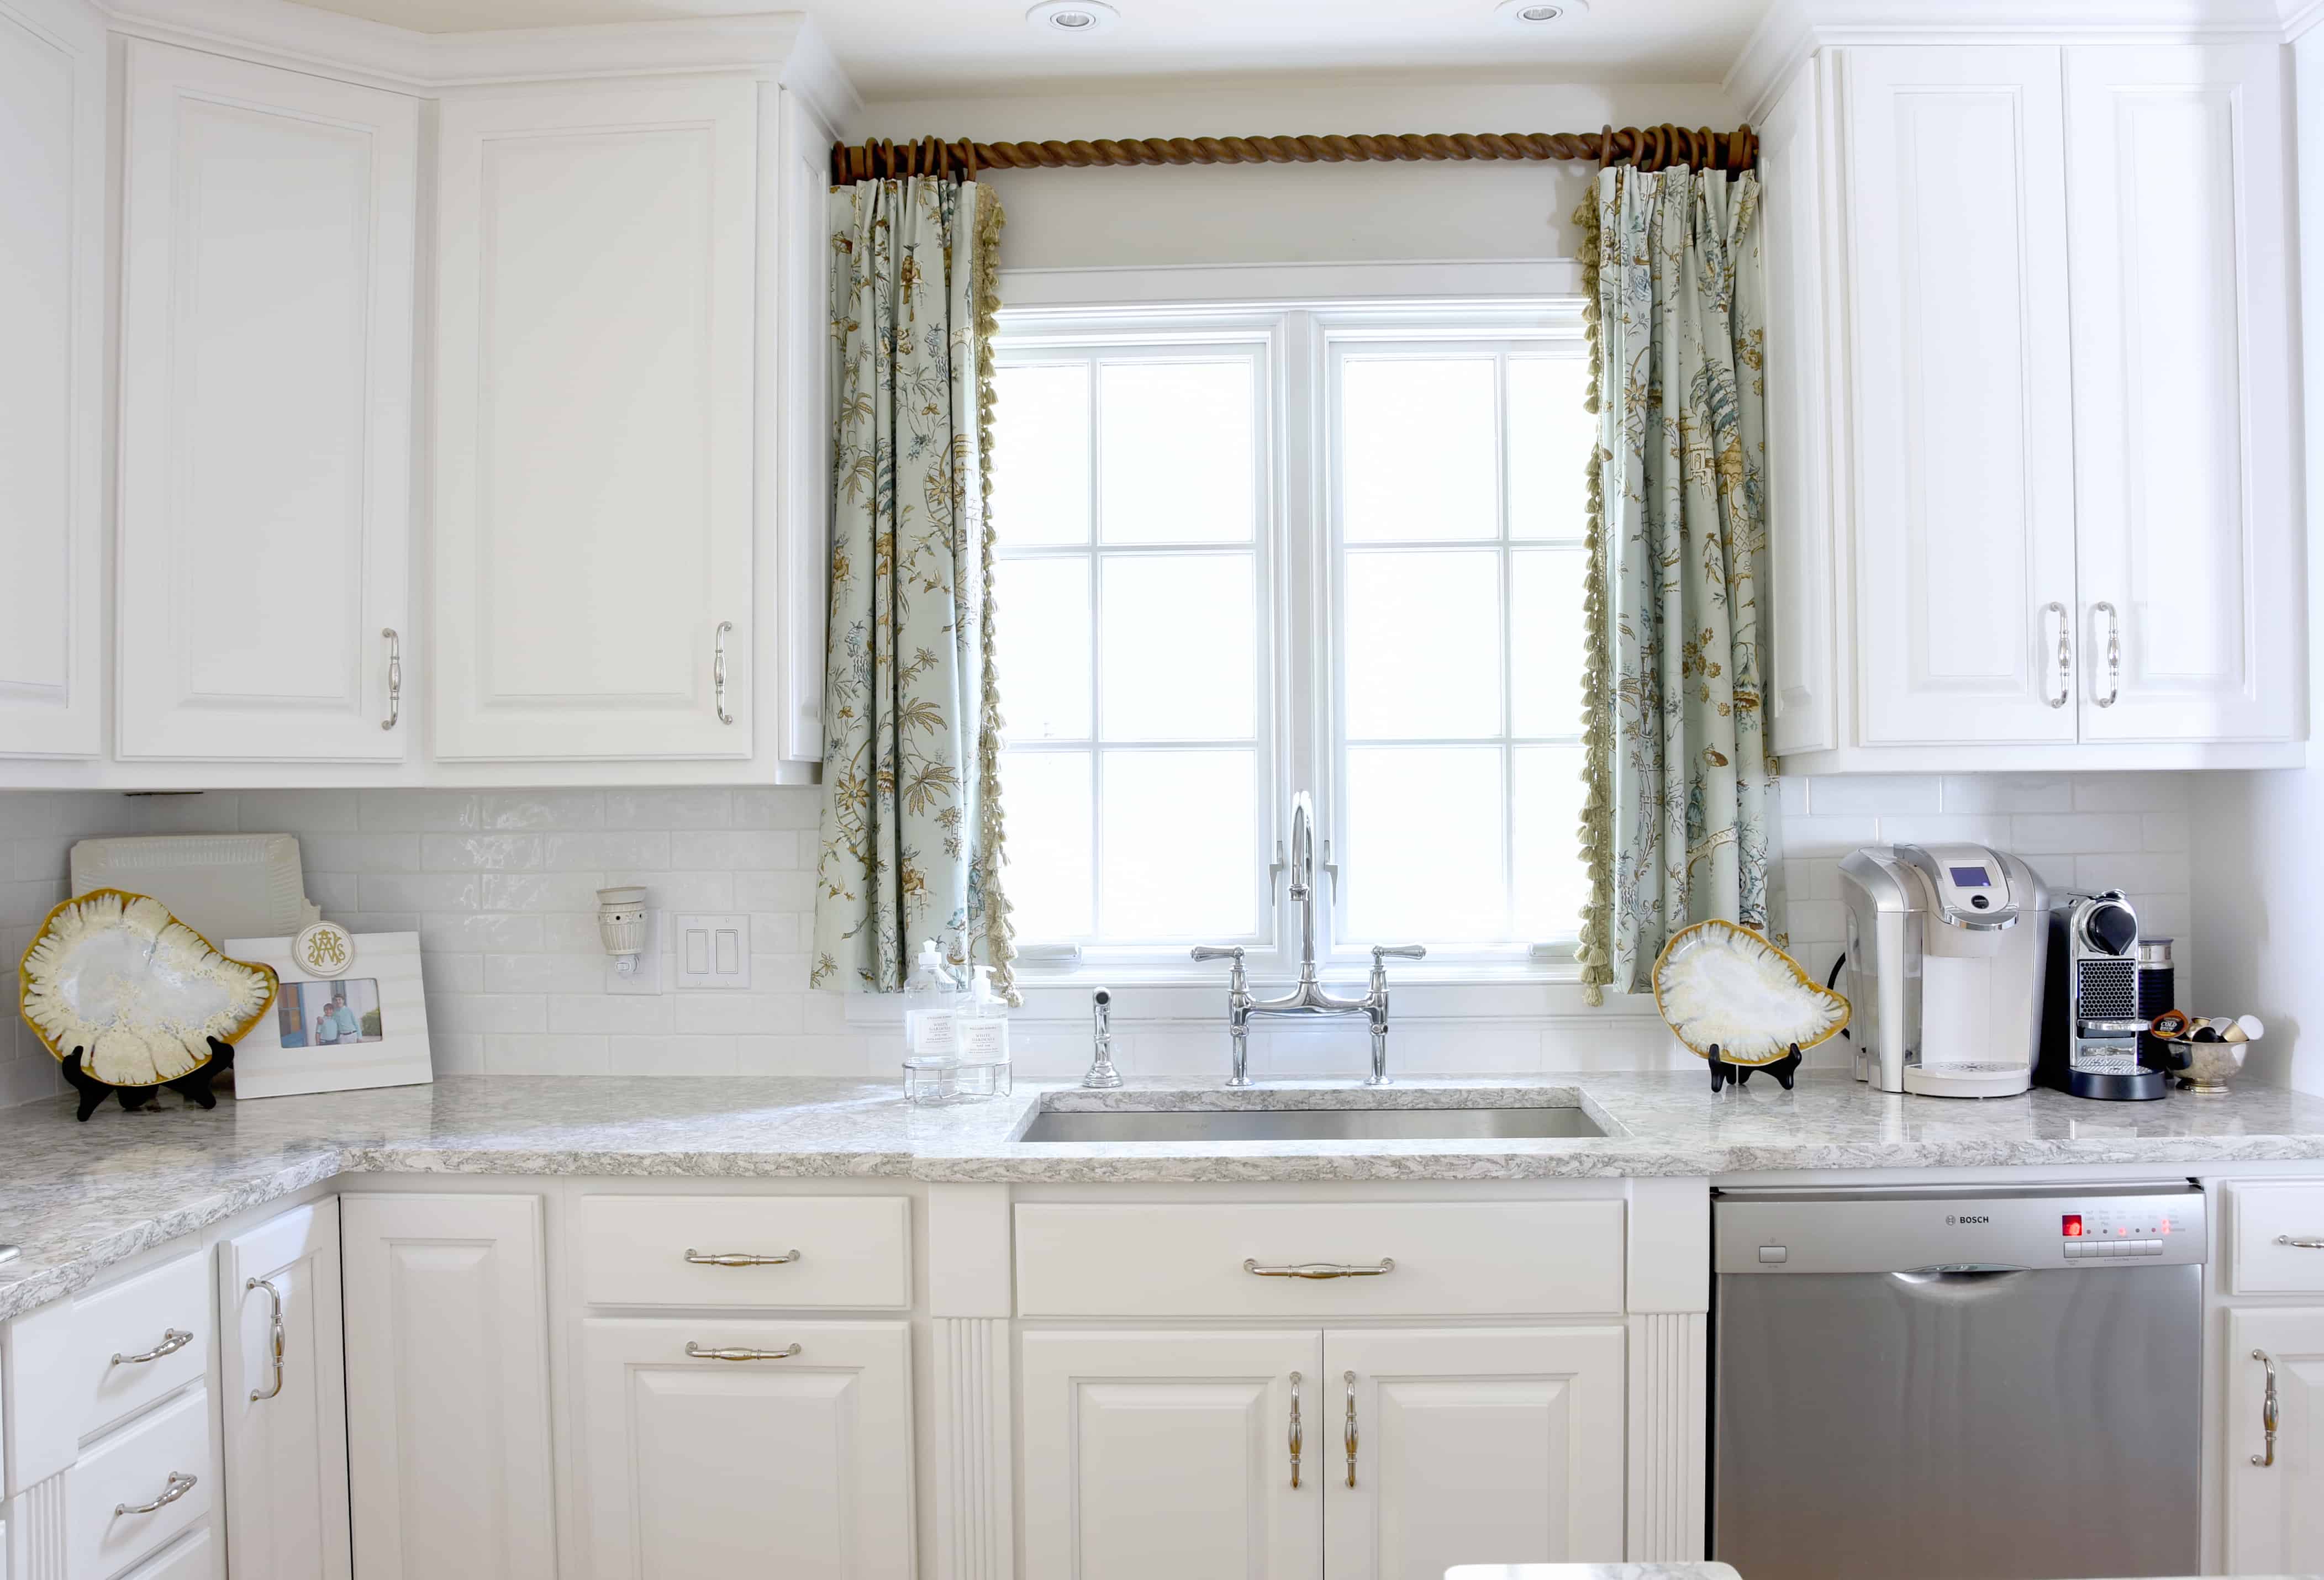
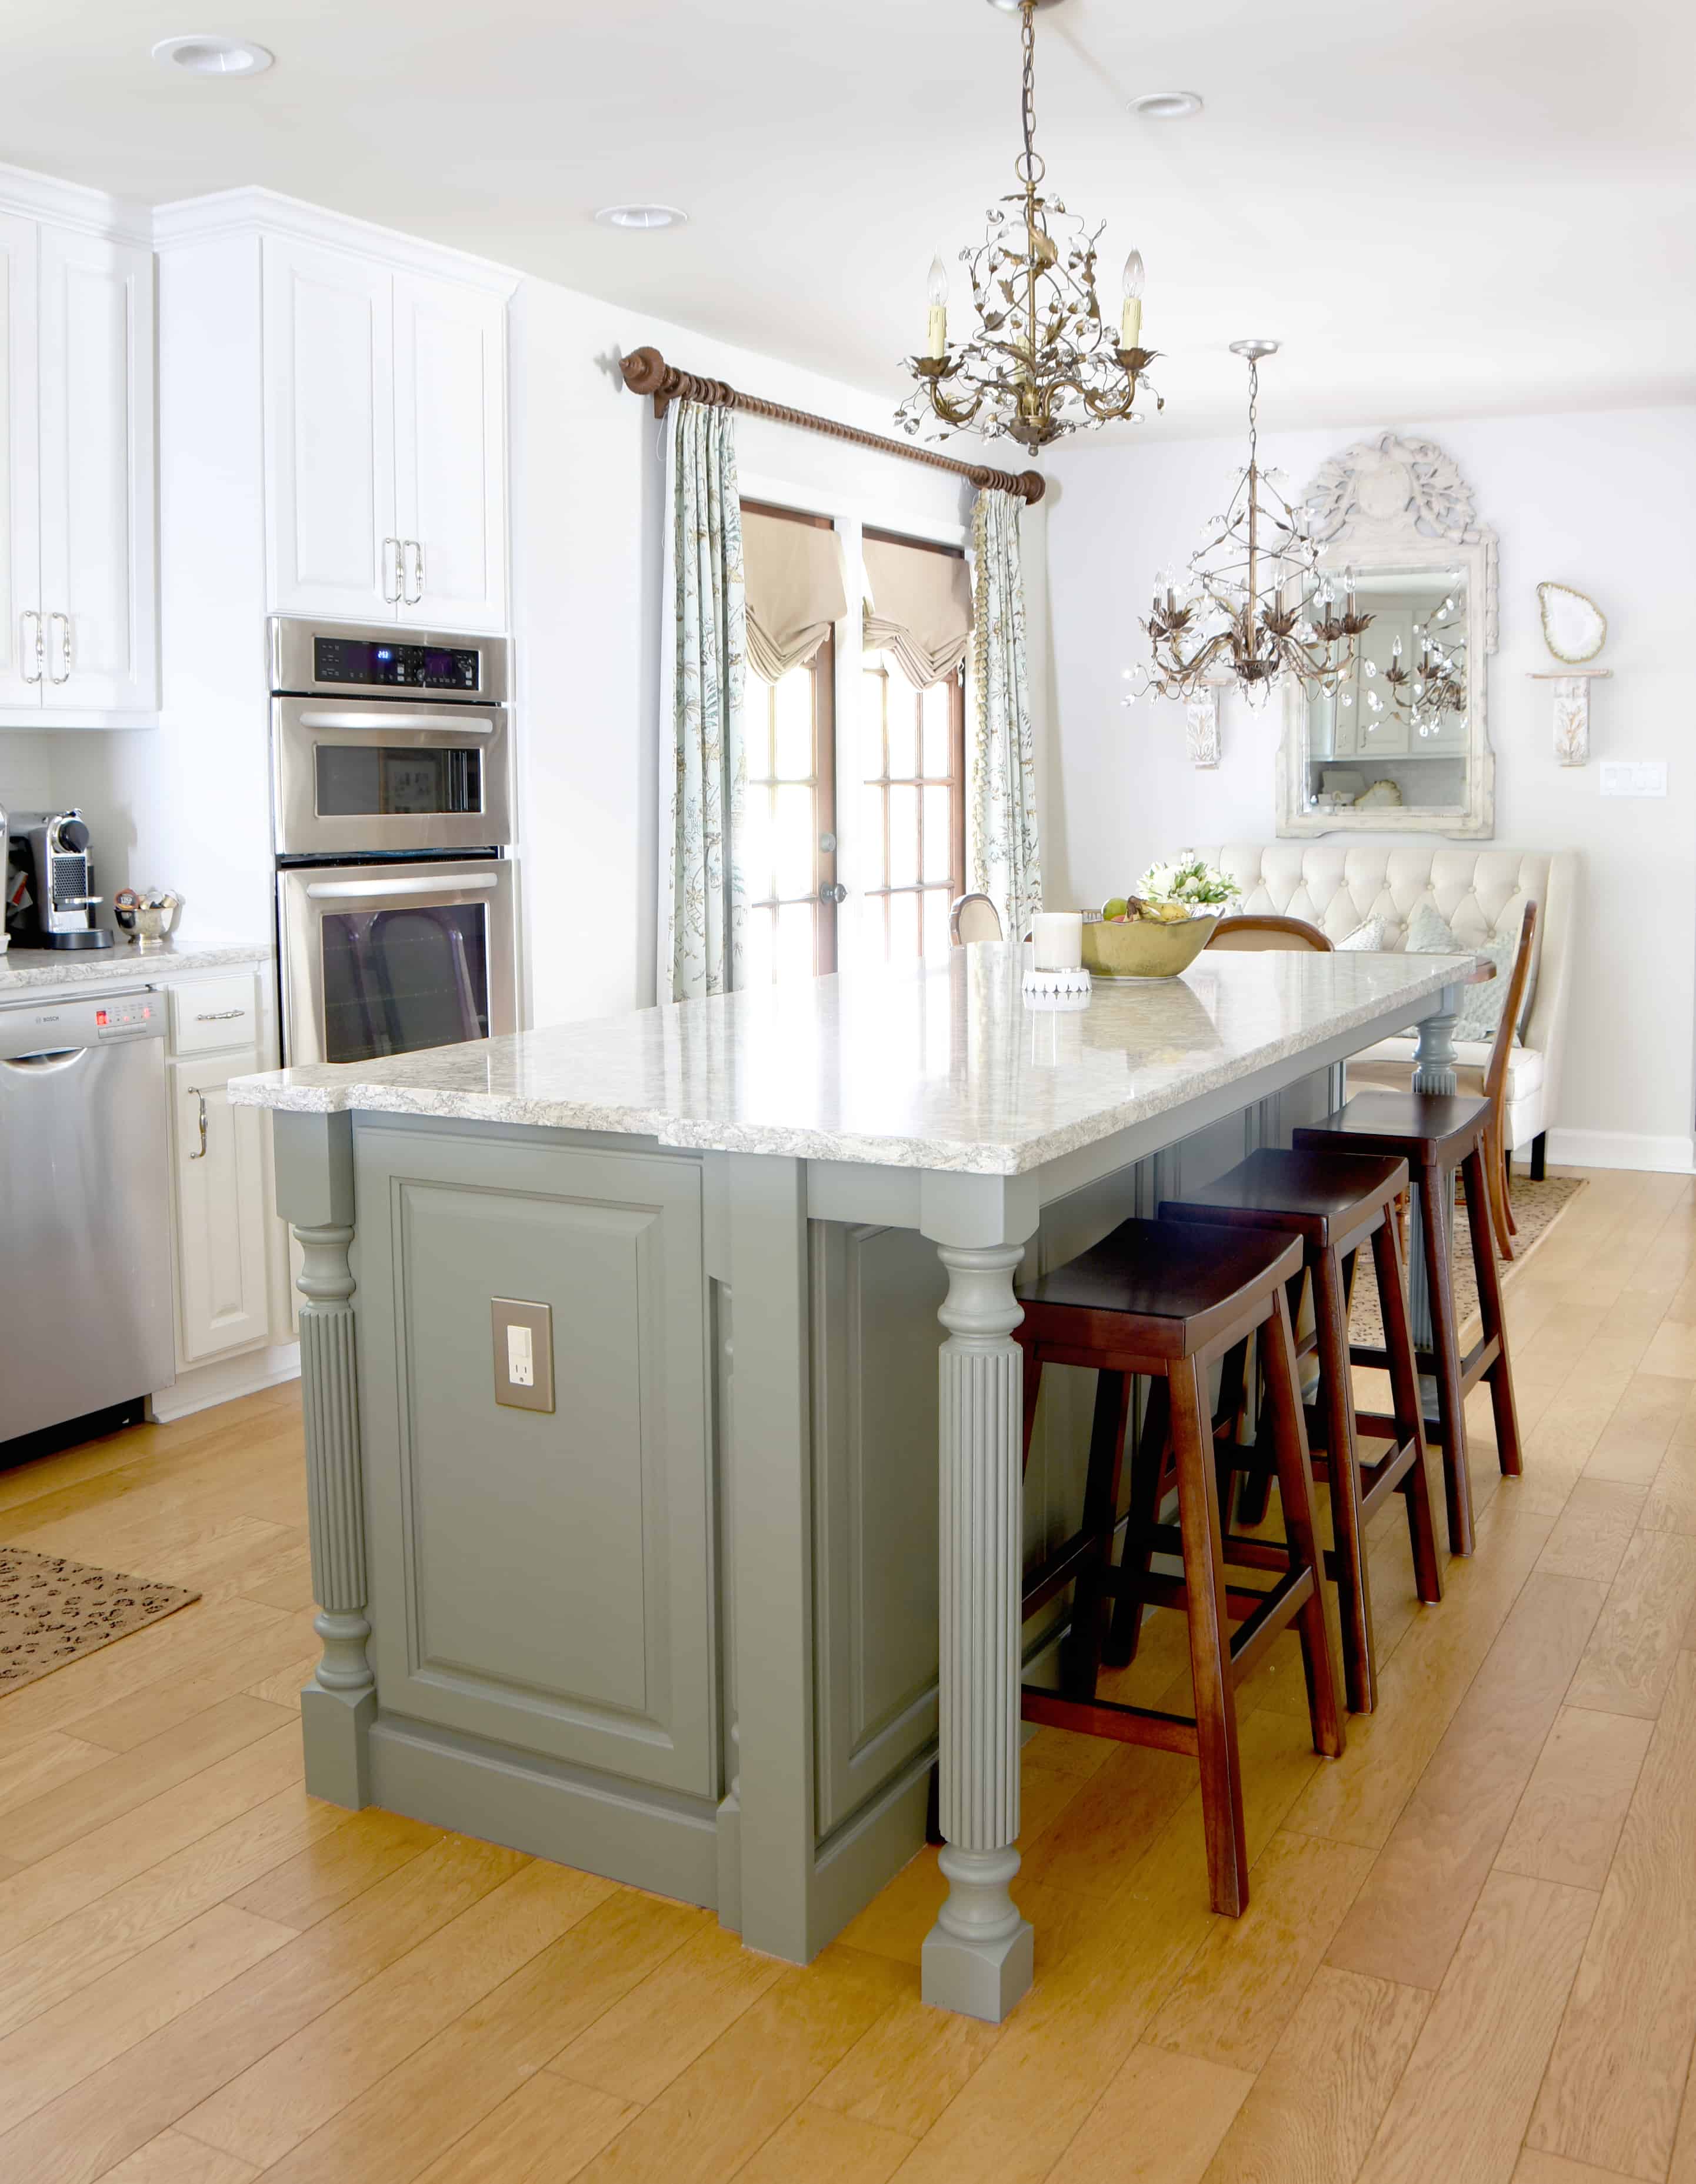
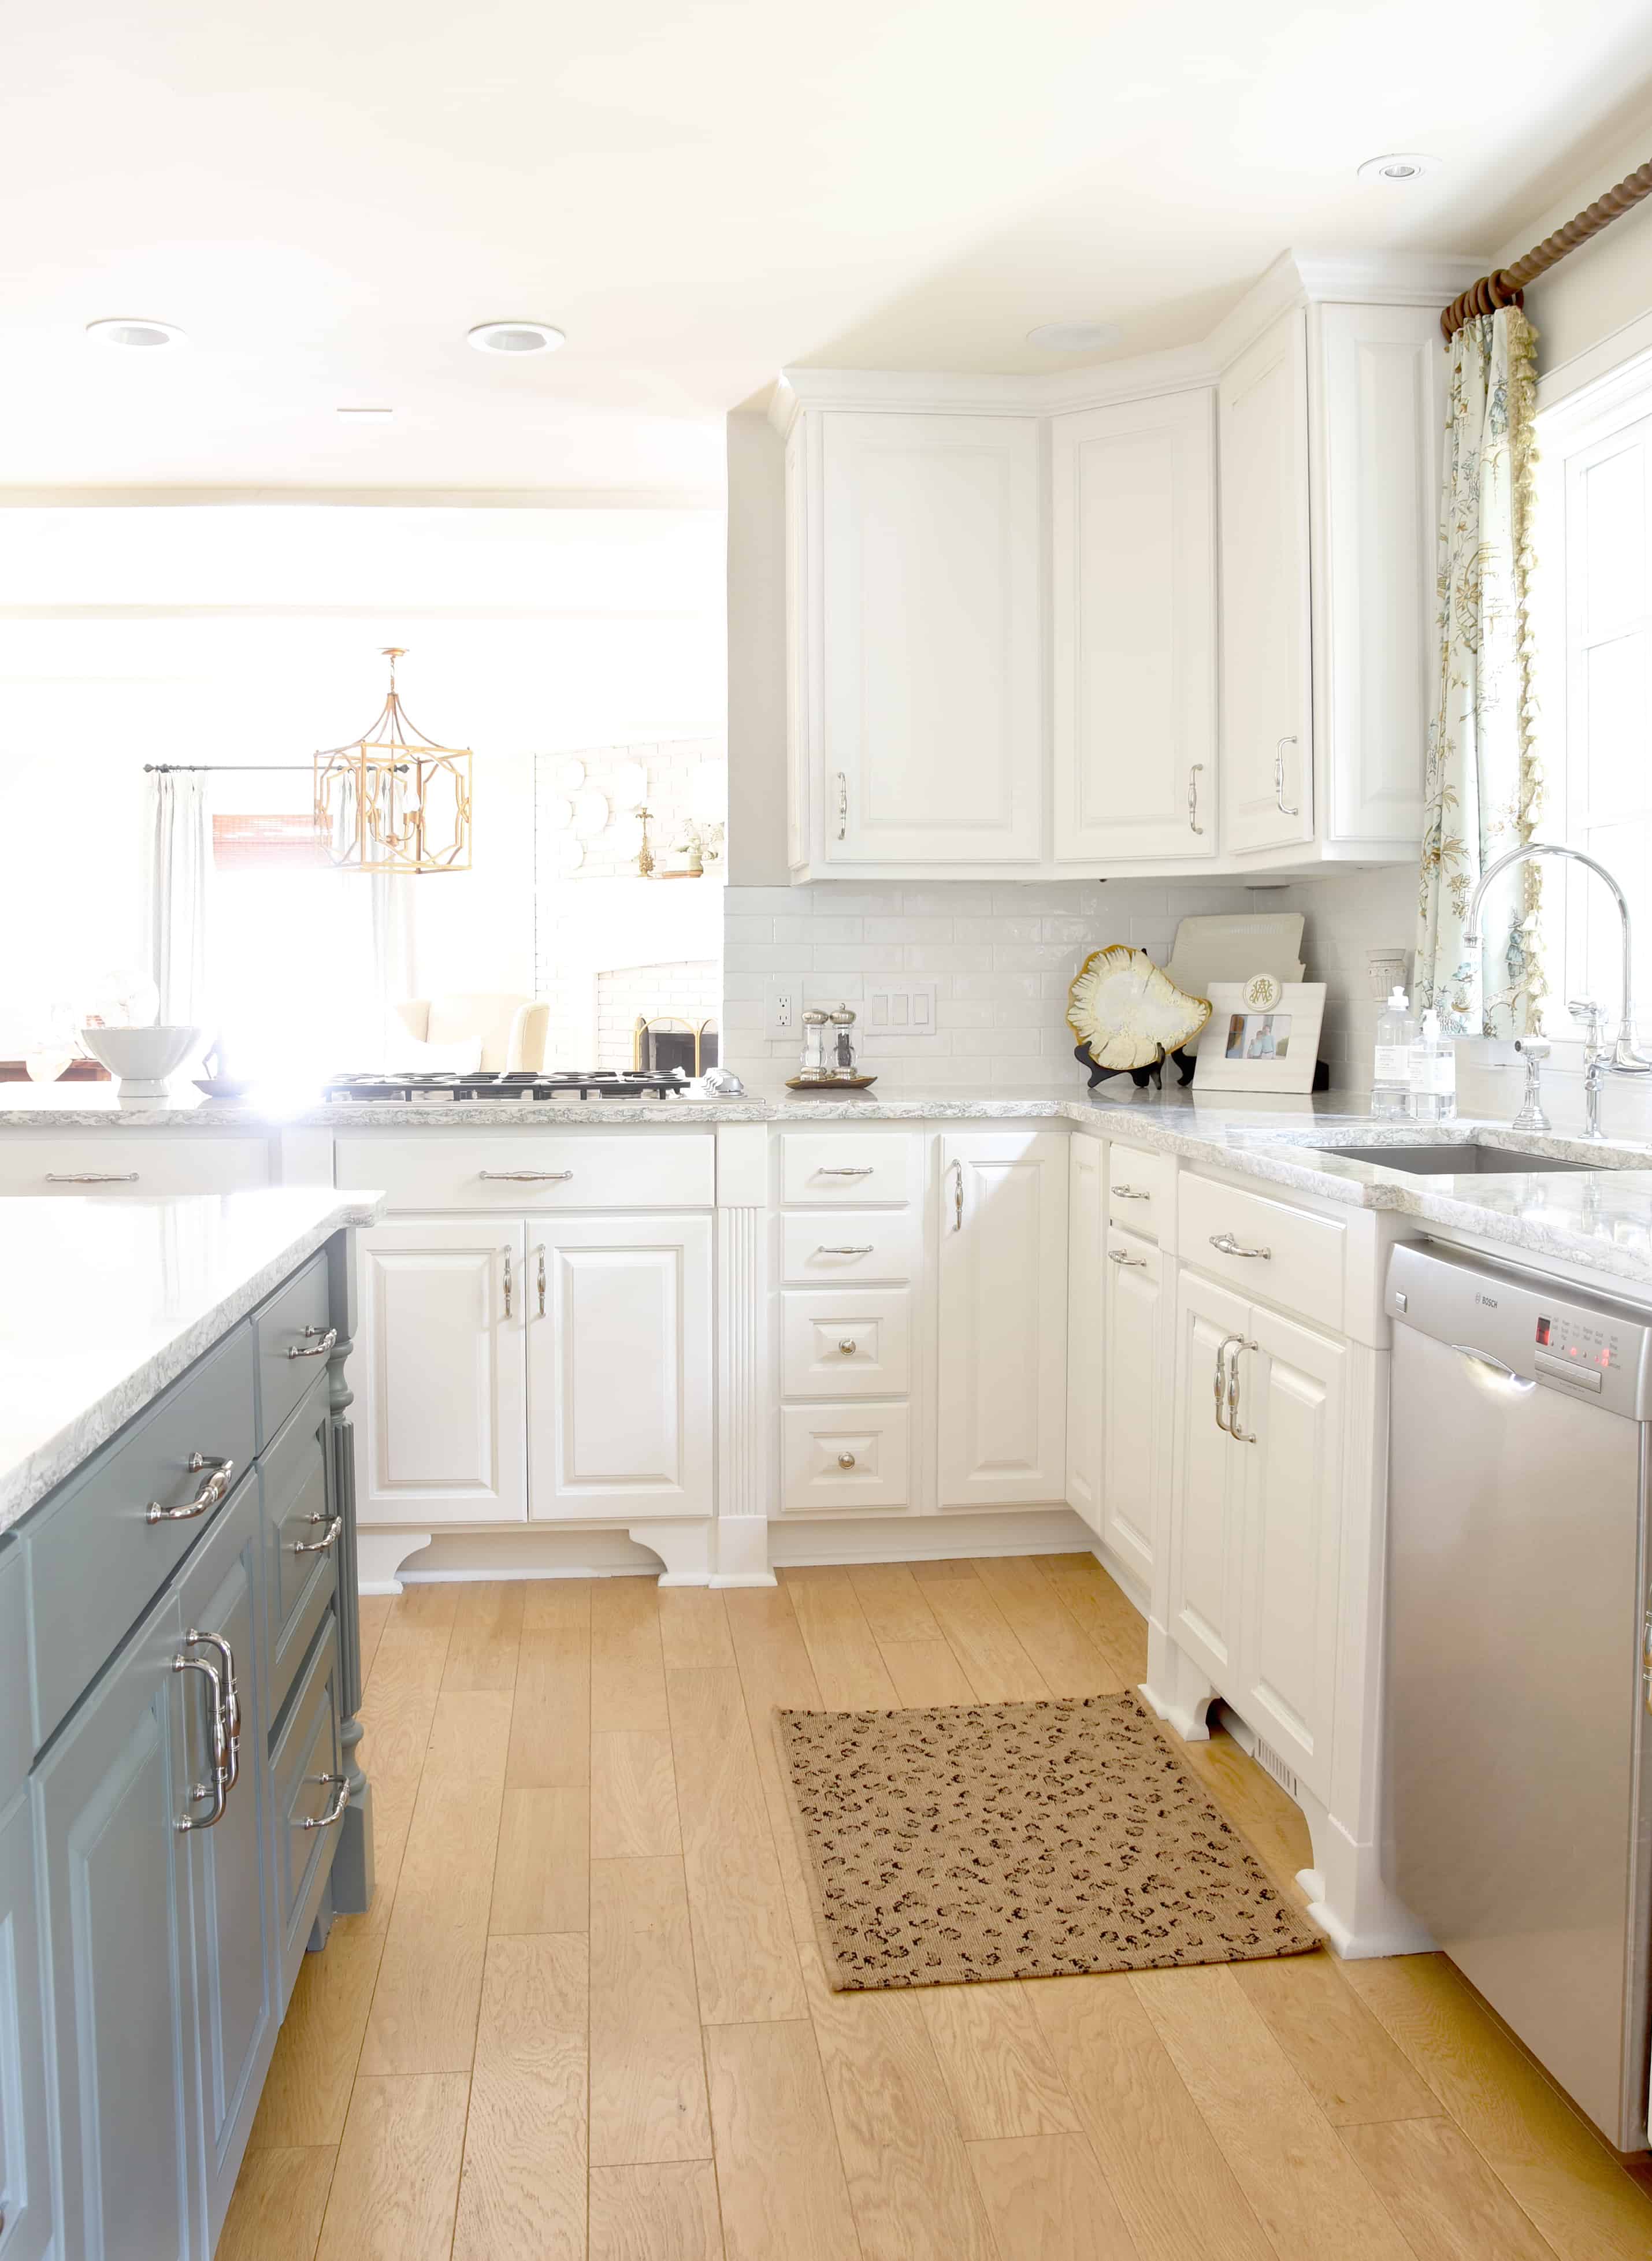
First things first, we hired out the painting of the cabinets. They were very well made and in perfect condition, even after ten years, so there was no need to replace them. I chose a bright, clean white and have not missed the old glaze for a millisecond since it was painted over. The island color changes in different lights and was really hard to accurately capture on camera. It is a dark blue/green and I’ve been very happy with it. The company we hired removed all of the doors and drawers, filled in the holes from old hardware, sanded, primed and painted in their workshop. On site, they tented the kitchen and did all of the frames using the same process of sand, prime and paint.
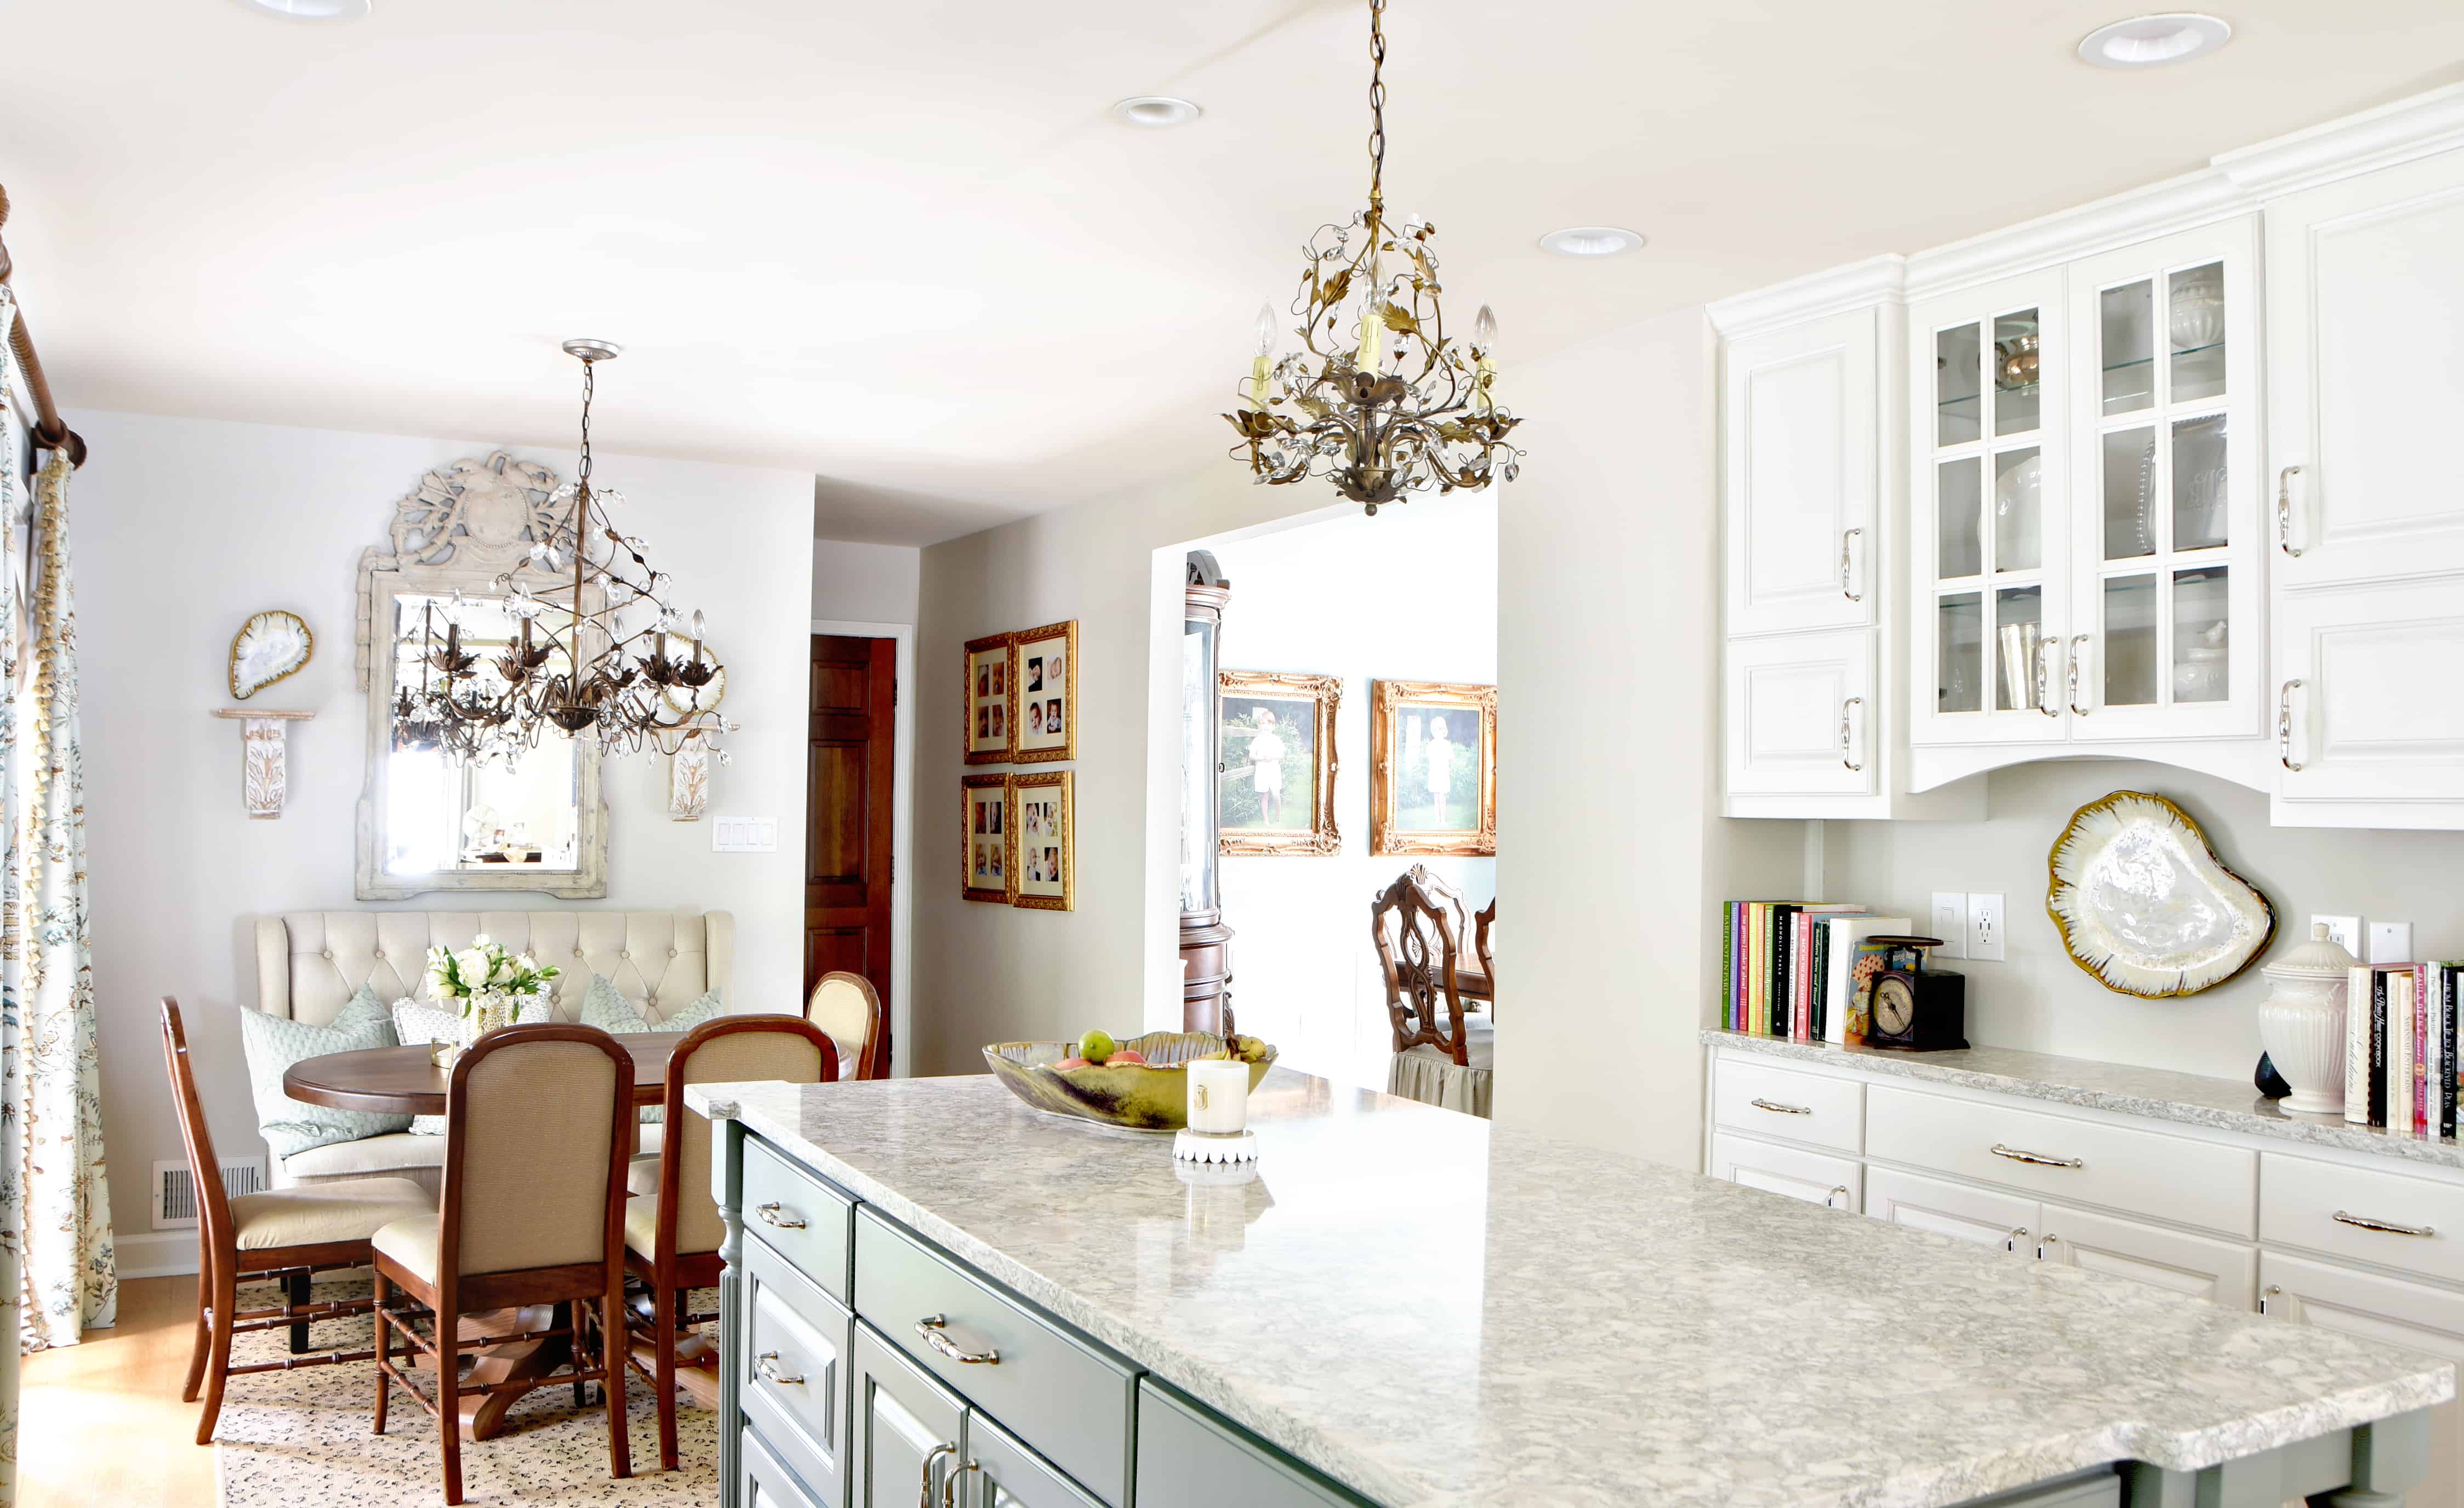
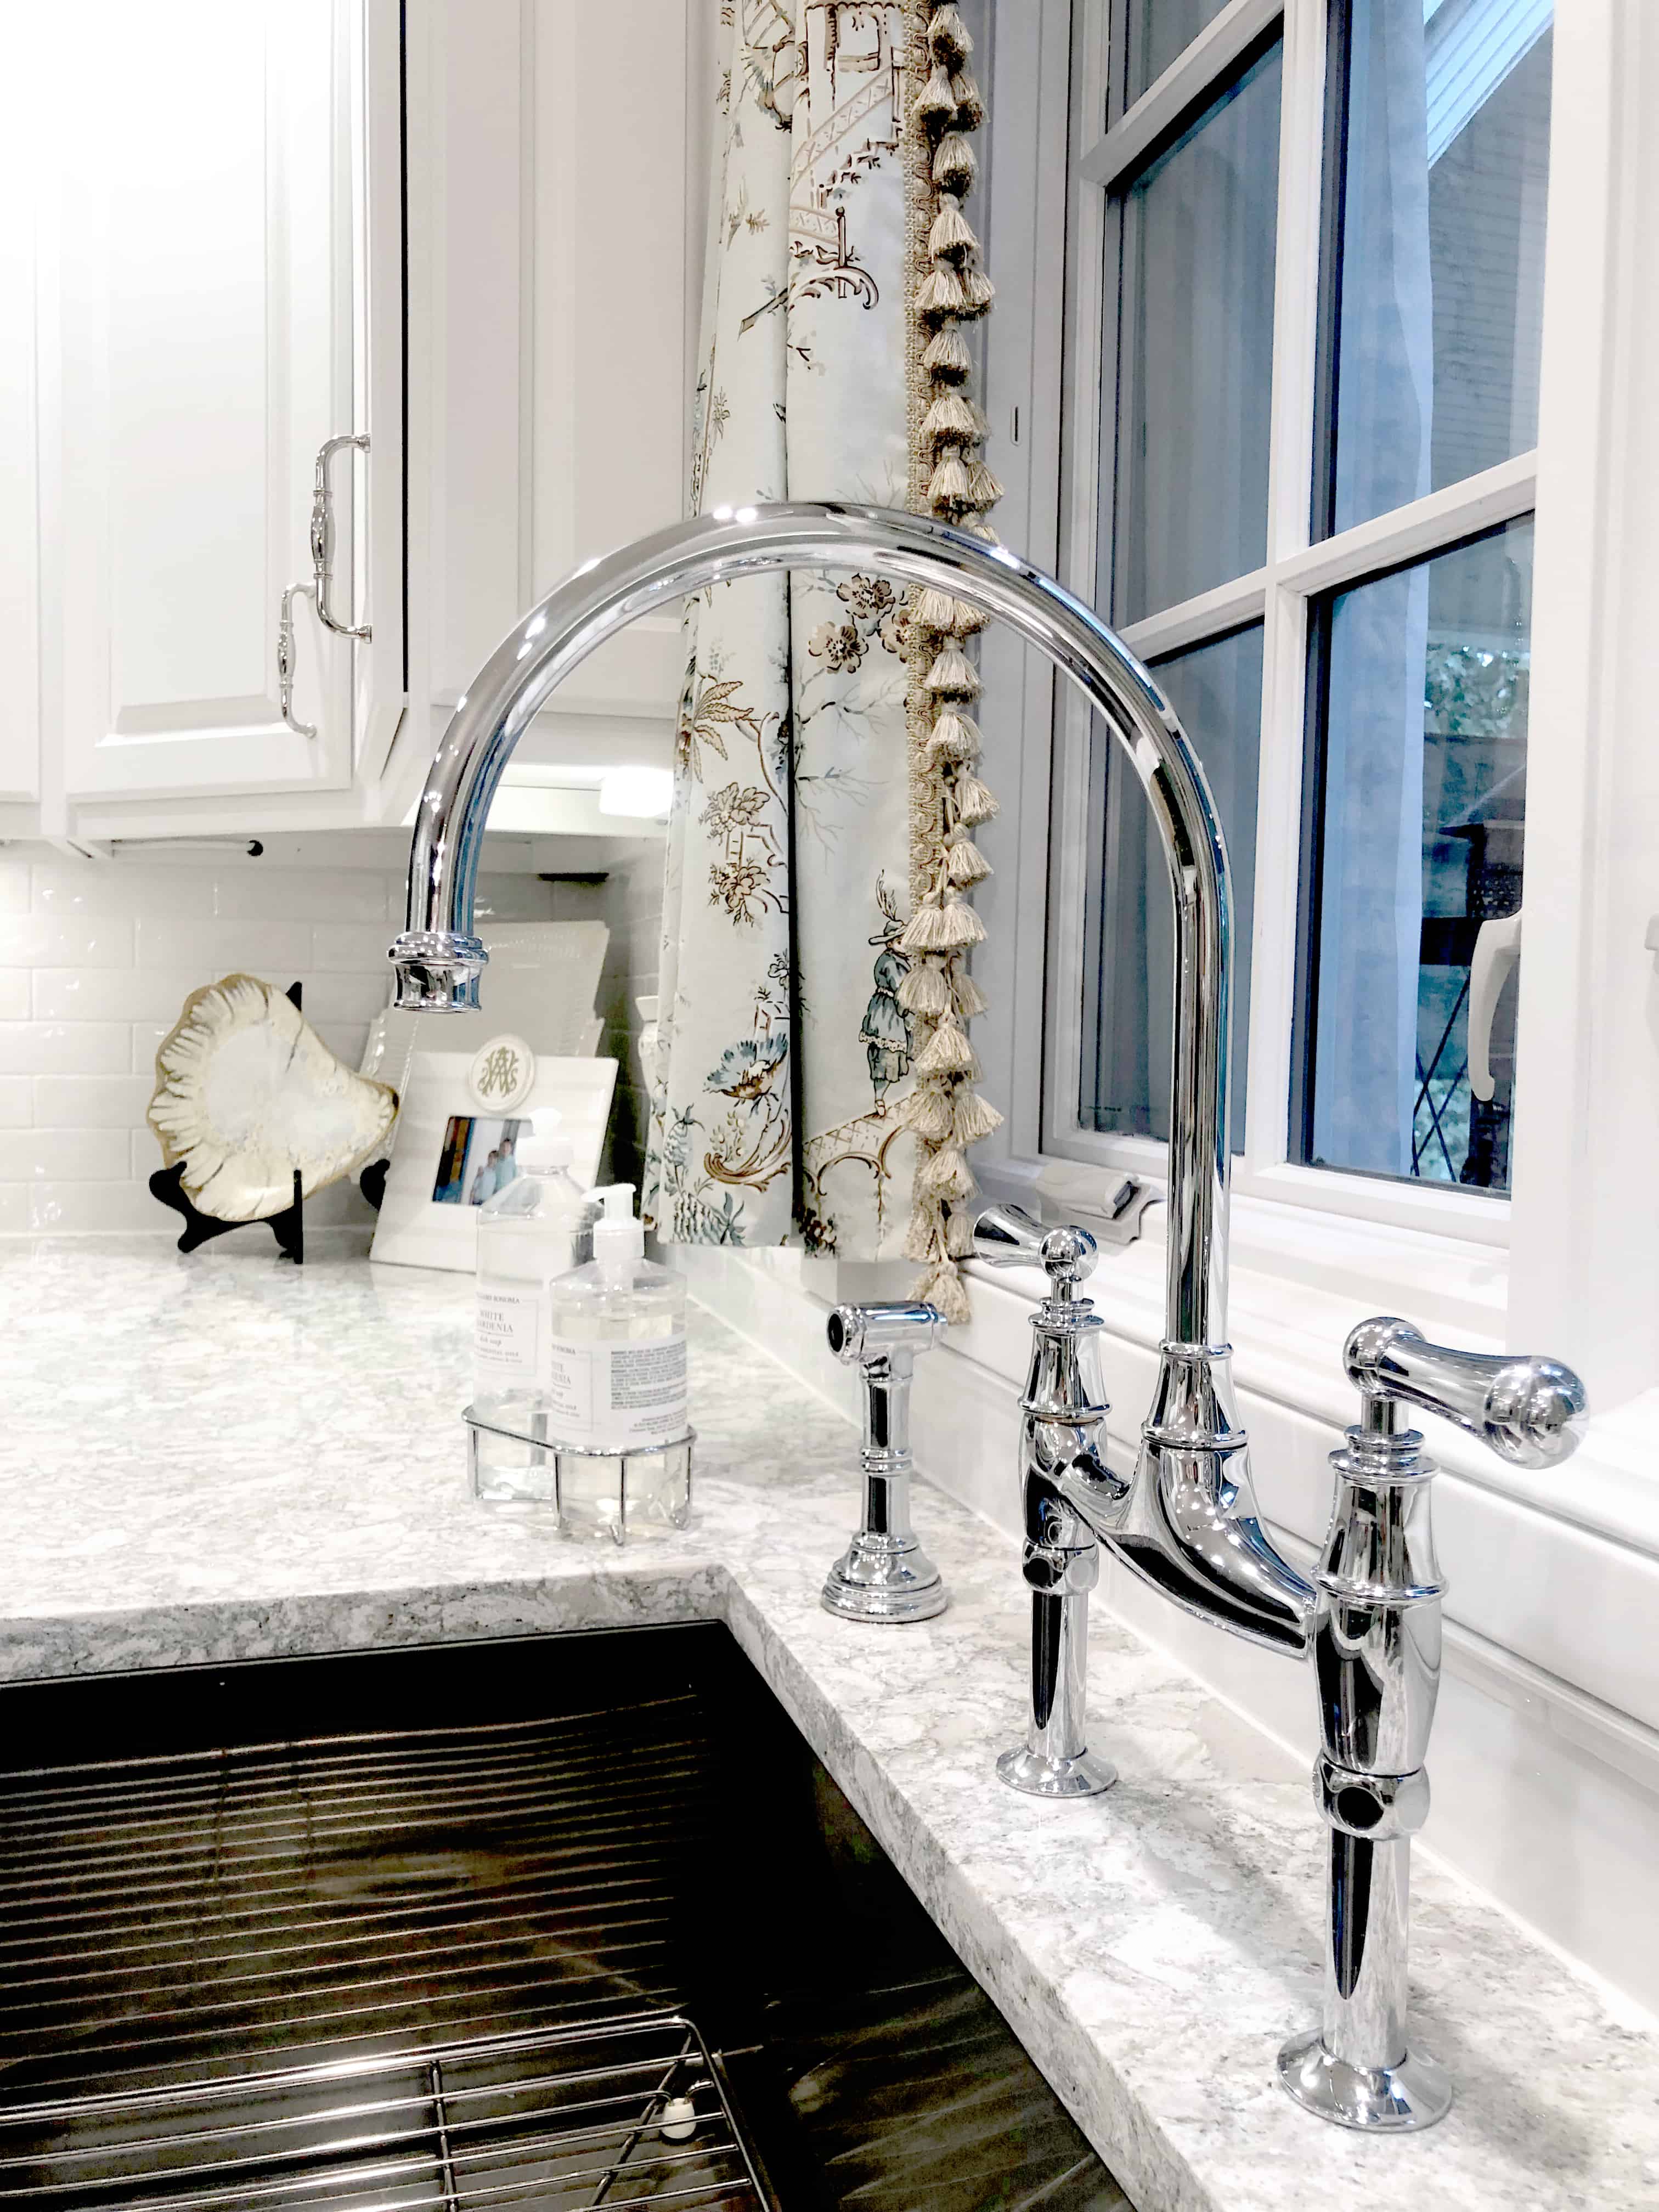
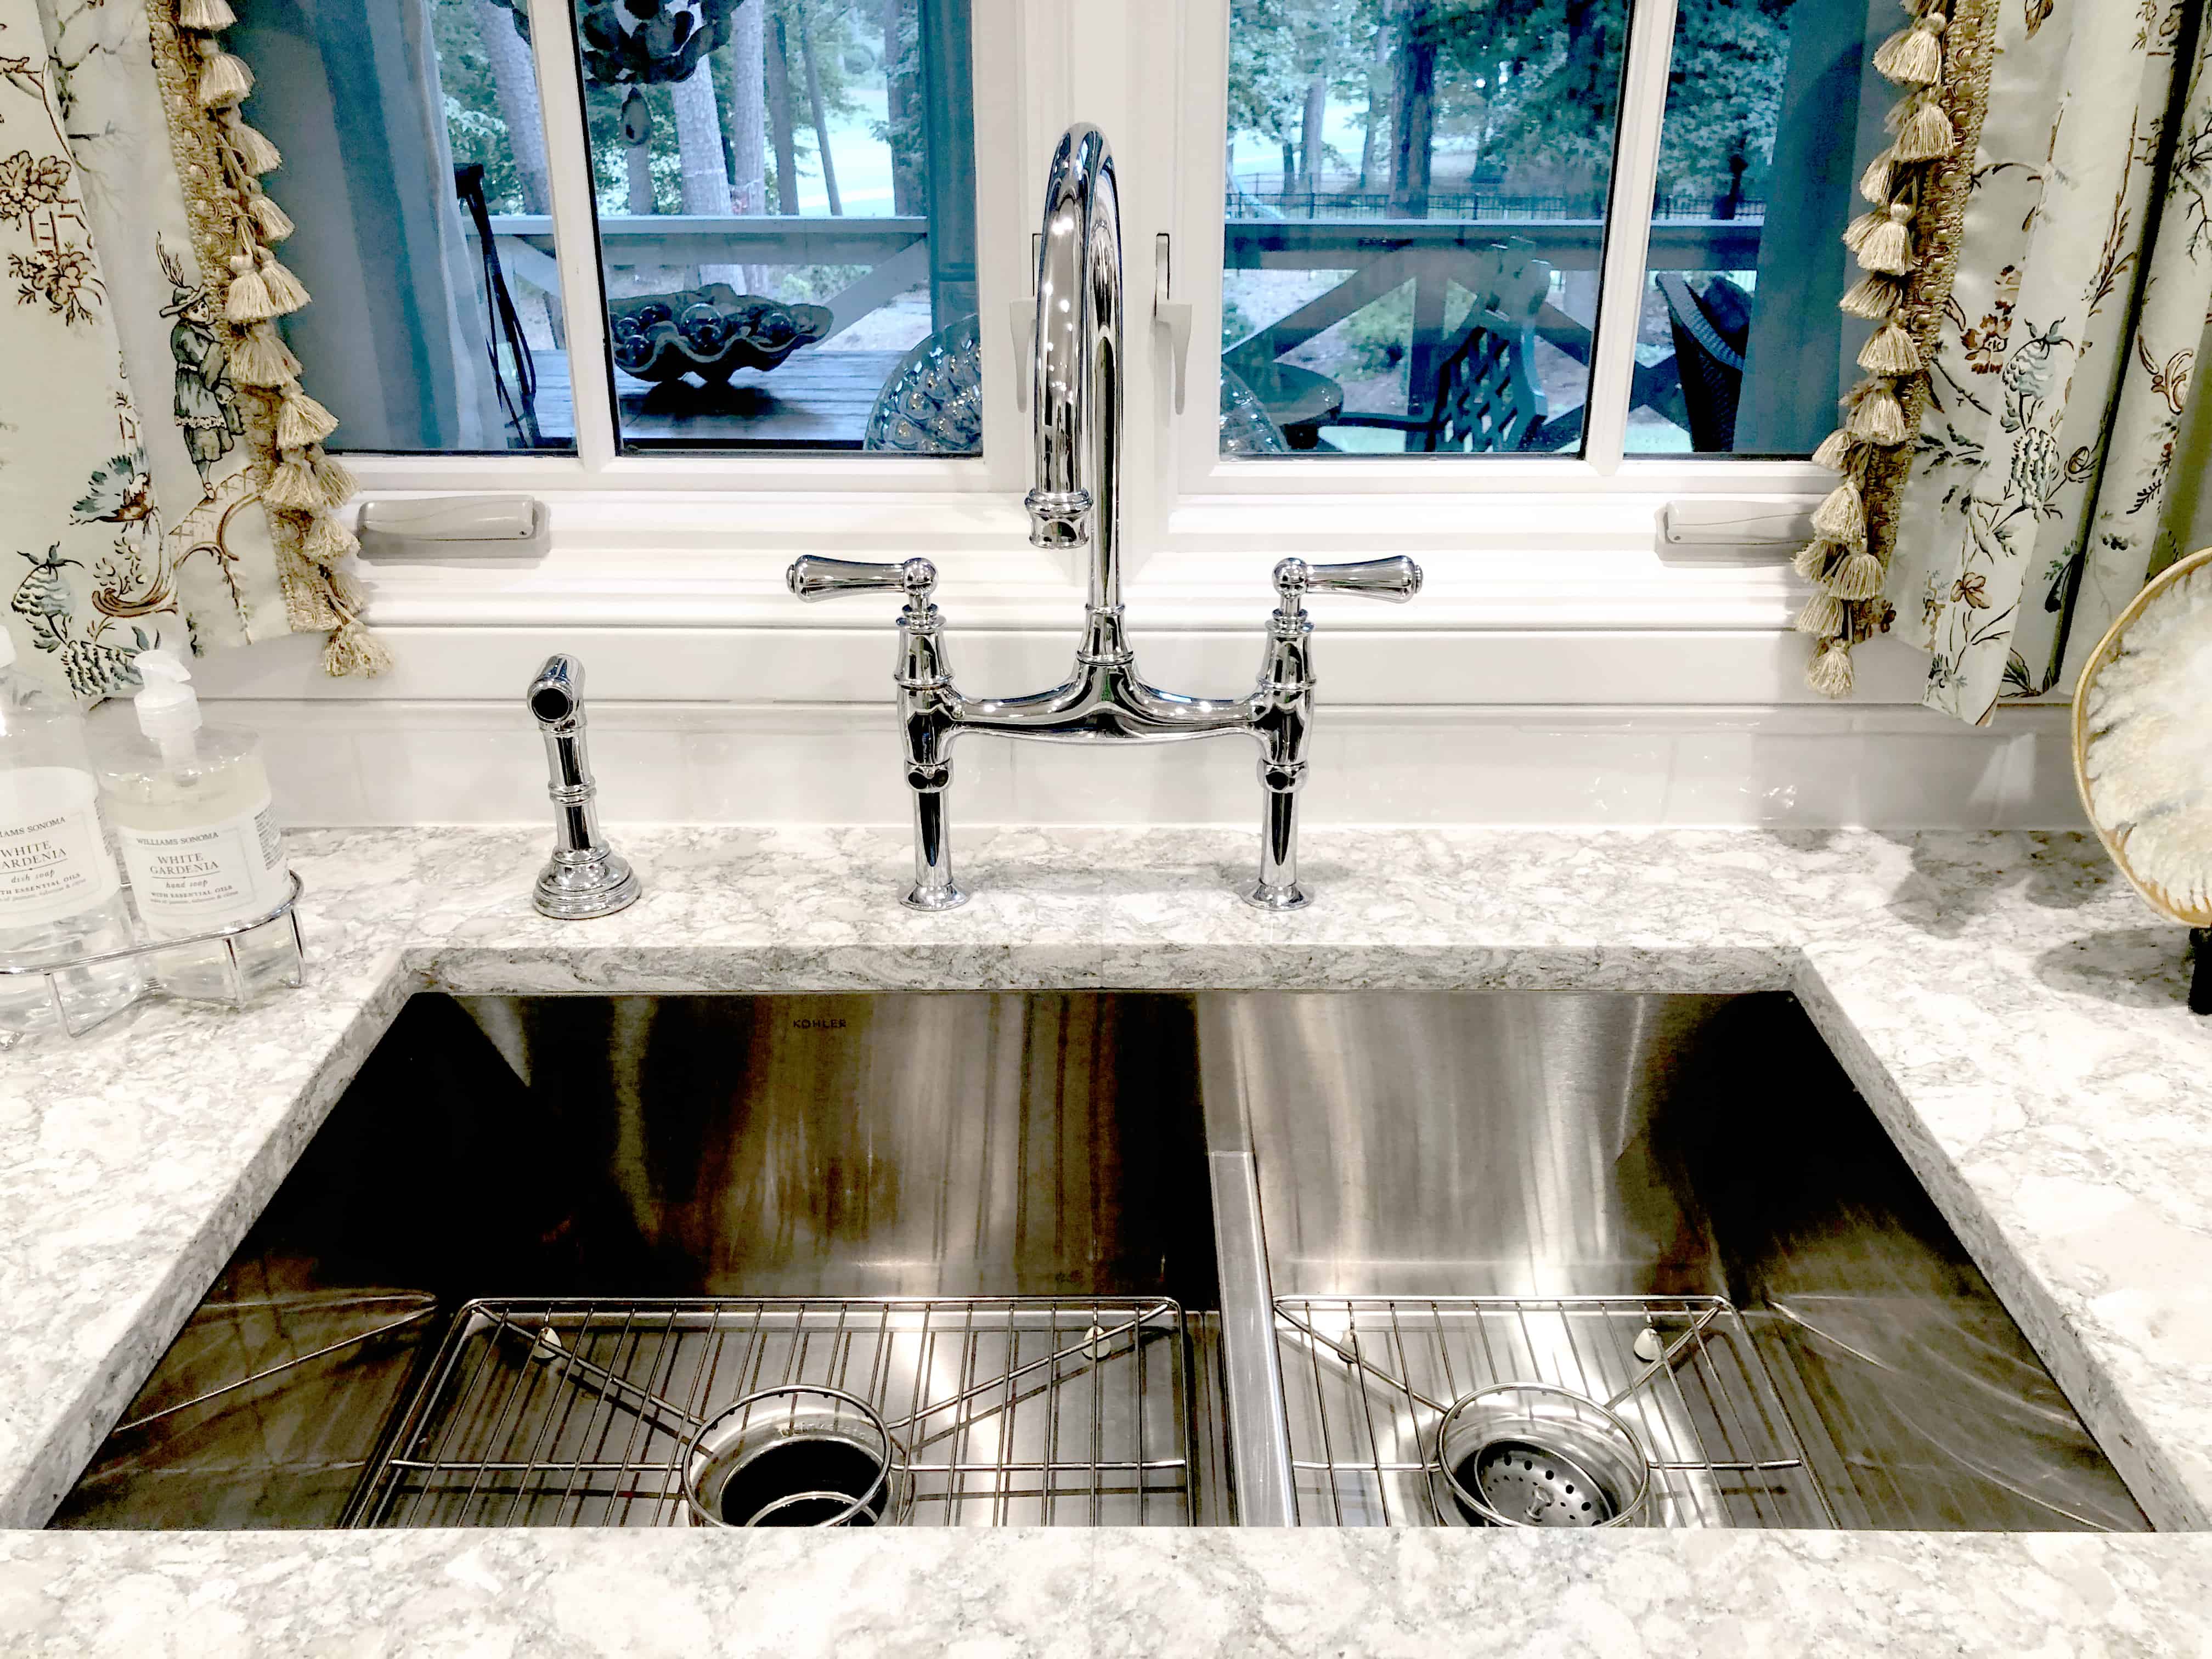
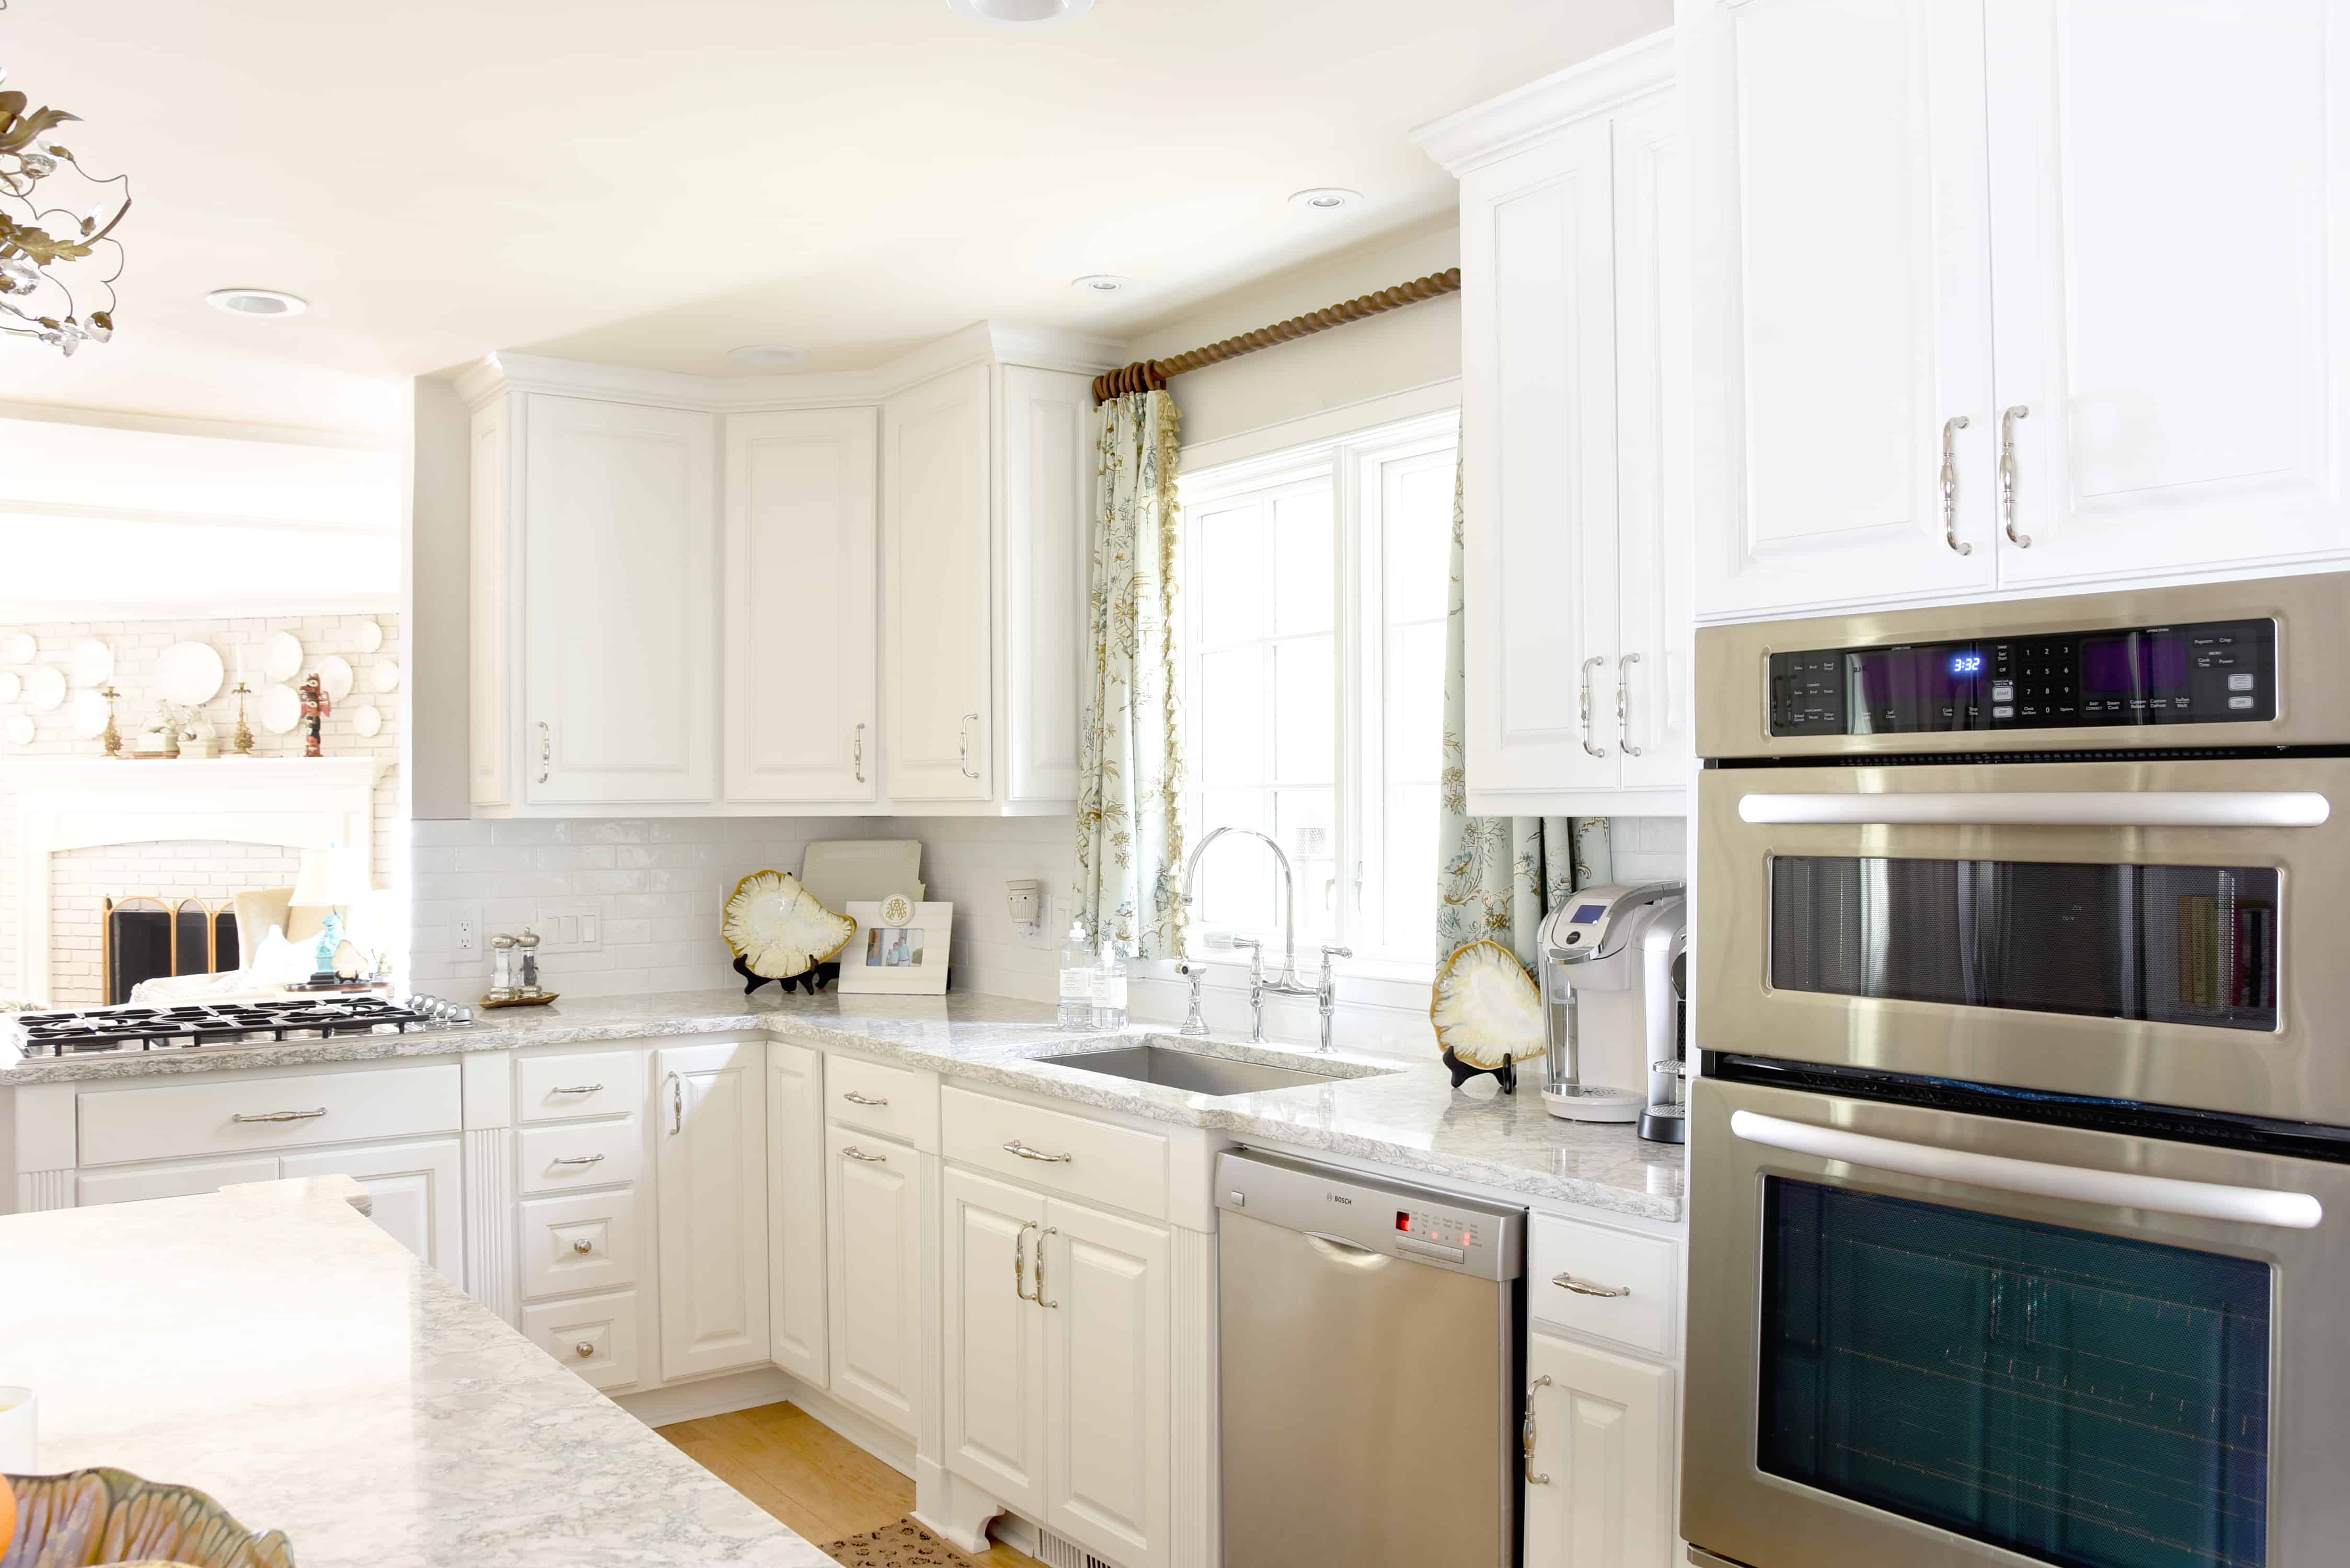
Here is a great vantage point of the both the upper and lower cabinets. I reused my curtains, rod and rug. The sink was the hardest decision in this process. I decided on a straight walled sink because, while they take up the same counter space, their functional area is (or seems) much larger. Most sinks I looked at were a single bowl, but I used my divided bowl daily for dirty dishes and drying dishes. I went with a half divide in the new sink, but have decided I prefer the full divide. The dirty water tends to splash over there easily. Let’s just say that I’ve been much more on top of putting away clean dishes.
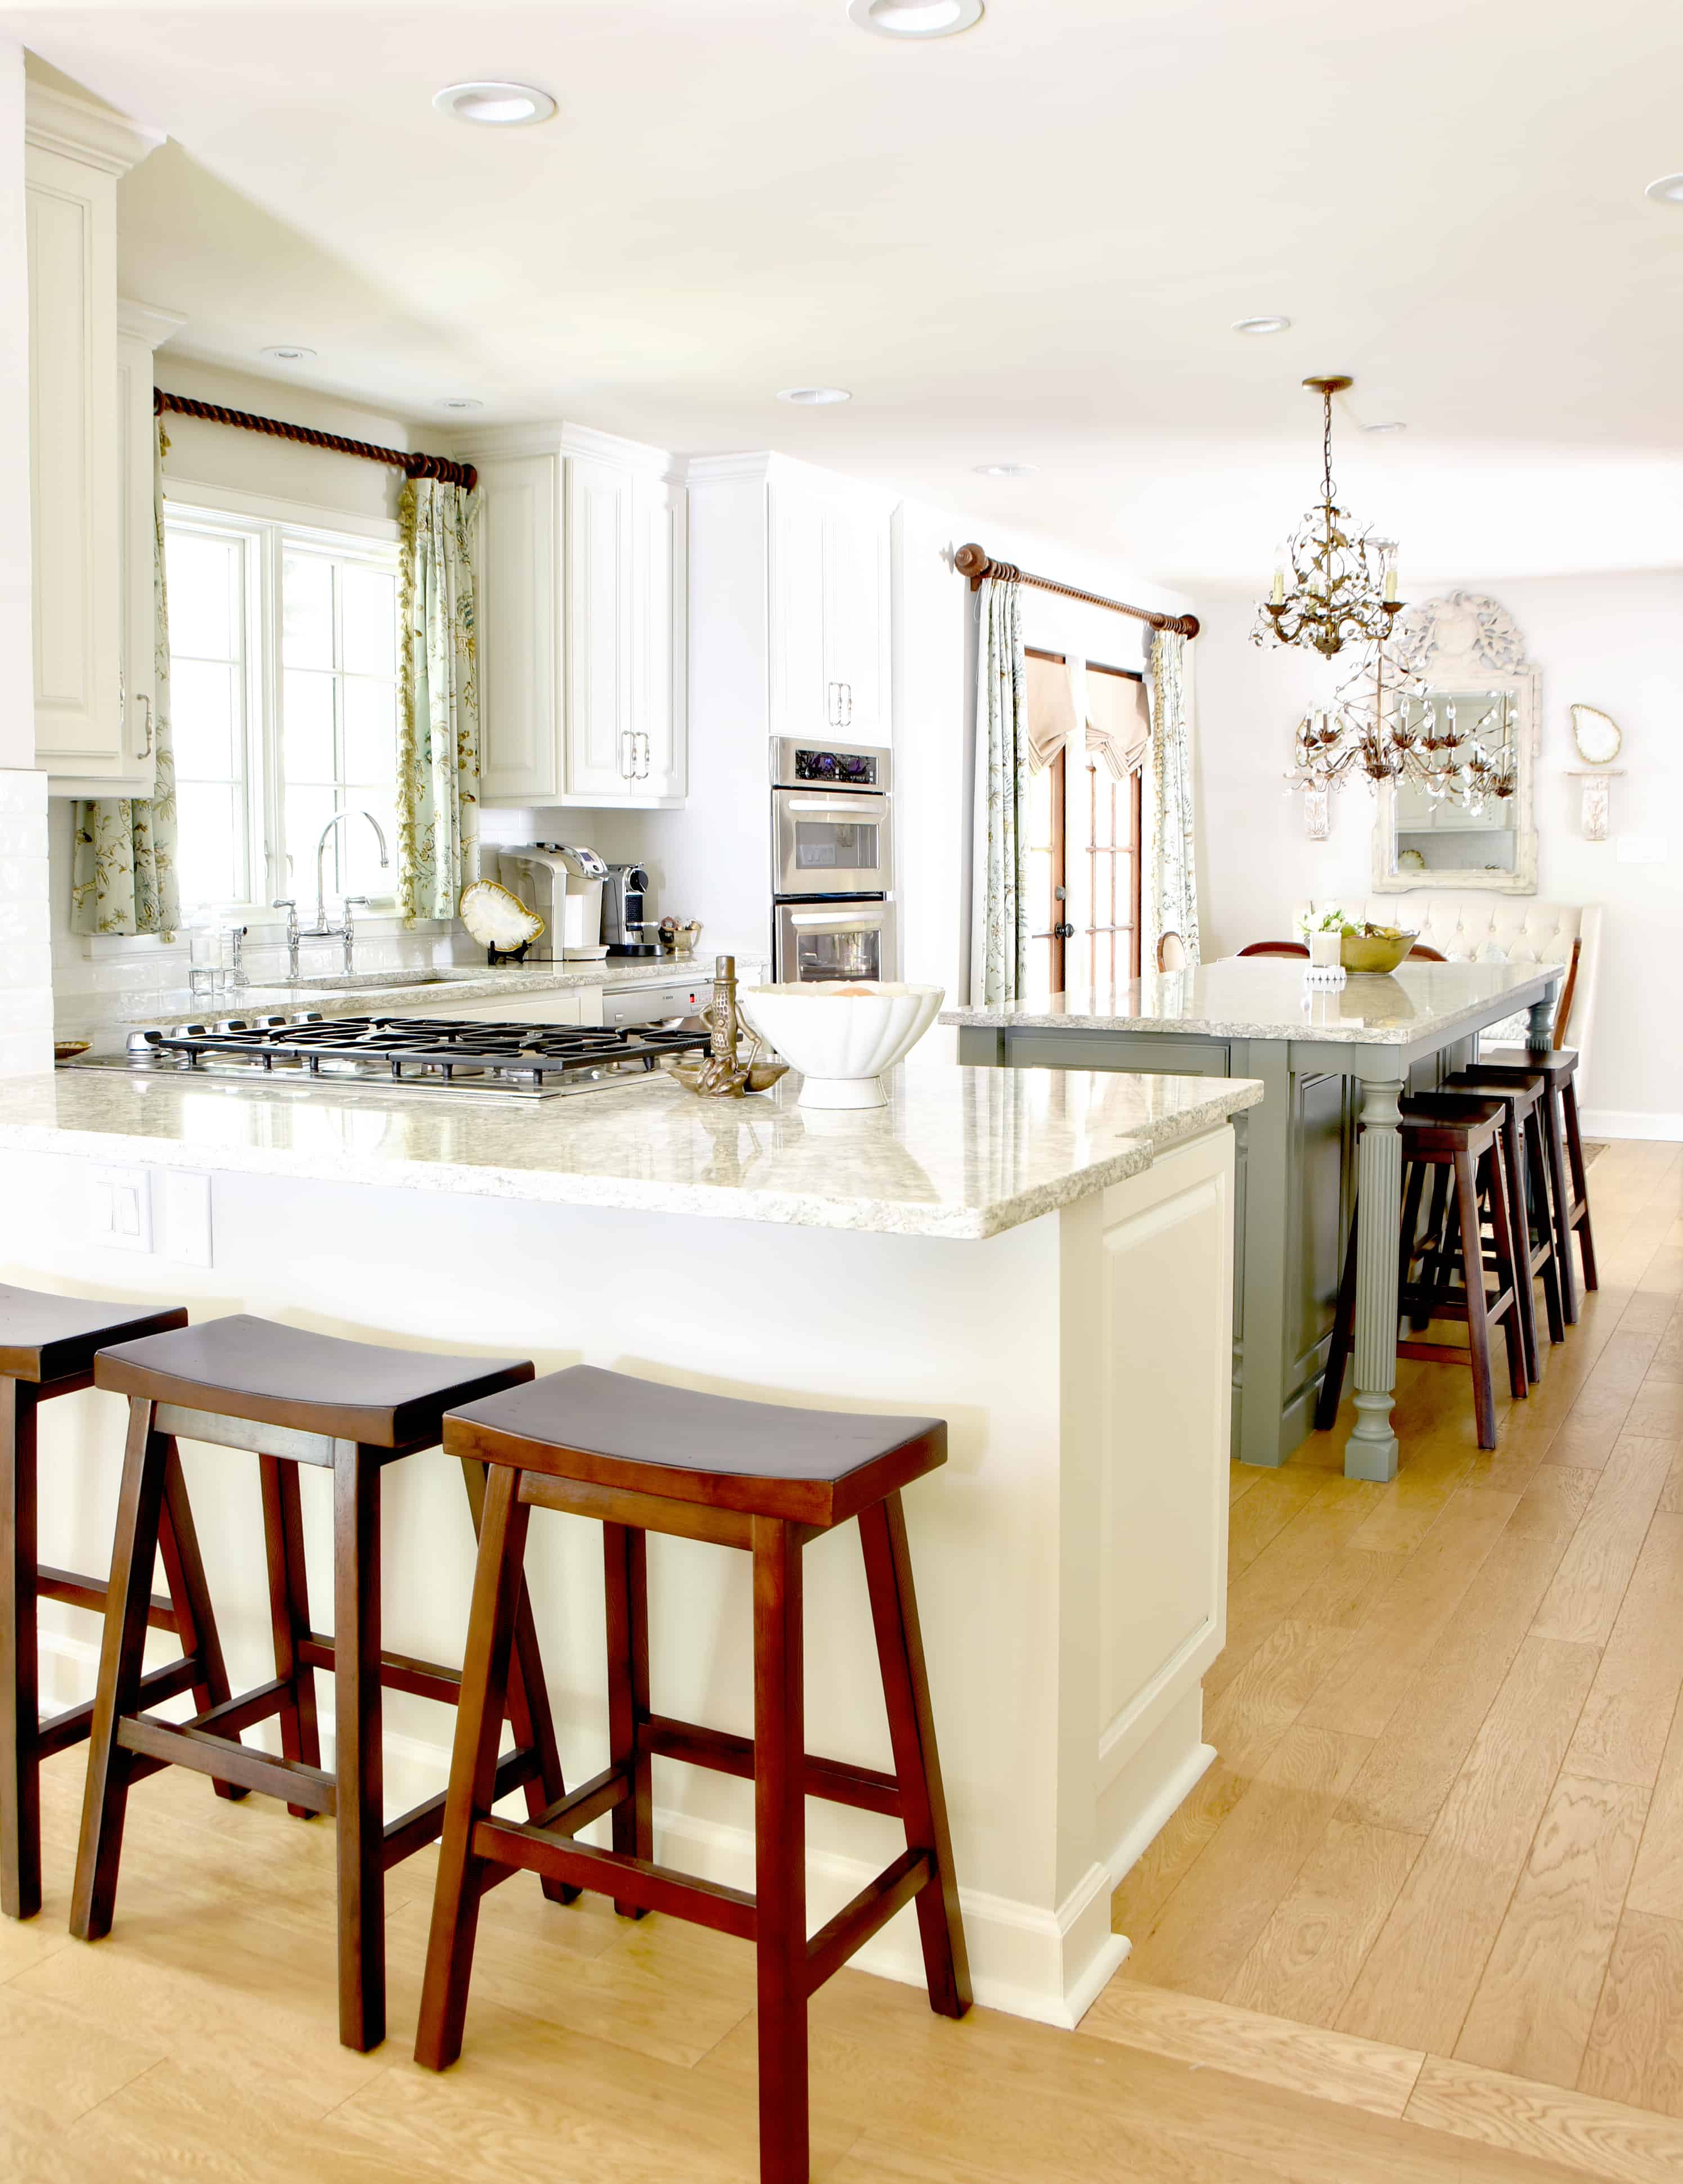
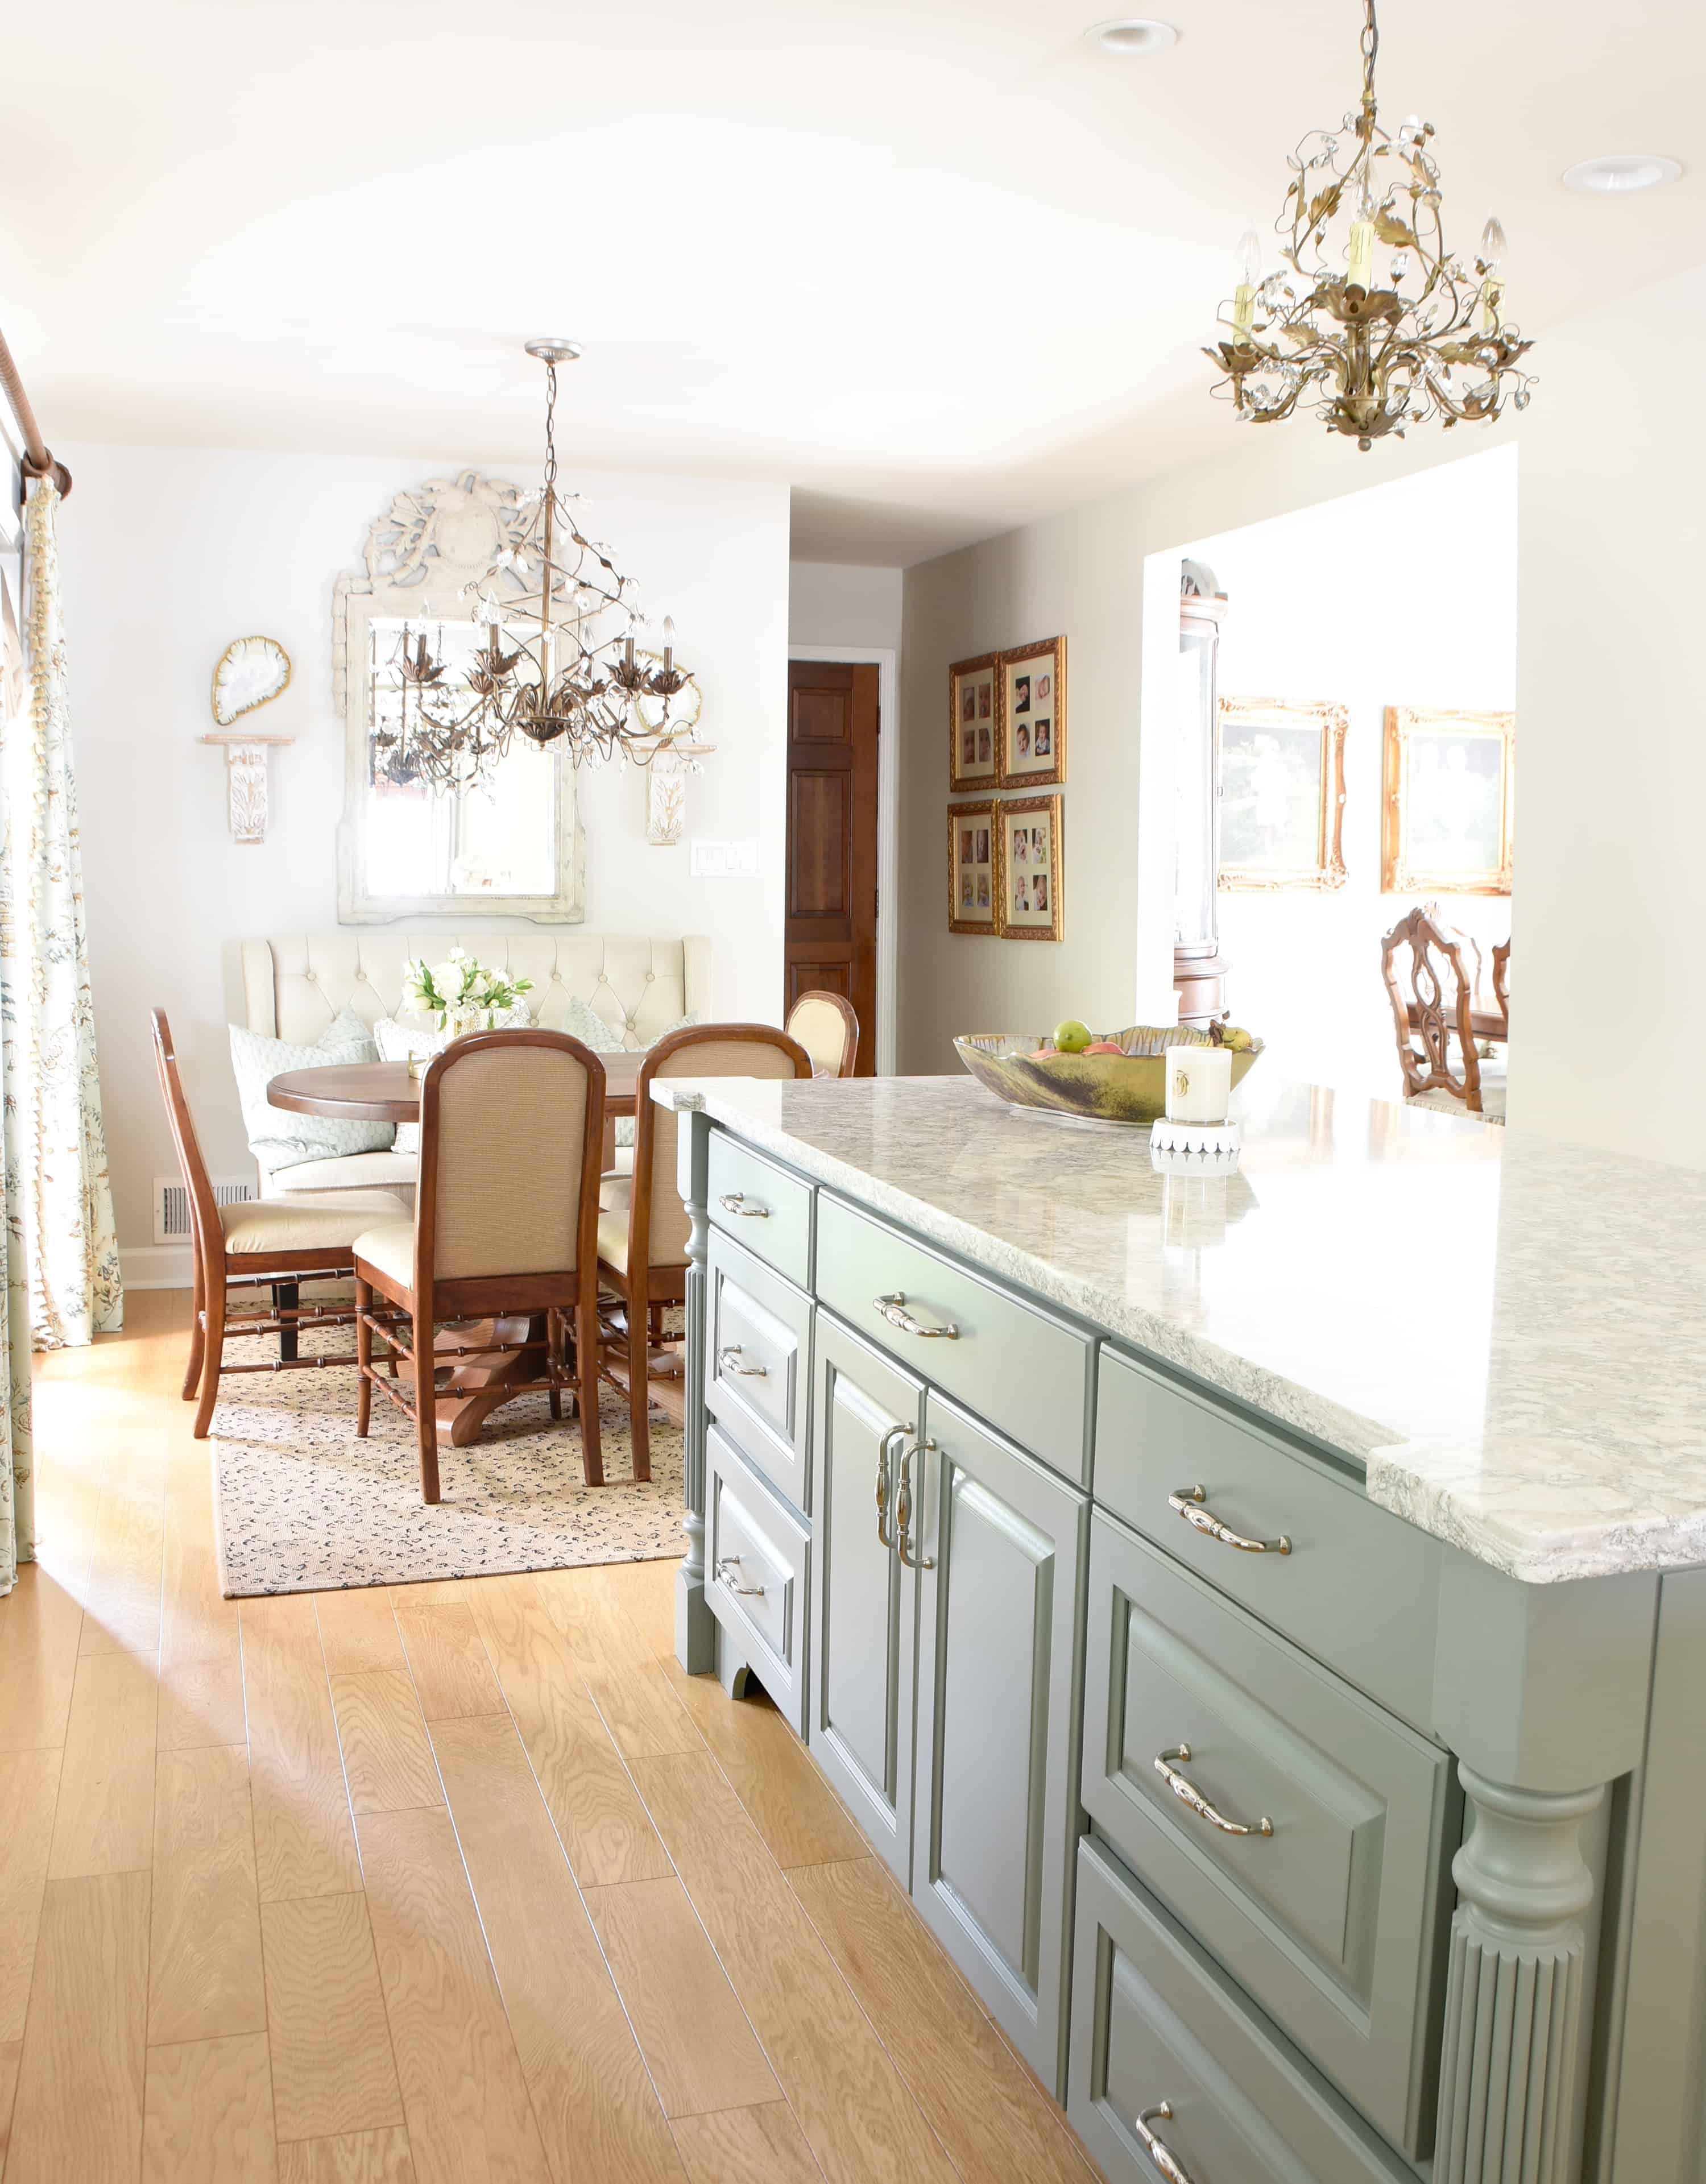
We made two “structural” changes to the kitchen. First was removing the sink in the island and leveling out the step up. Second was leveling the peninsula separating the kitchen and den. Now you can see straight through every room on the back of the house! It is lighter, brighter and much more conversational.
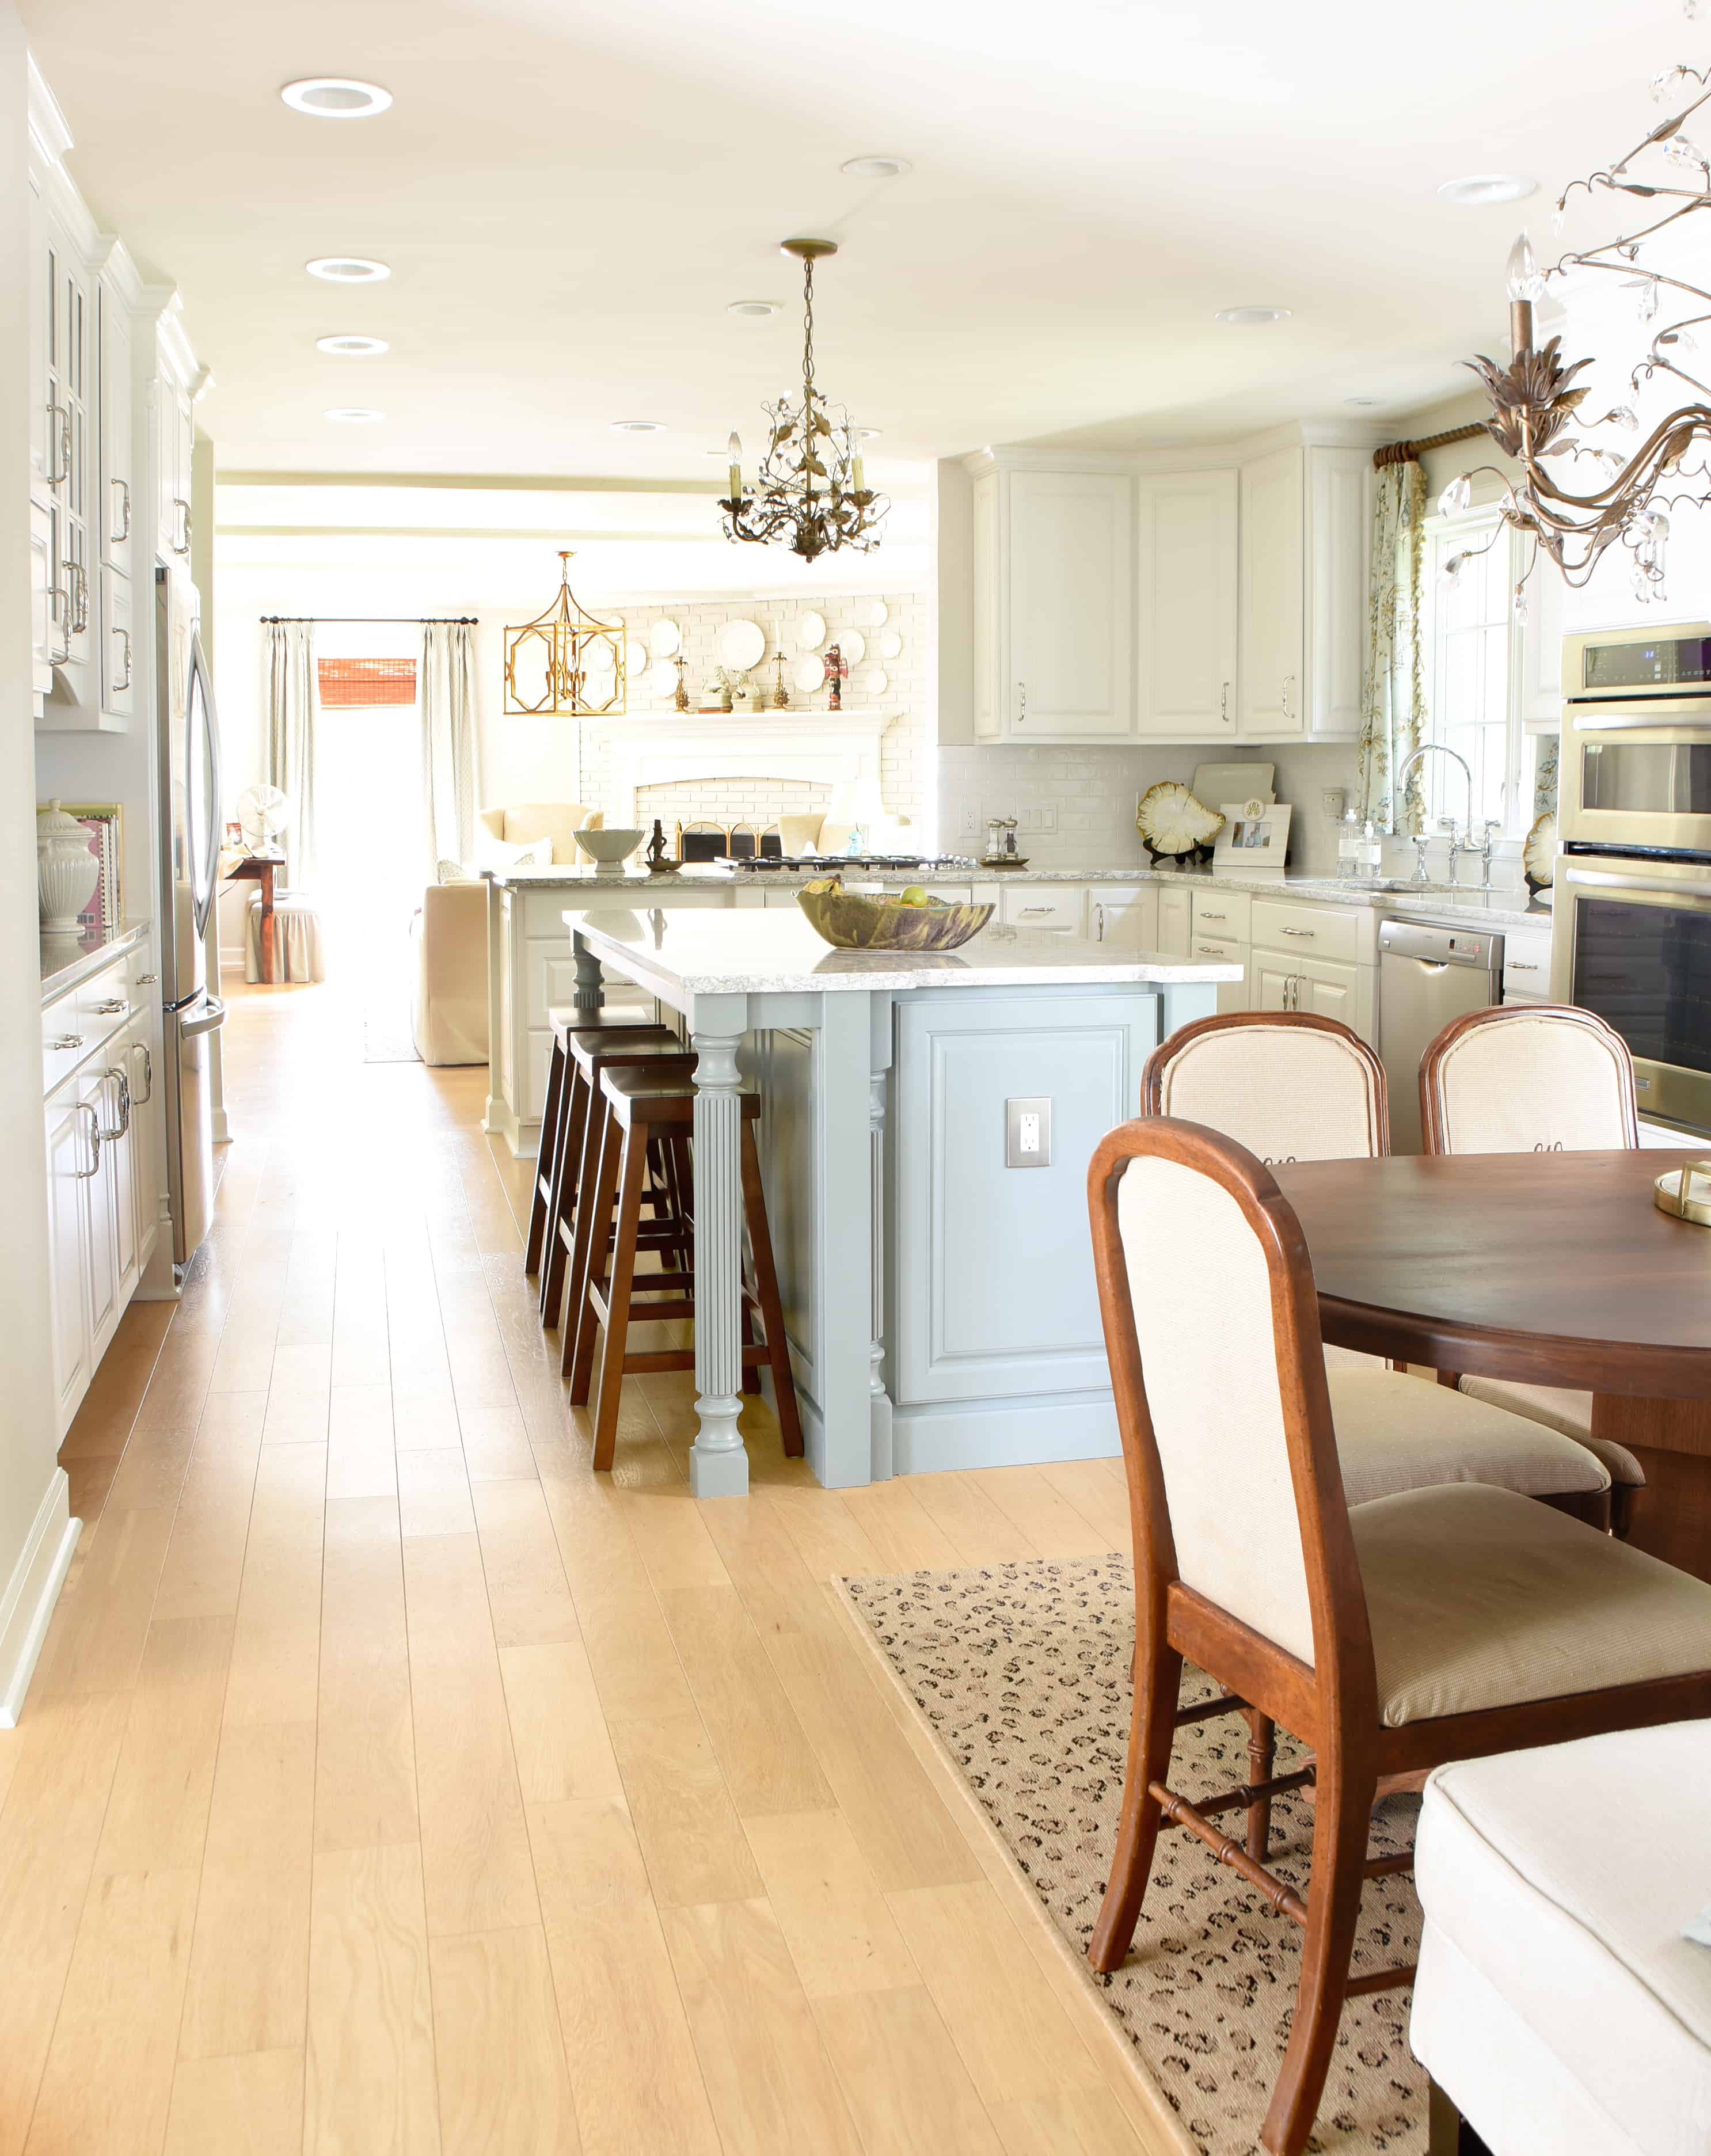
The changes to the island provided a wonderful and HUGE space for meal prep, homework and casual dining and we use it more than ever. It has also provided an “all you can eat buffet”, as Whit likes to call it, for Elsa. Haha! We’re working on the counter surfing. Here’s the before…
… and here’s how it looks now! The color in the first and third photos below are much closer to actual than the second.
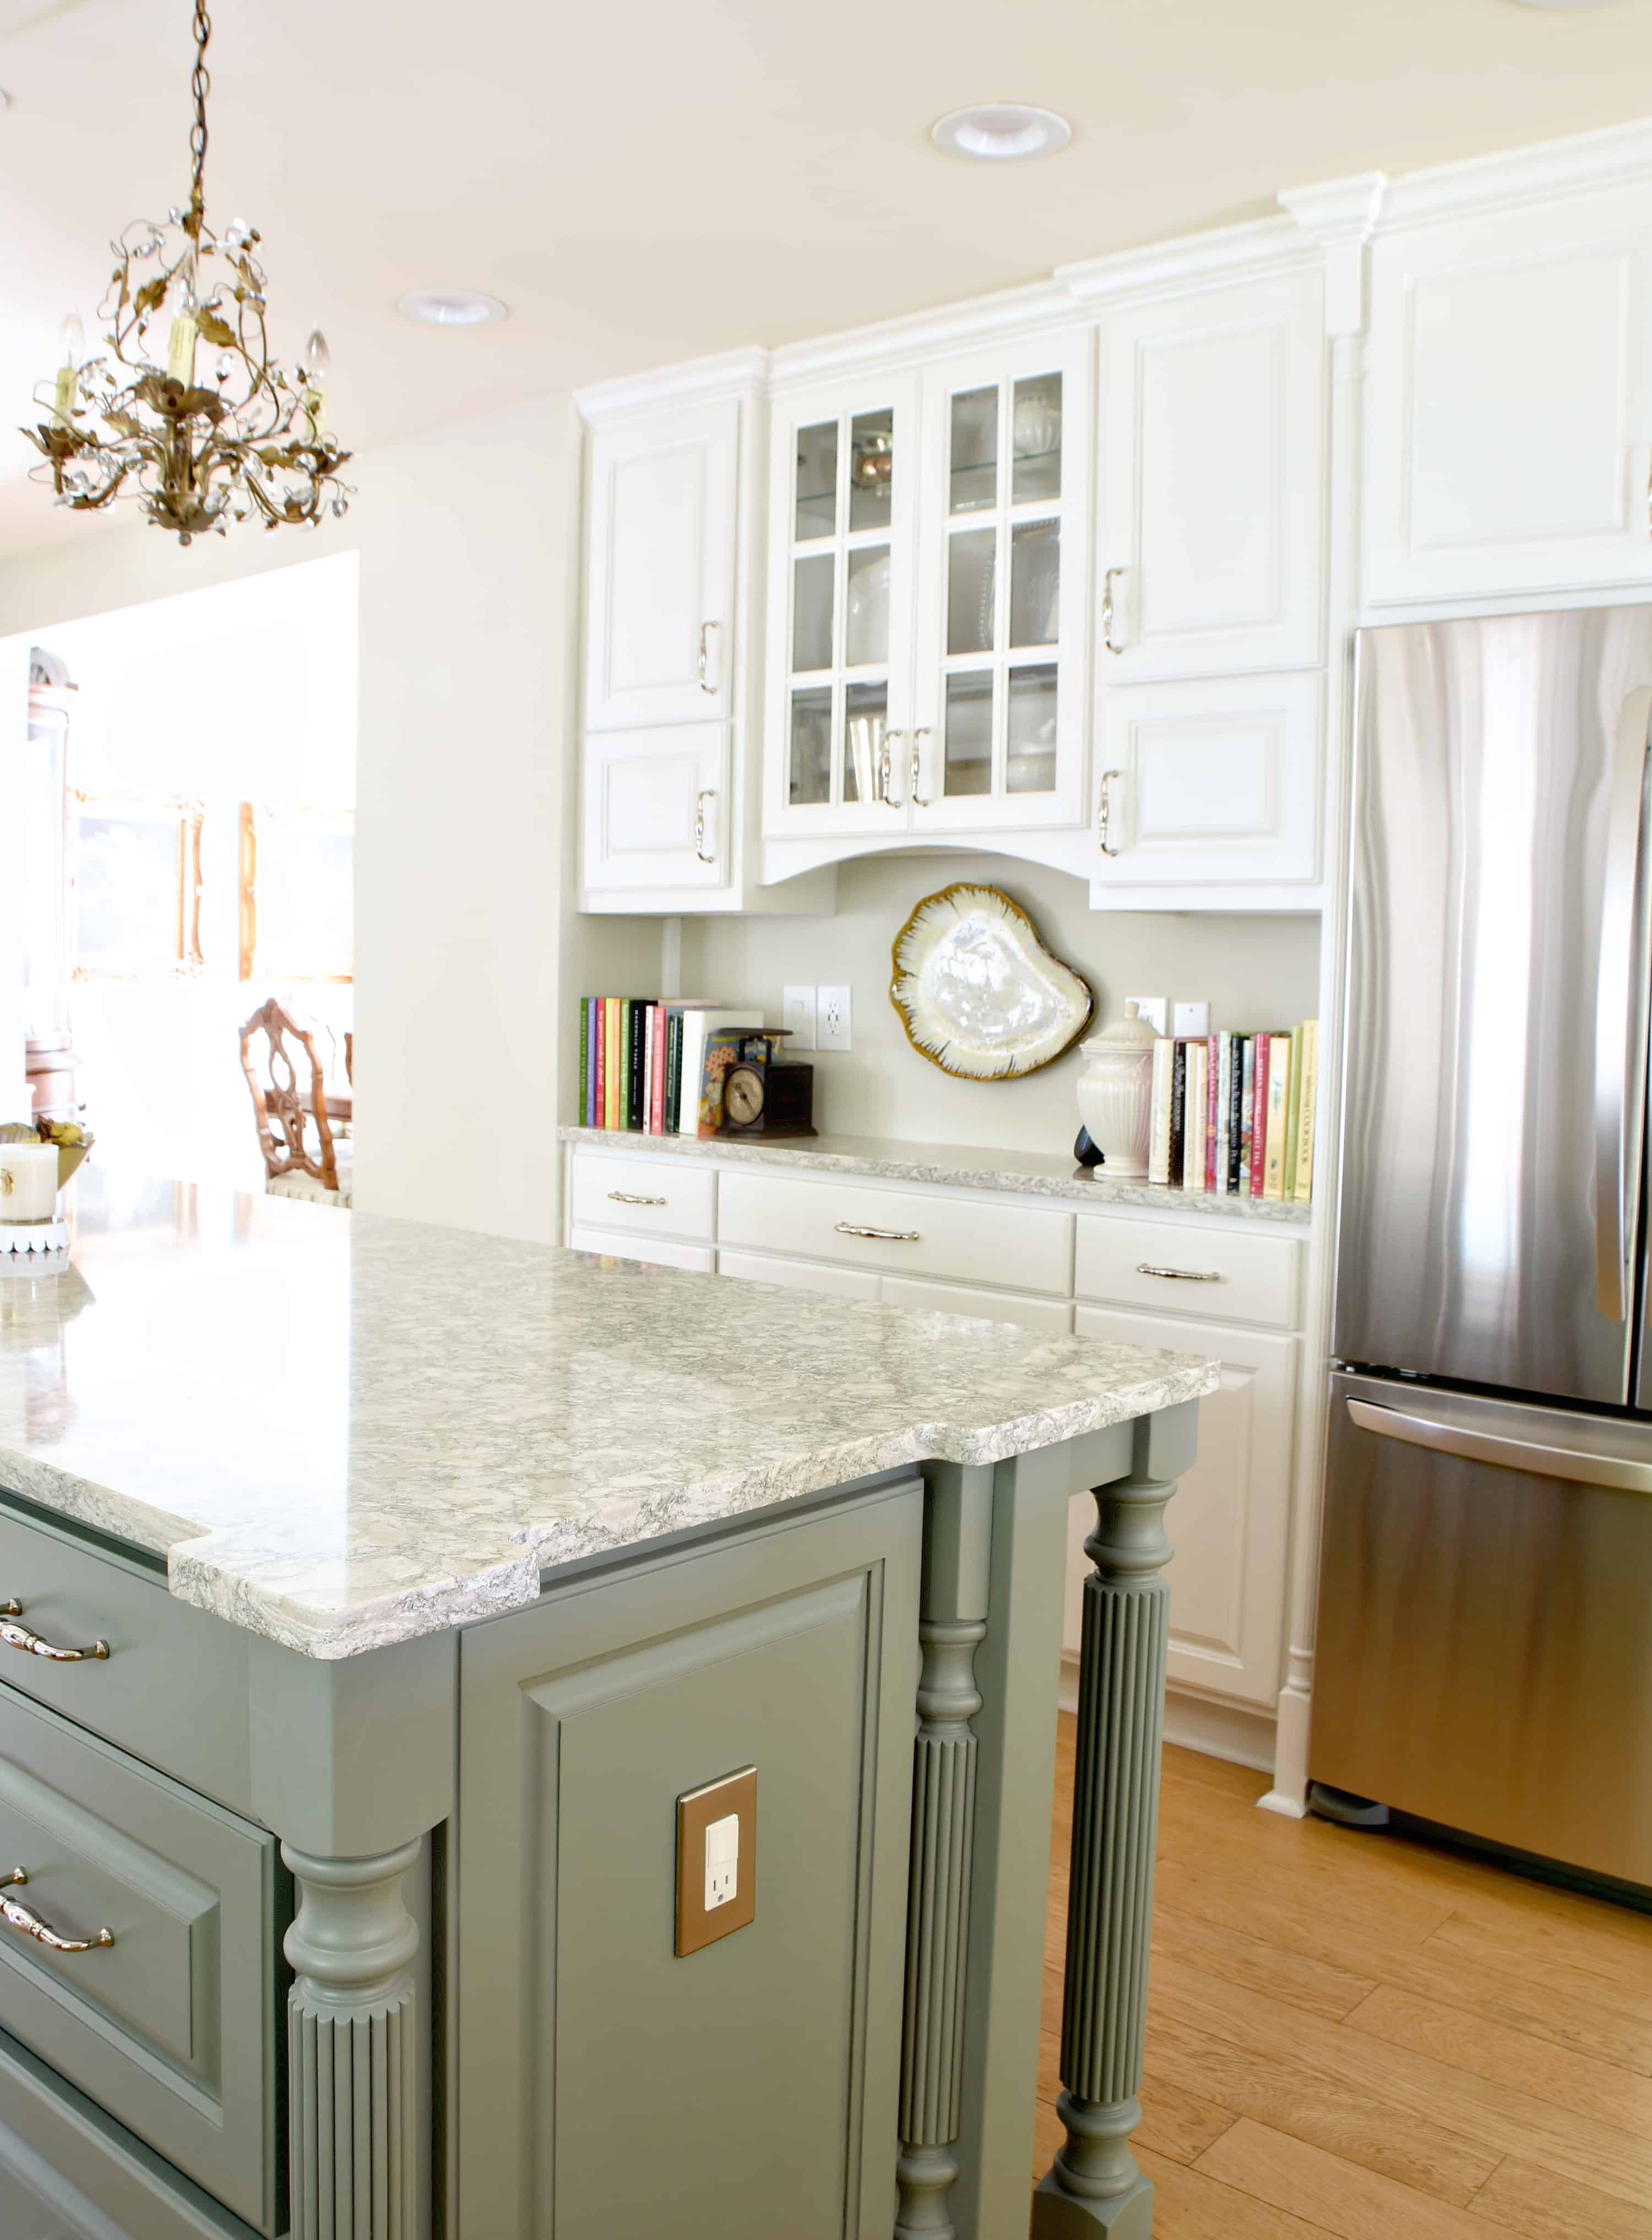
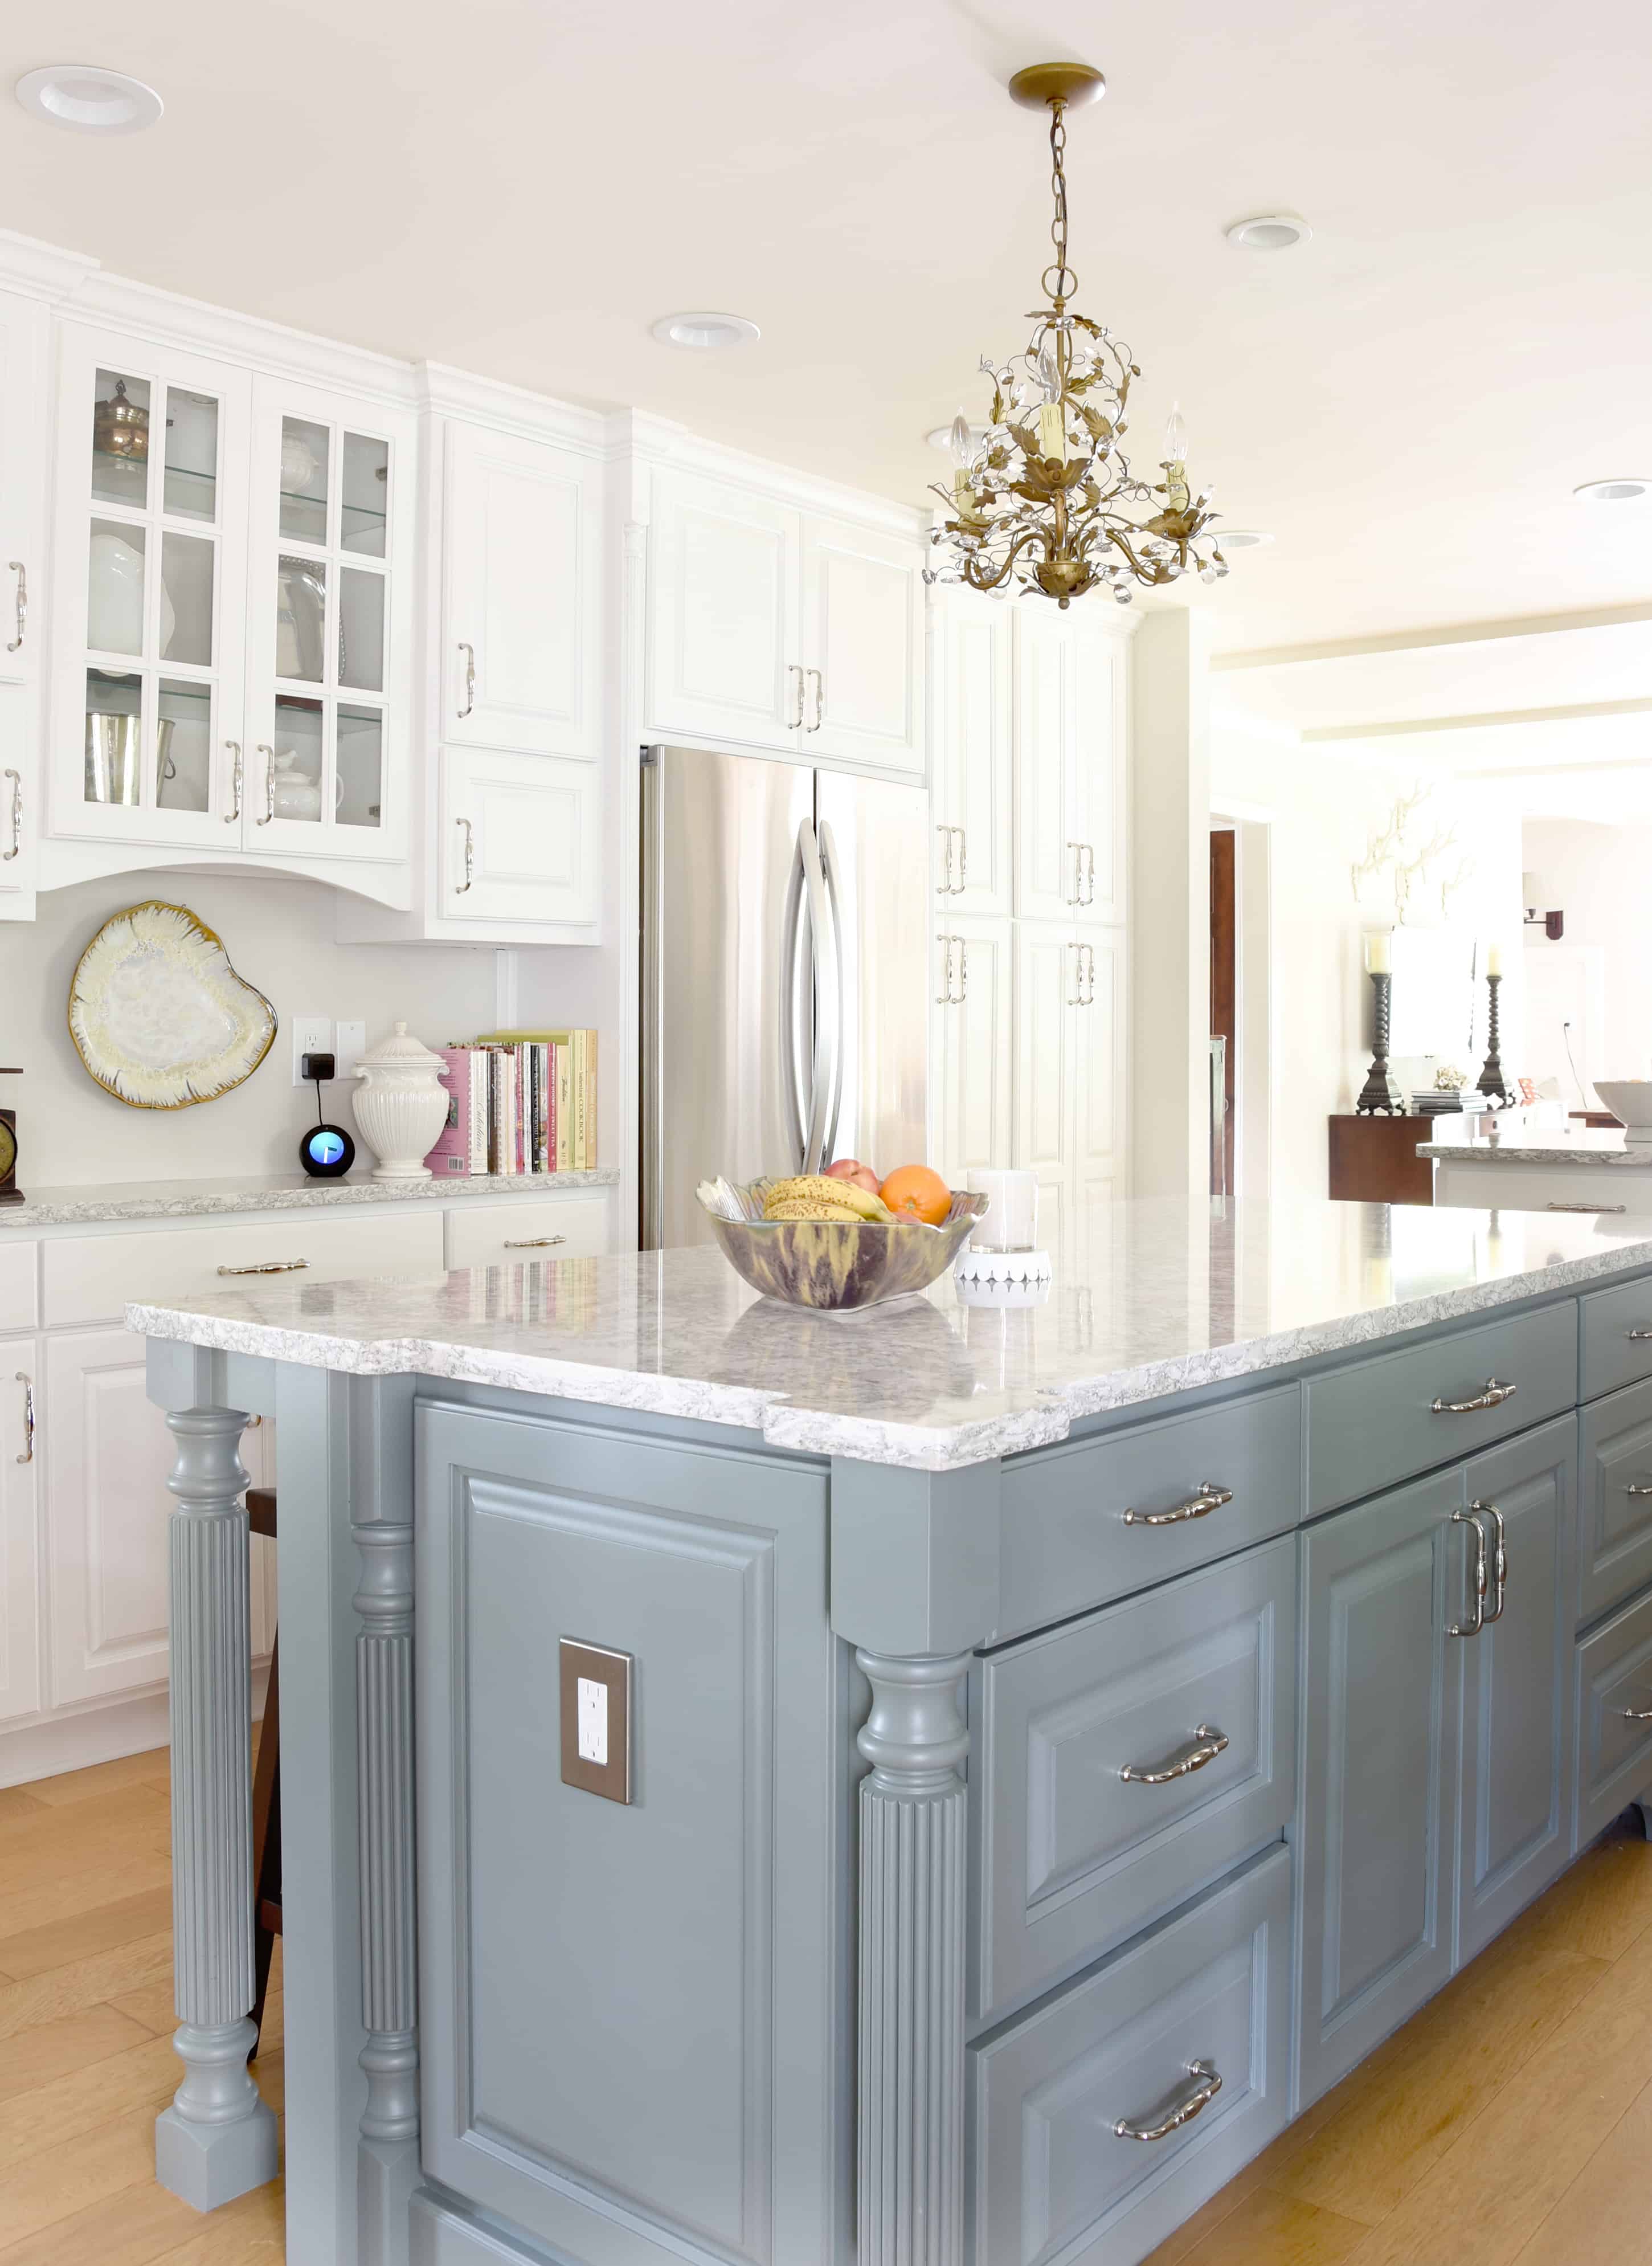
On the back side of the island we were able to reuse the original legs by cutting them down. There is still room for three counter height saddle stools. I had three bar height saddle stools here before and loved them.
In the leveling out the peninsula, we also decided to extend the counter out by 3″ to make for a great dining space here as well! Before it was decorative, but completely useless. We have three more saddle stools on this side and a clear line of sight between the kitchen and den.
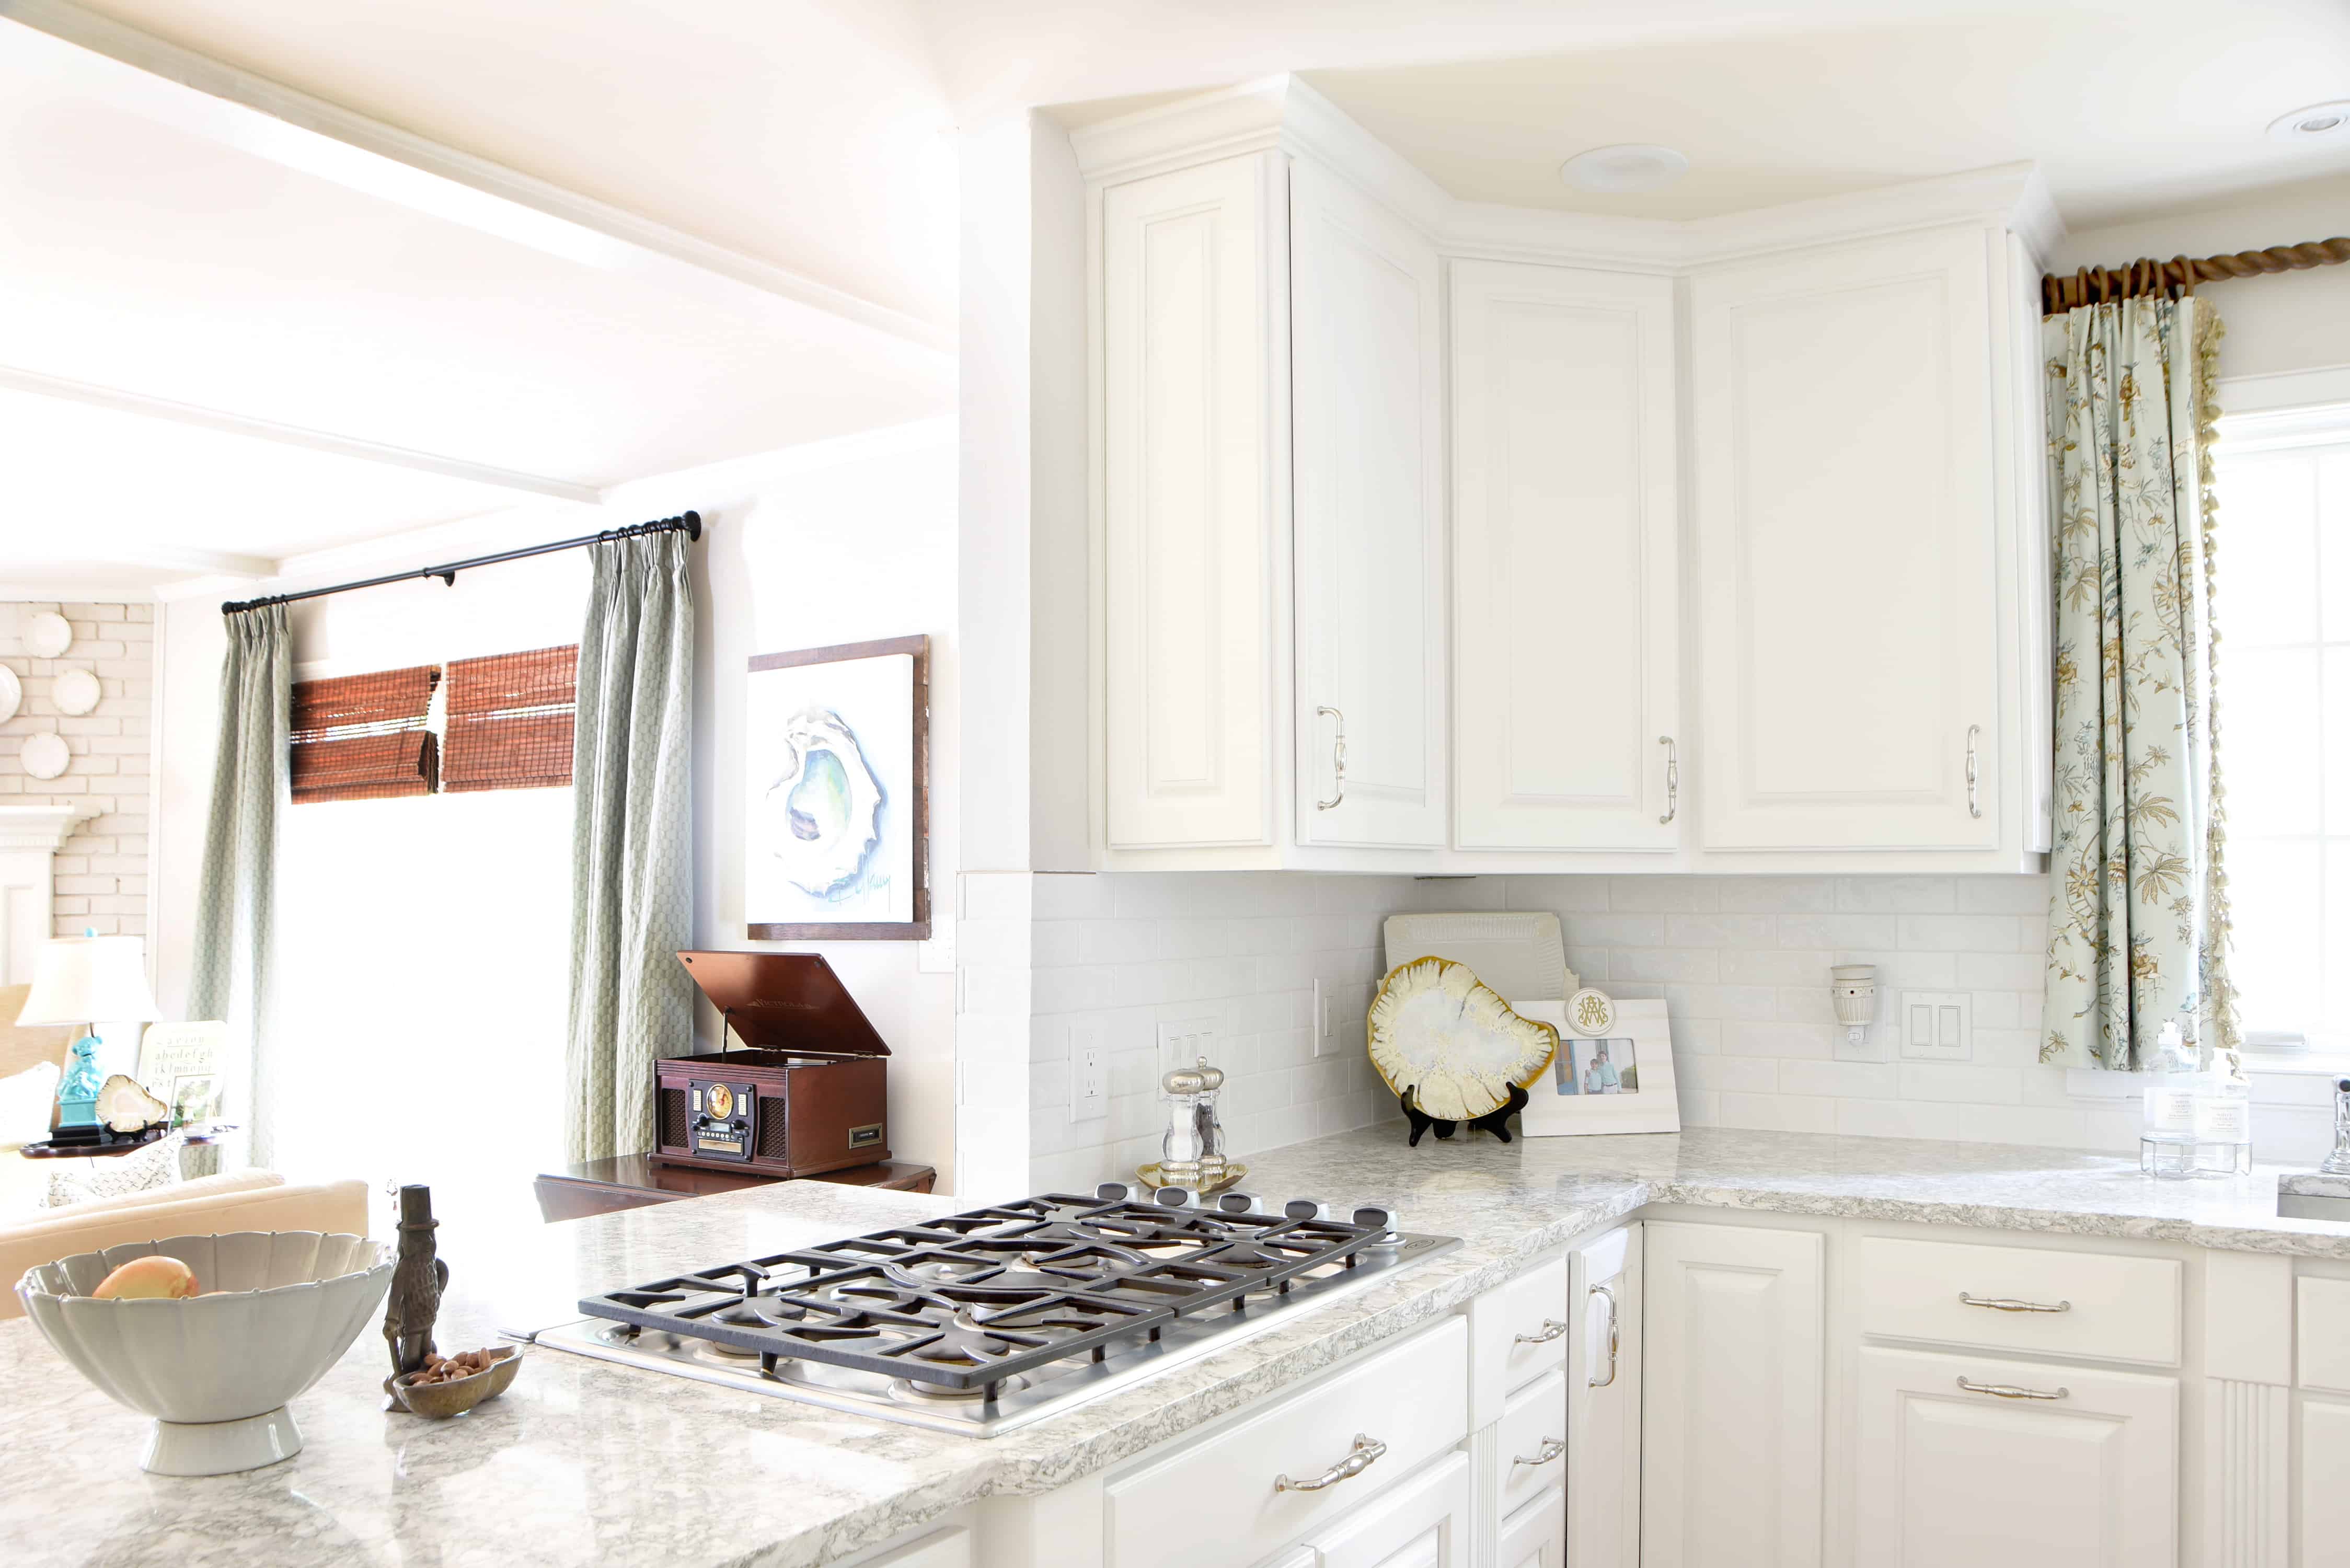
The final change was counters and backsplash. We used the same quartz that we put in the master bath and a smaller, but similar subway tile.
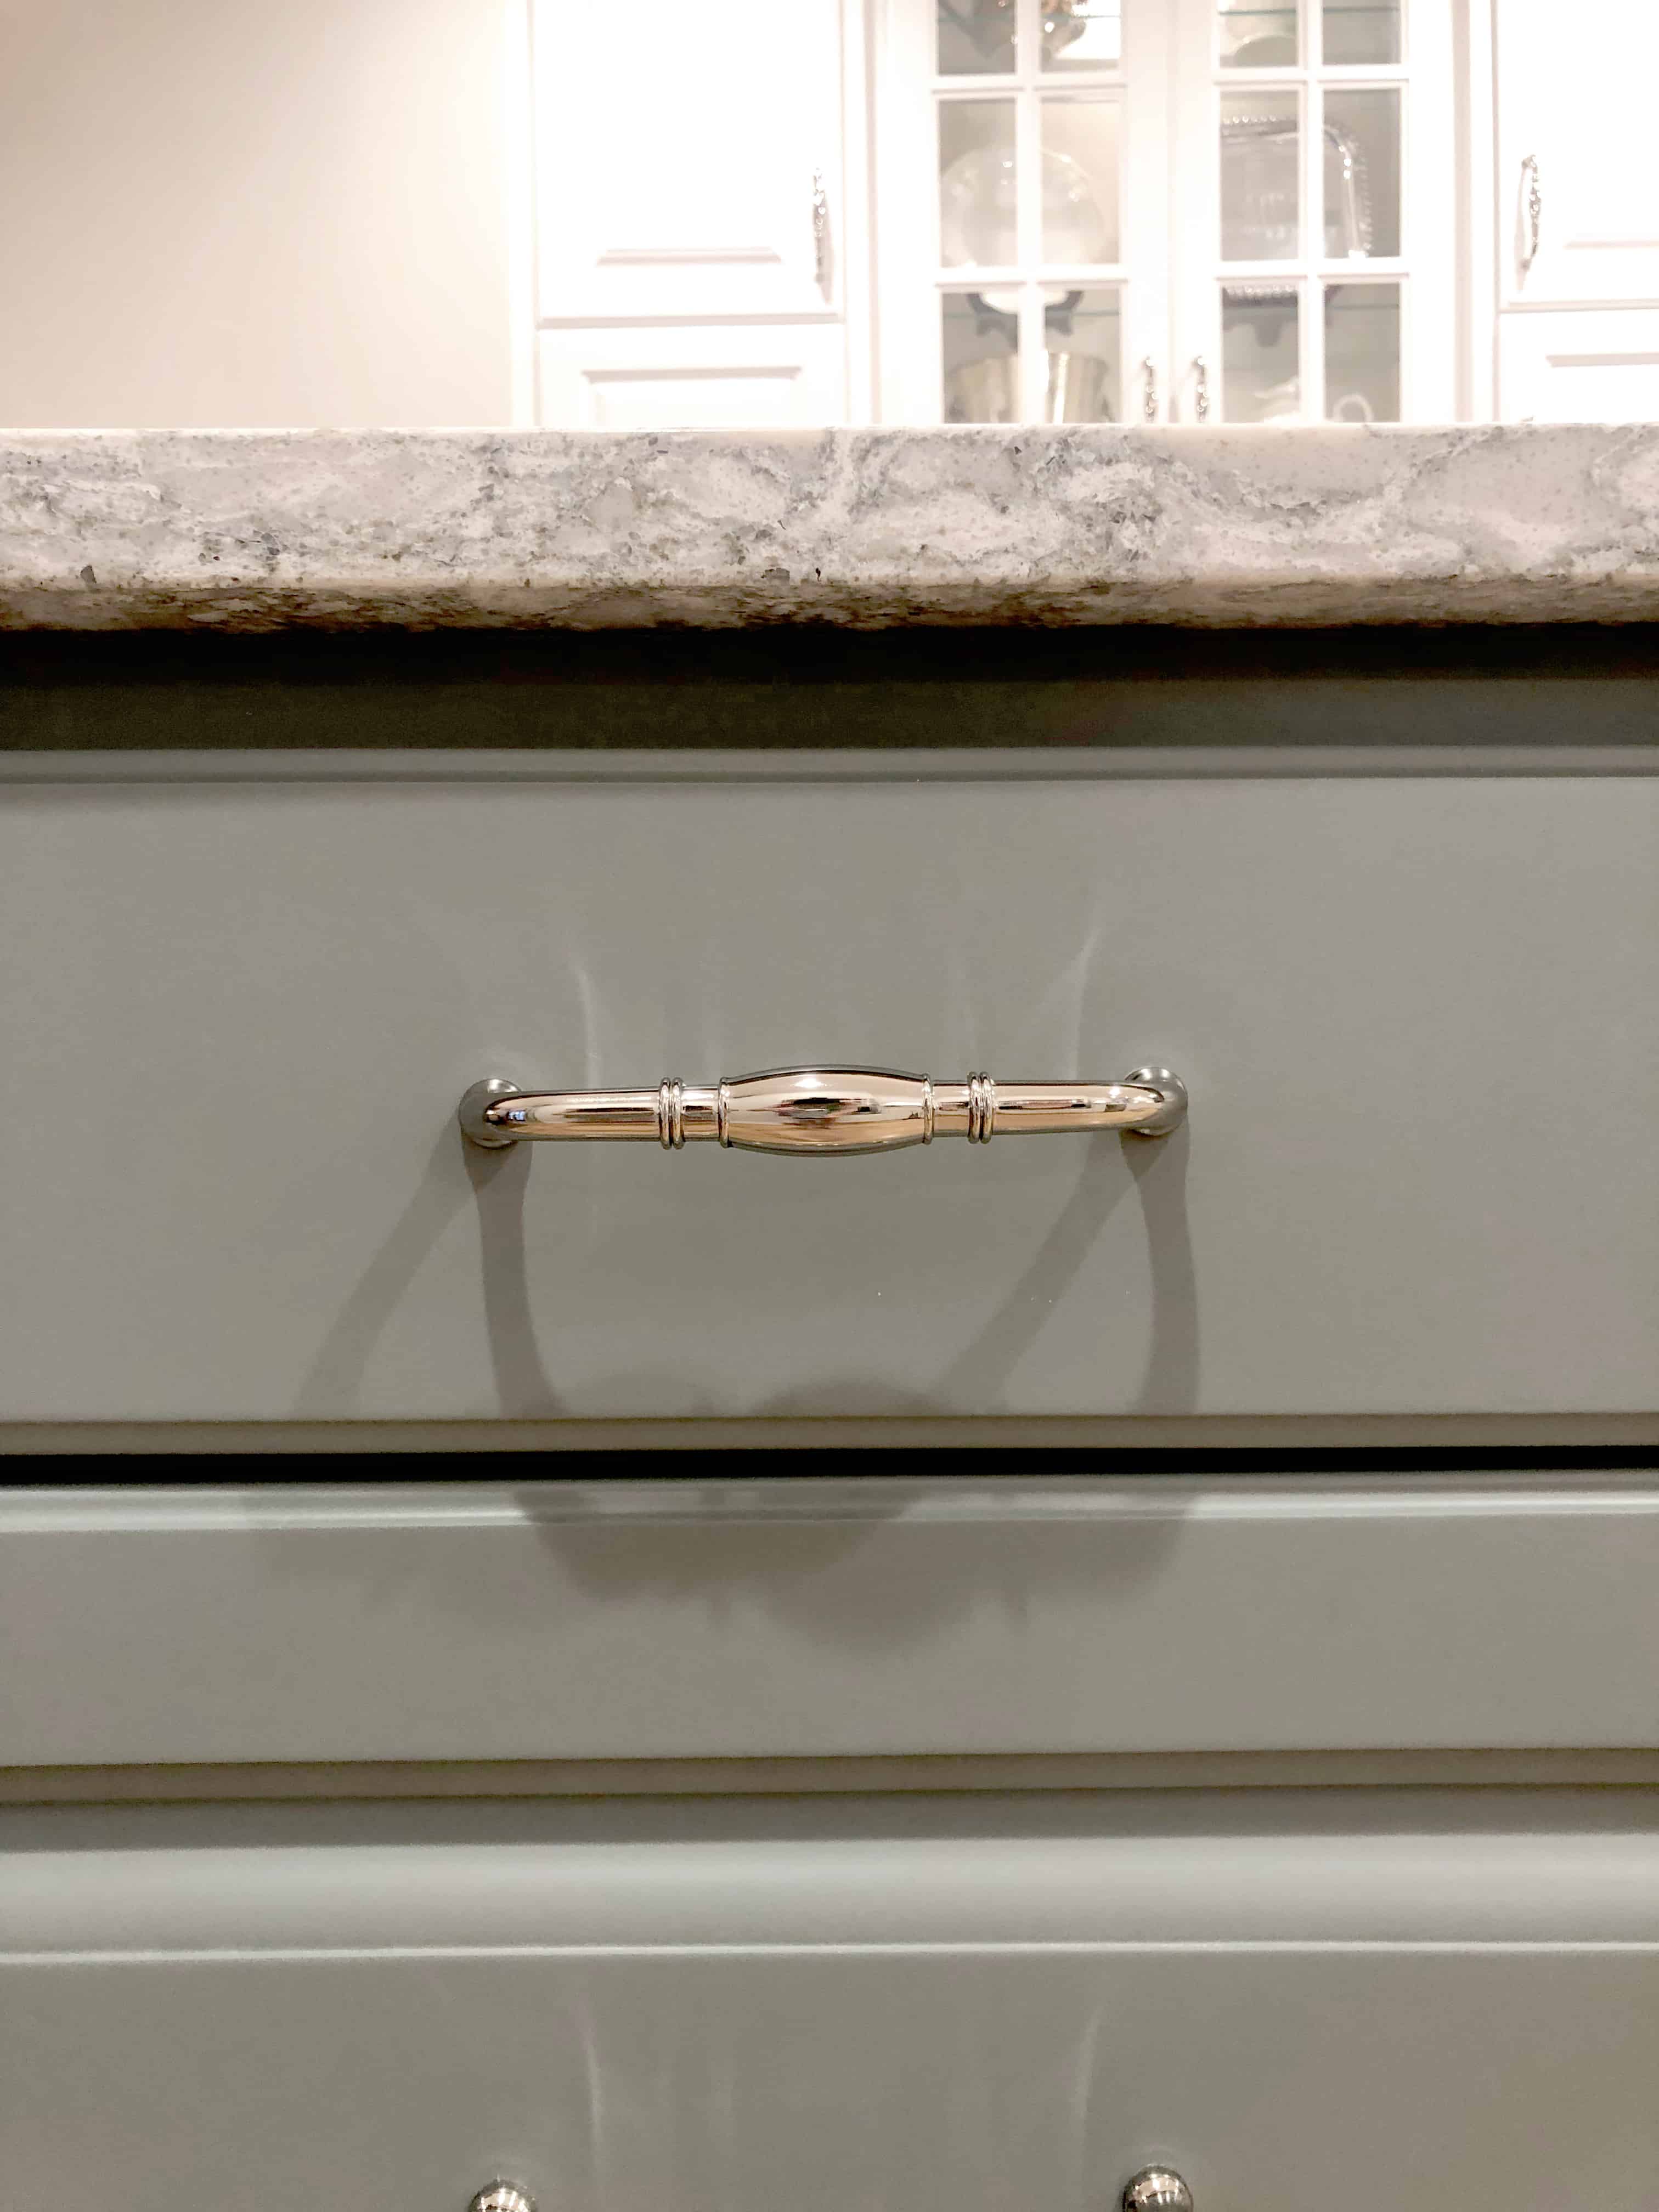
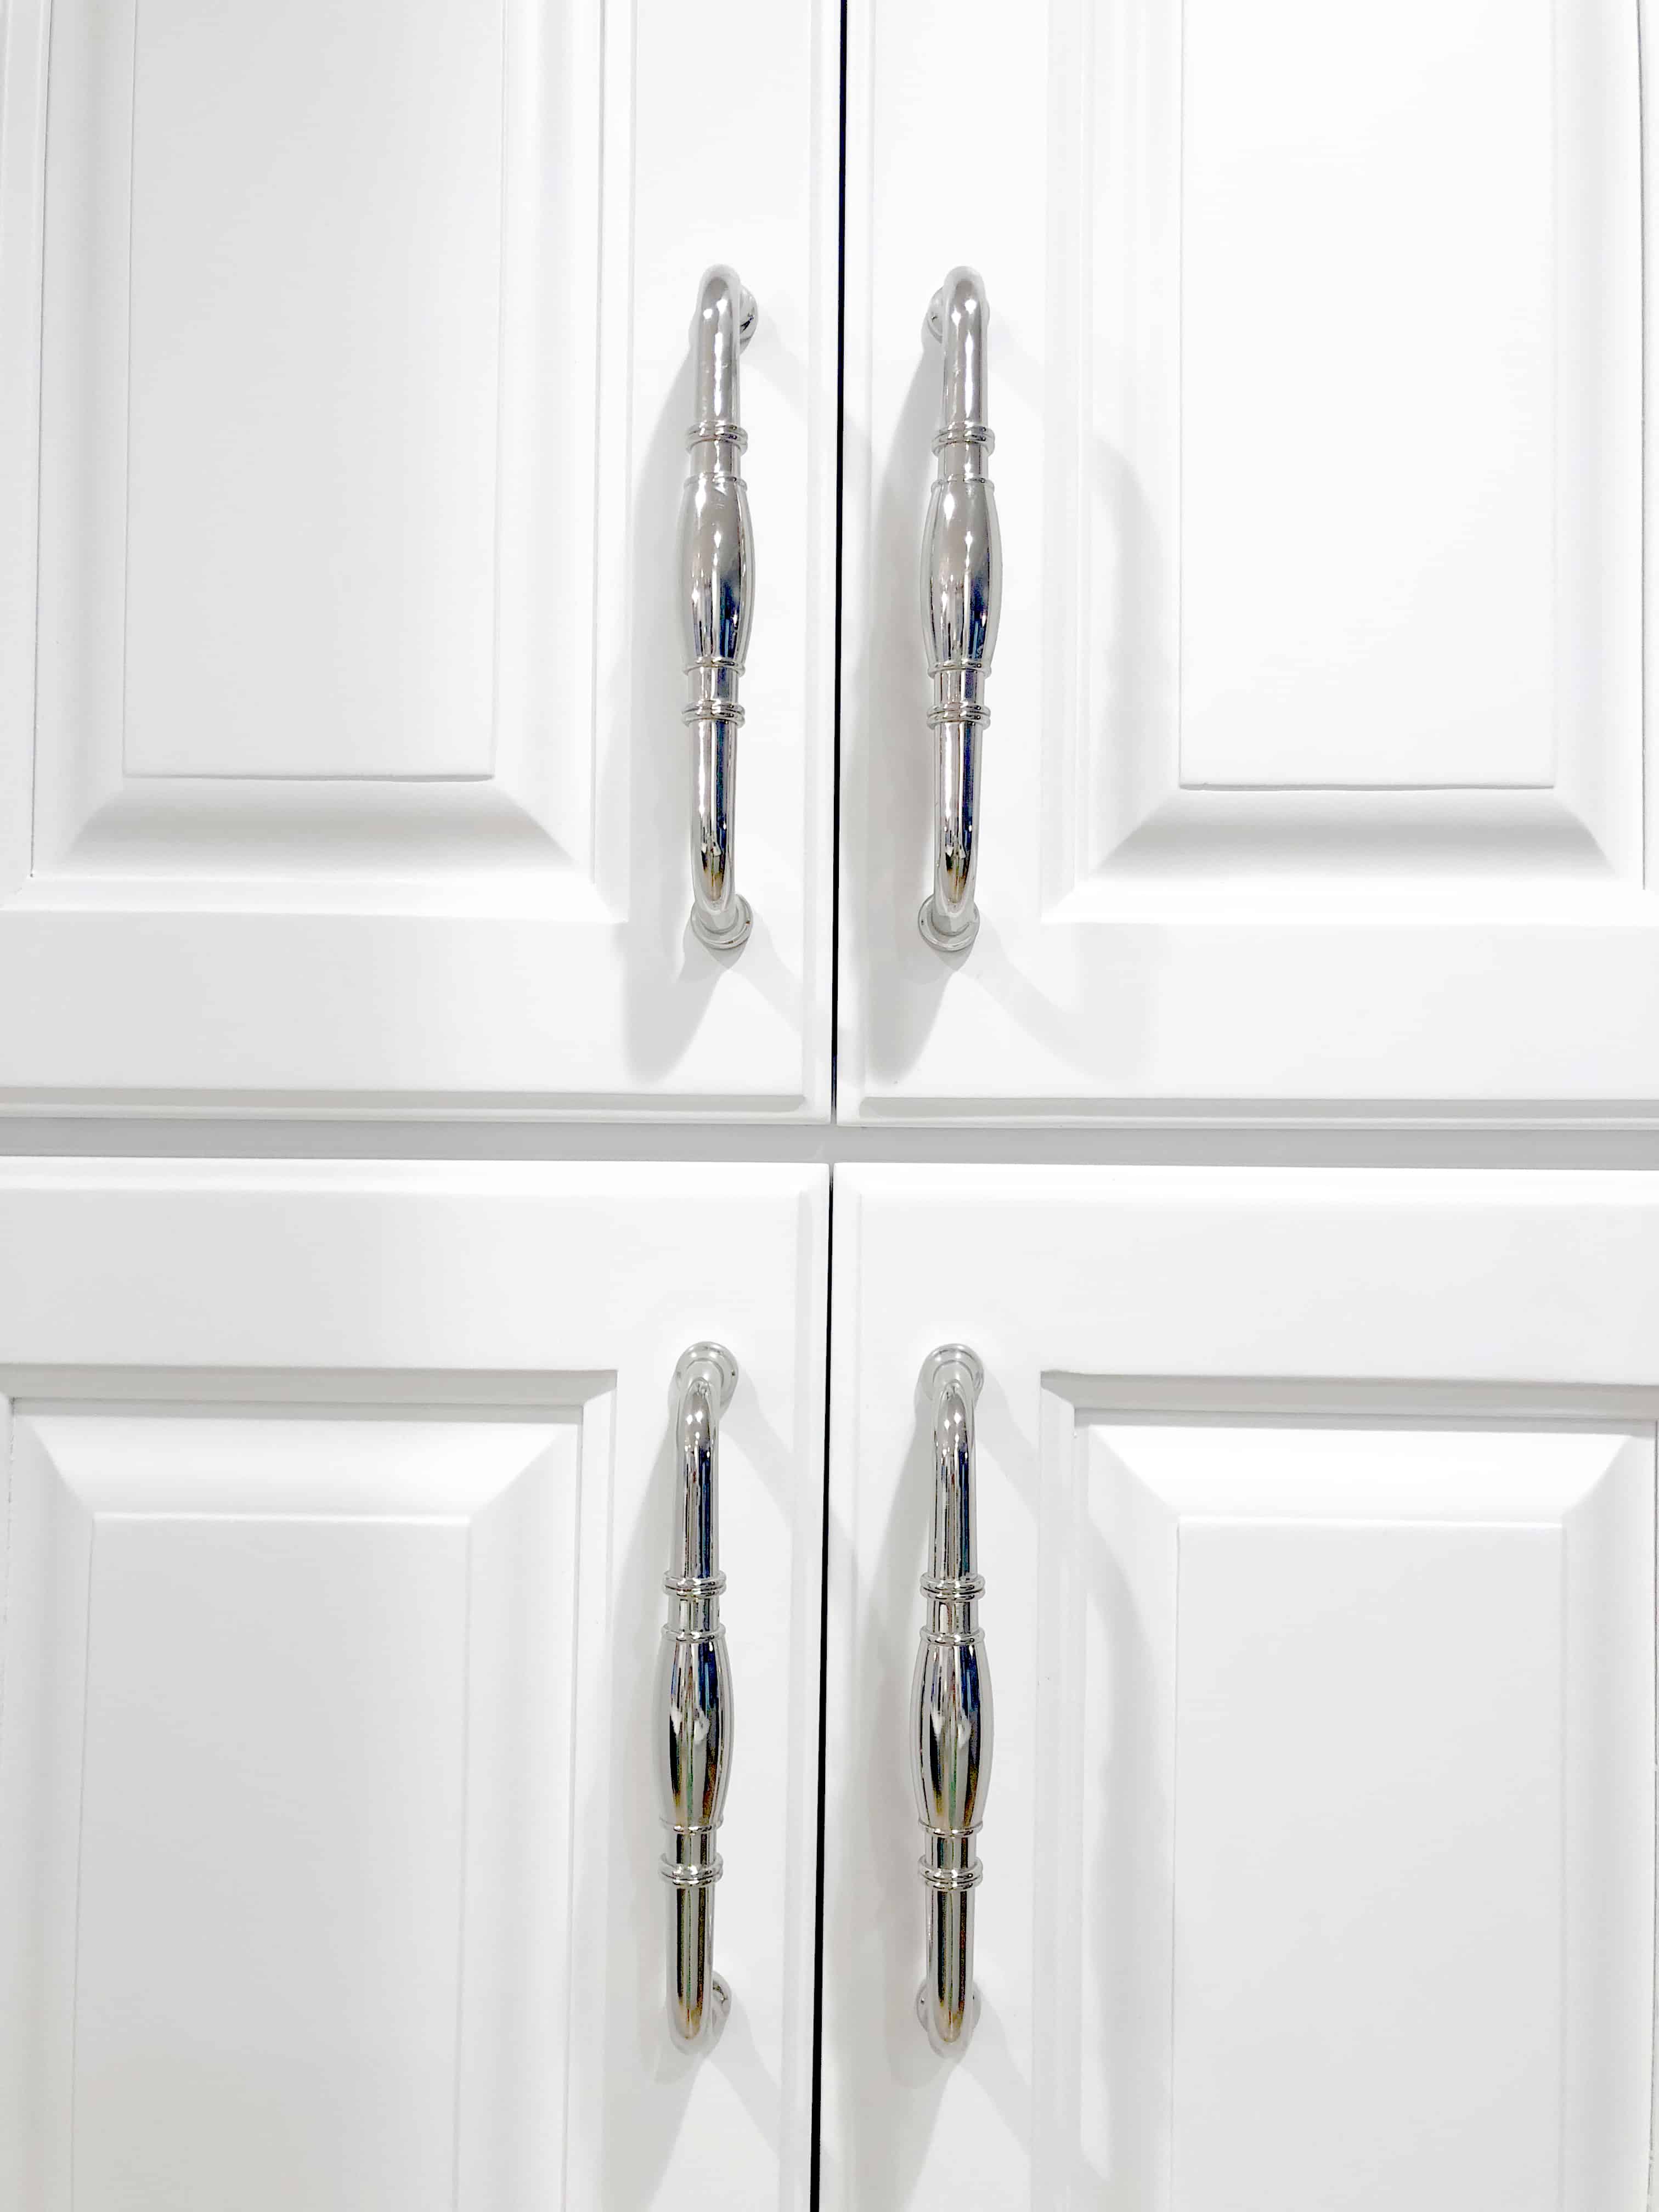
I used all pulls (and two with knobs) for the cabinets and drawers in a shiny chrome. I picked this particular one both for its price and that it came in various lengths. I used smaller ones on the smaller drawers and large ones on the big spaces under the oven and on the island. I also added pulls to the faux cabinet fronts that did not have them previously.
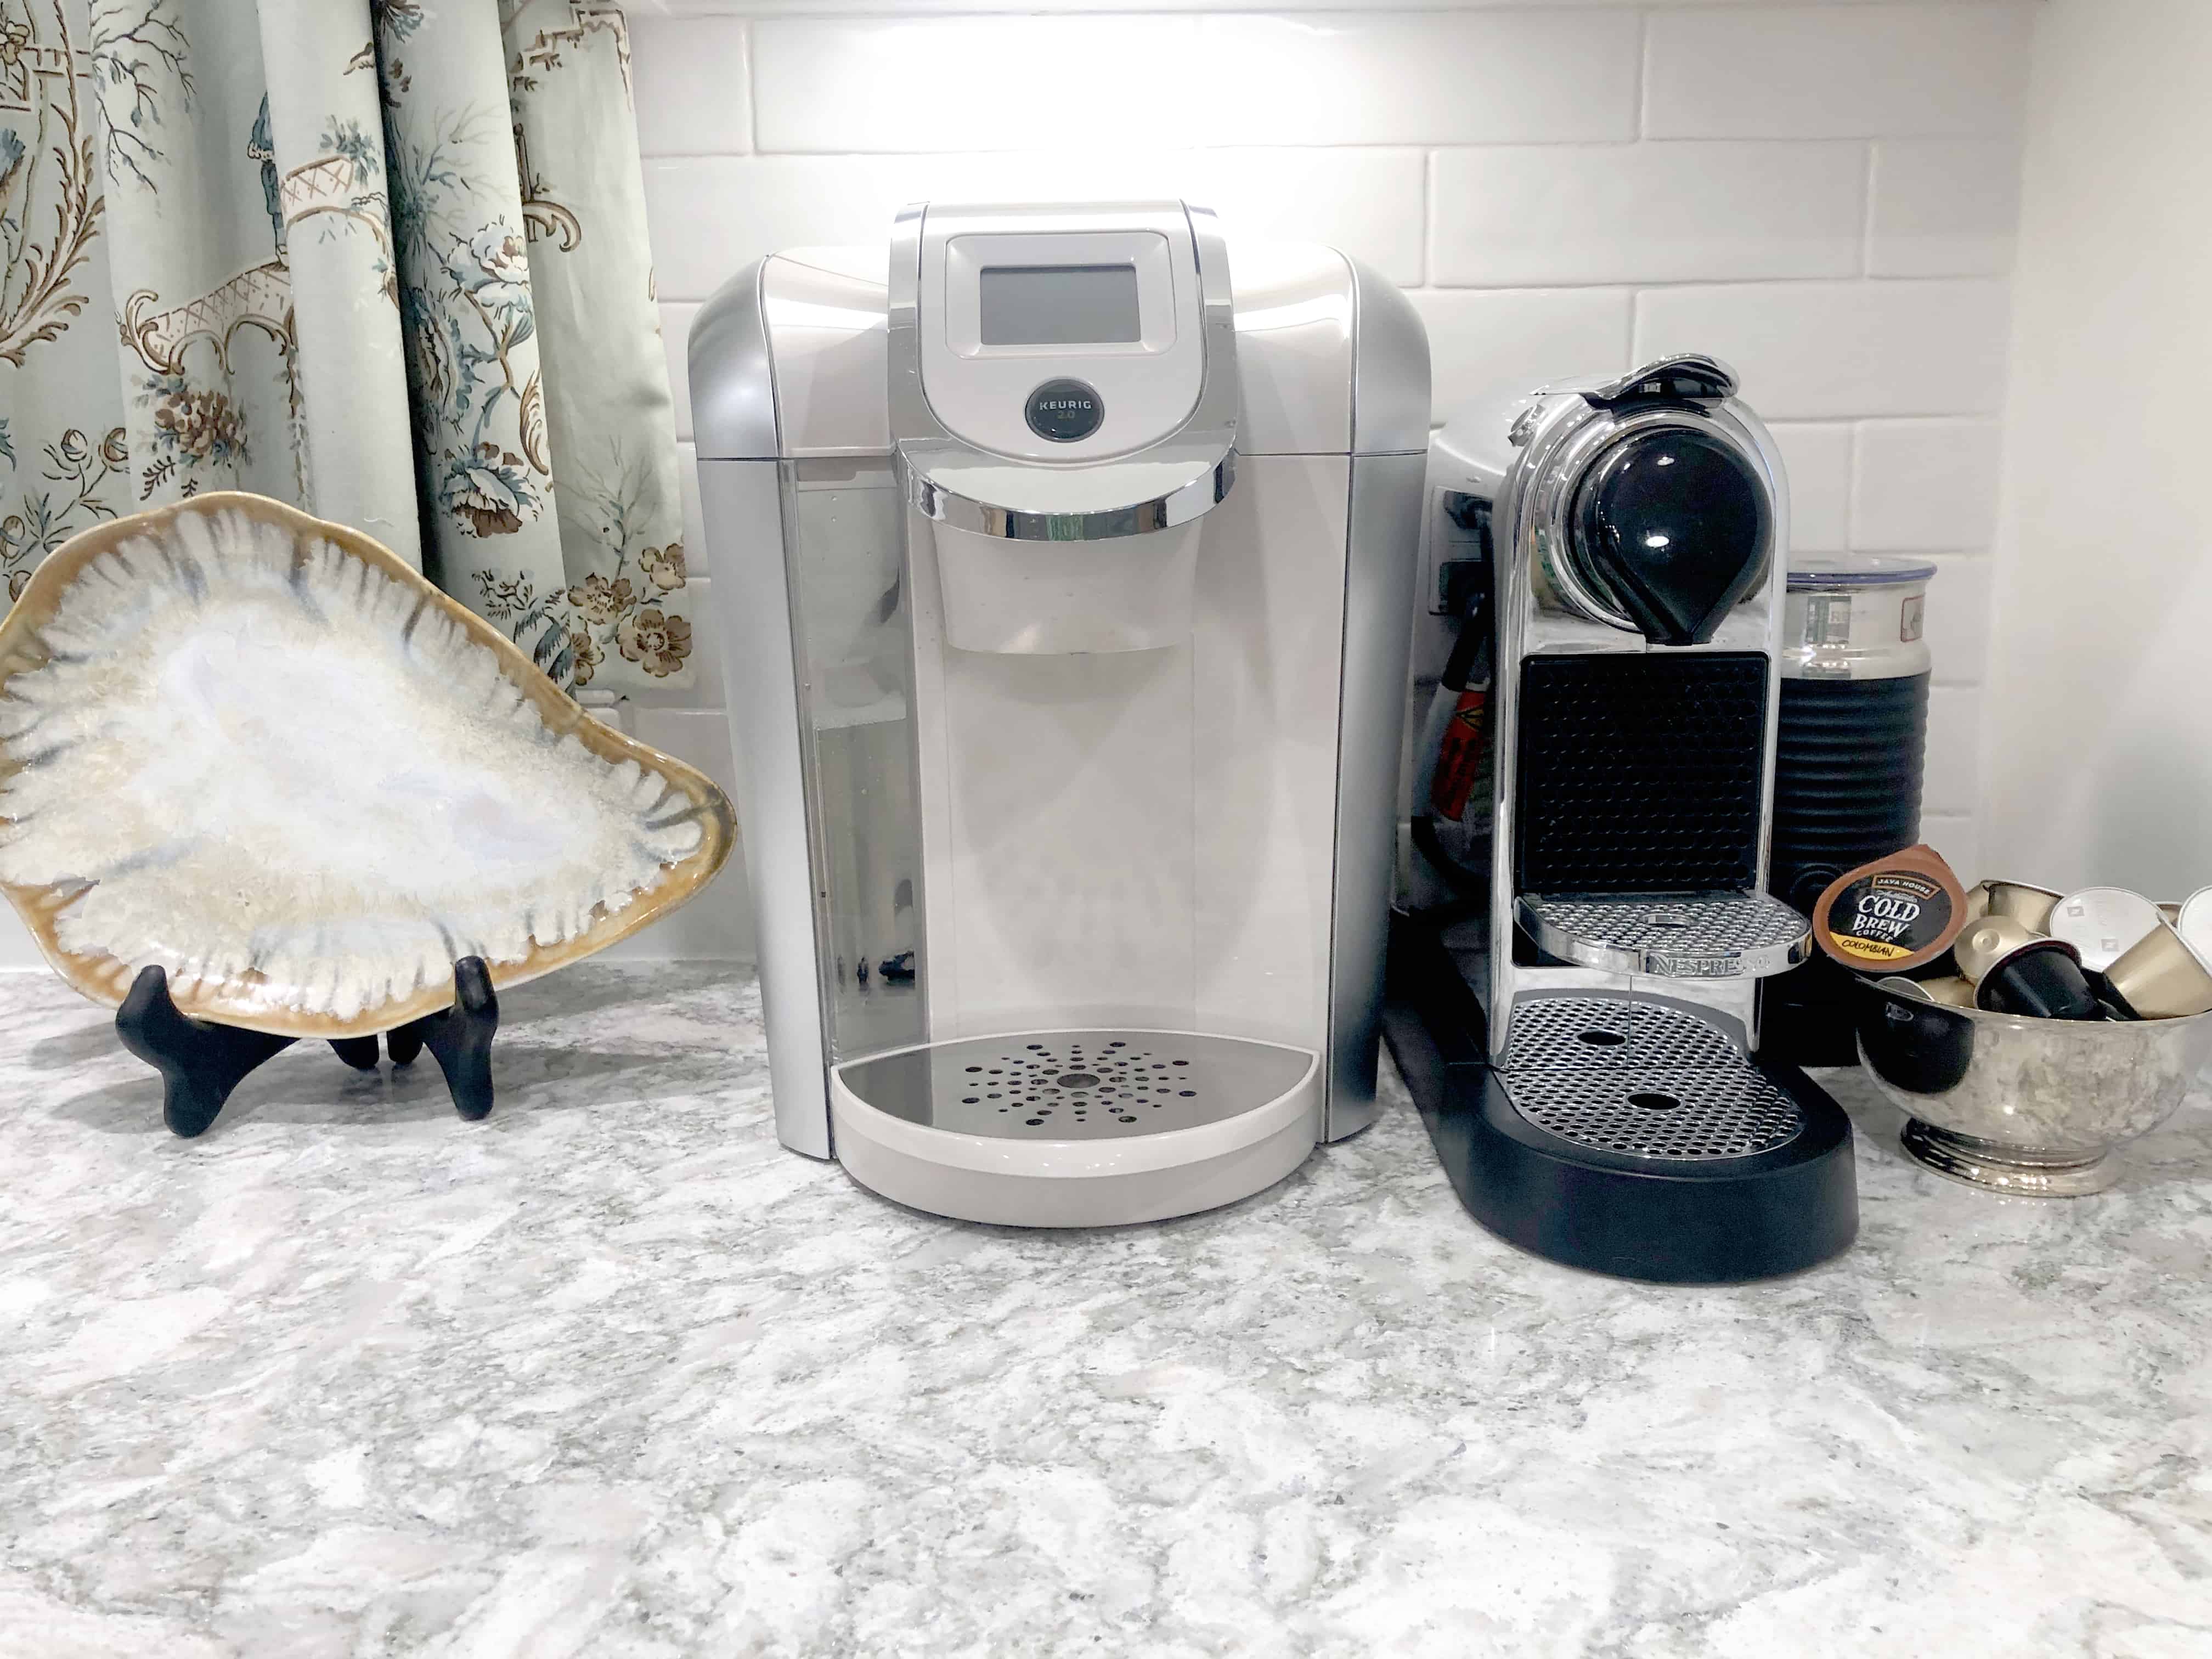
We kept the same decor and coffee area, as it worked fine for us!
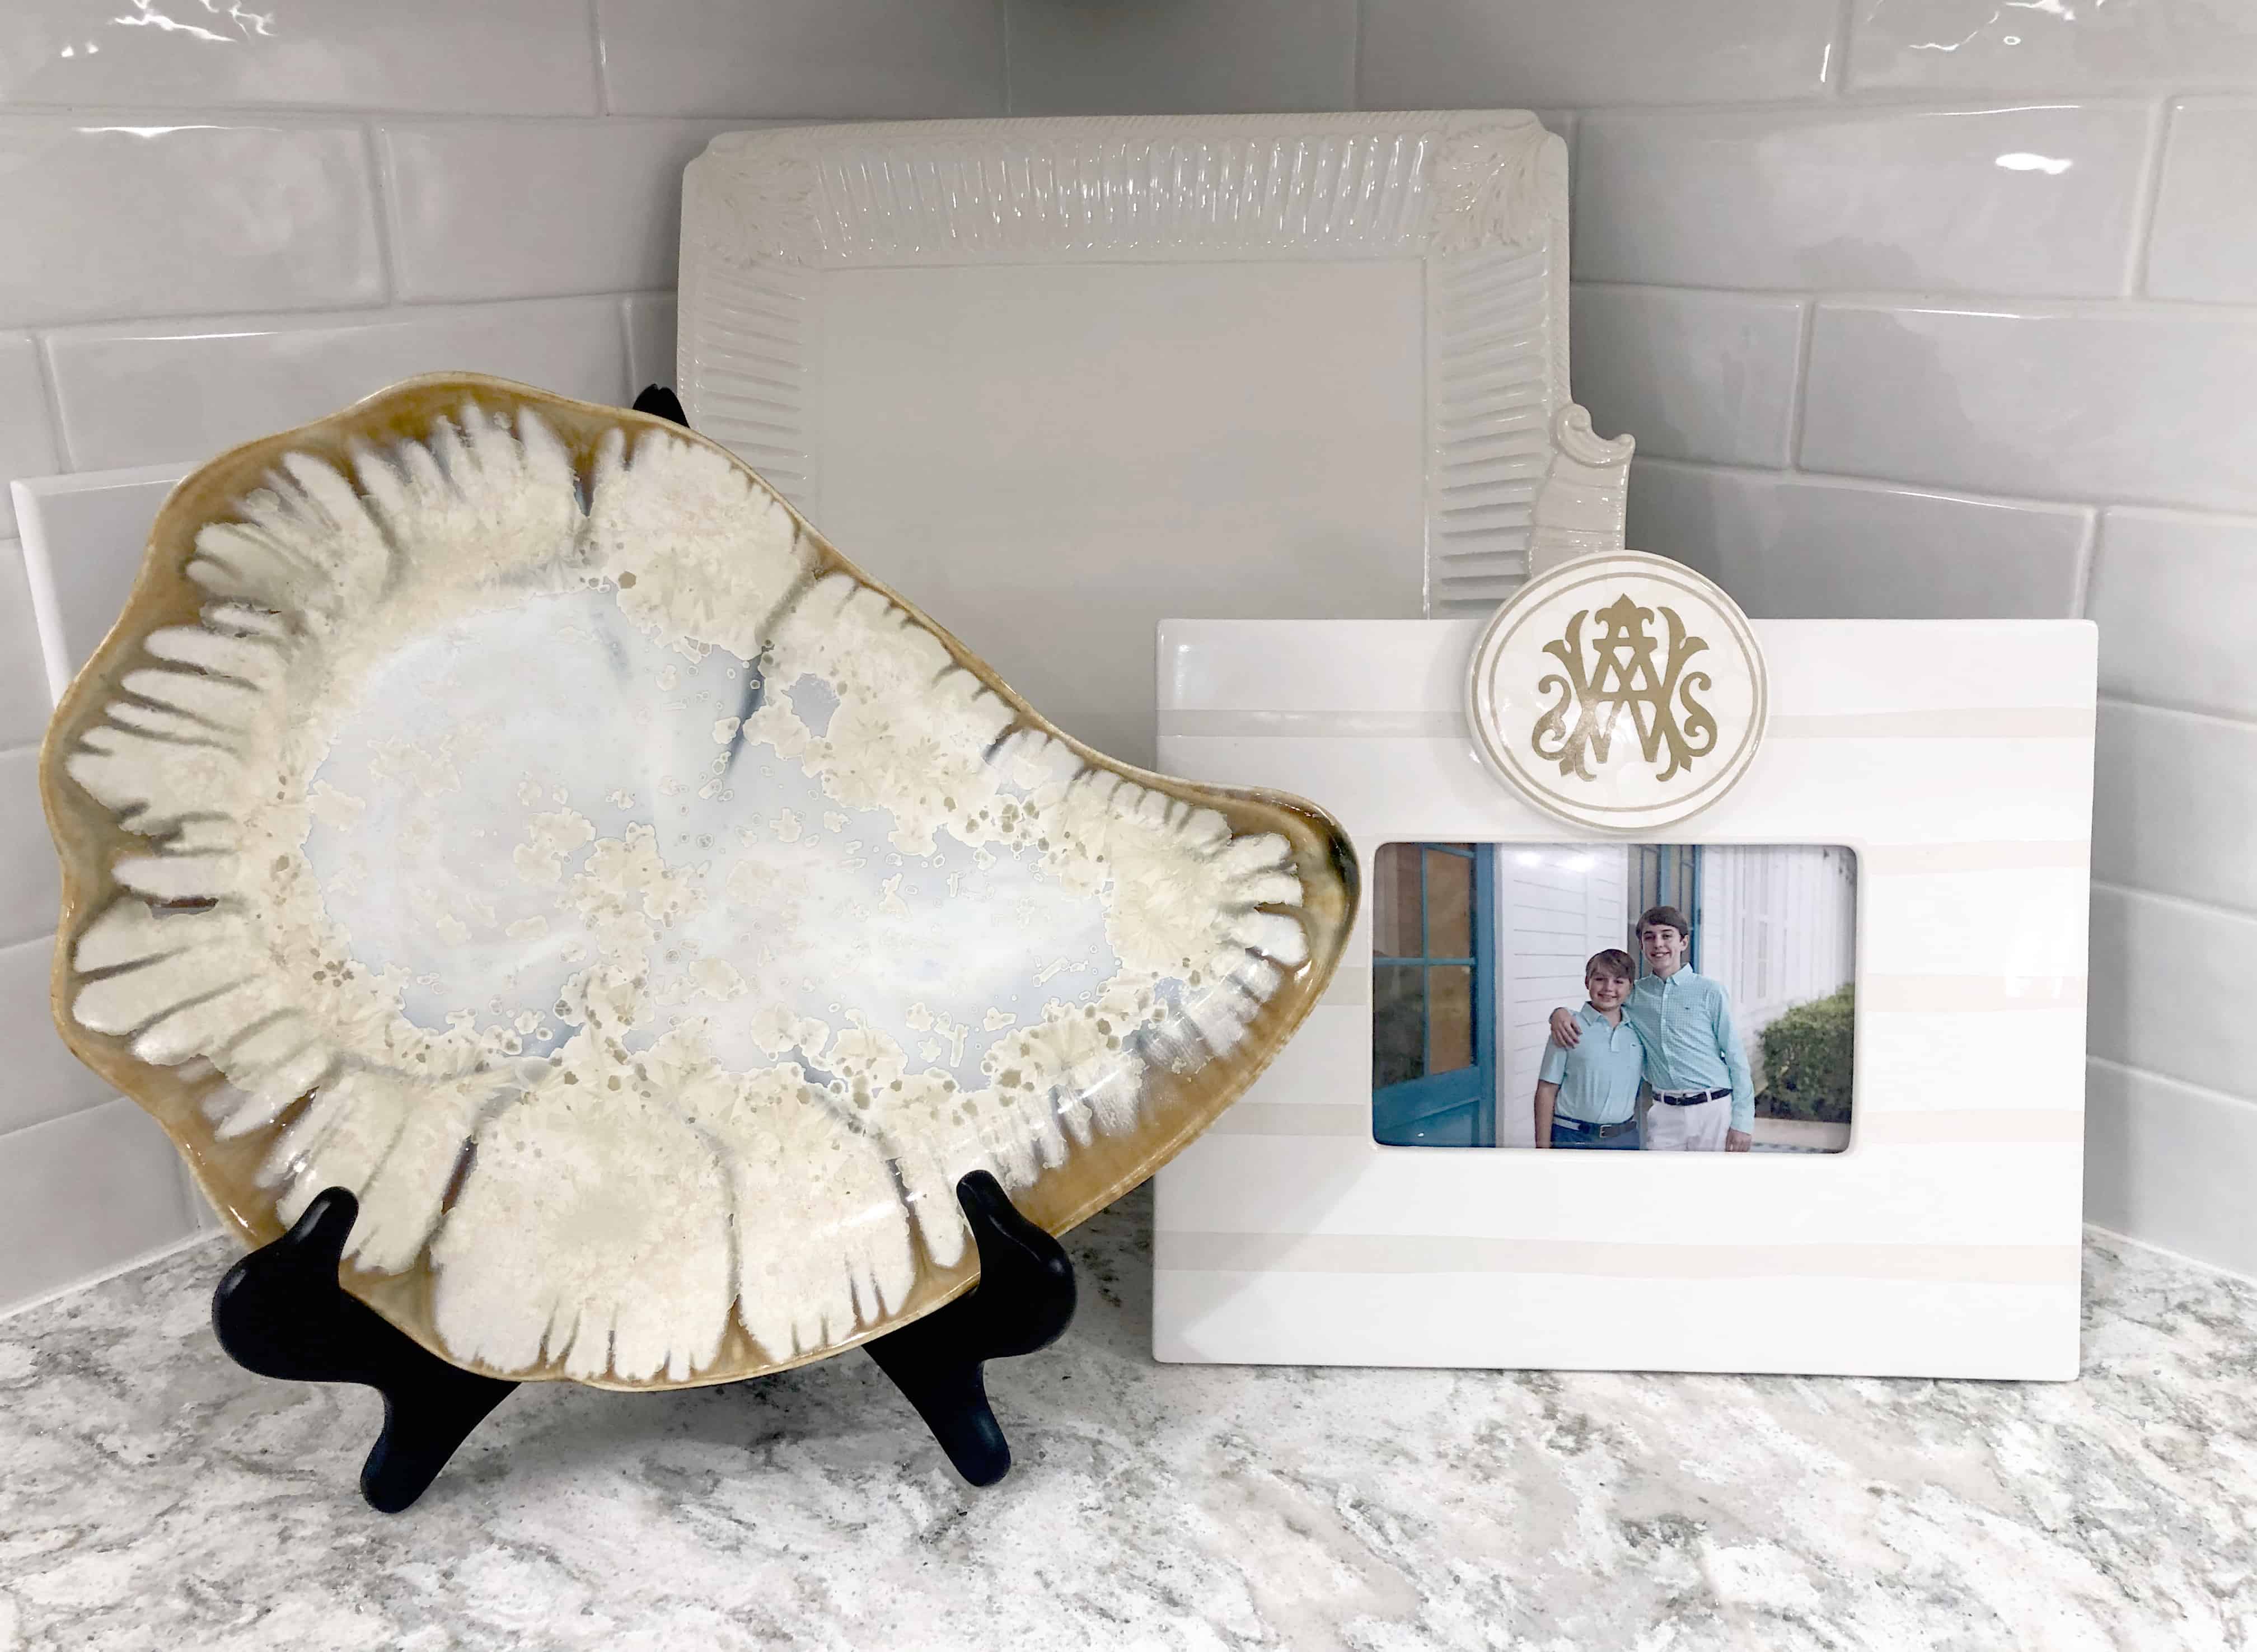
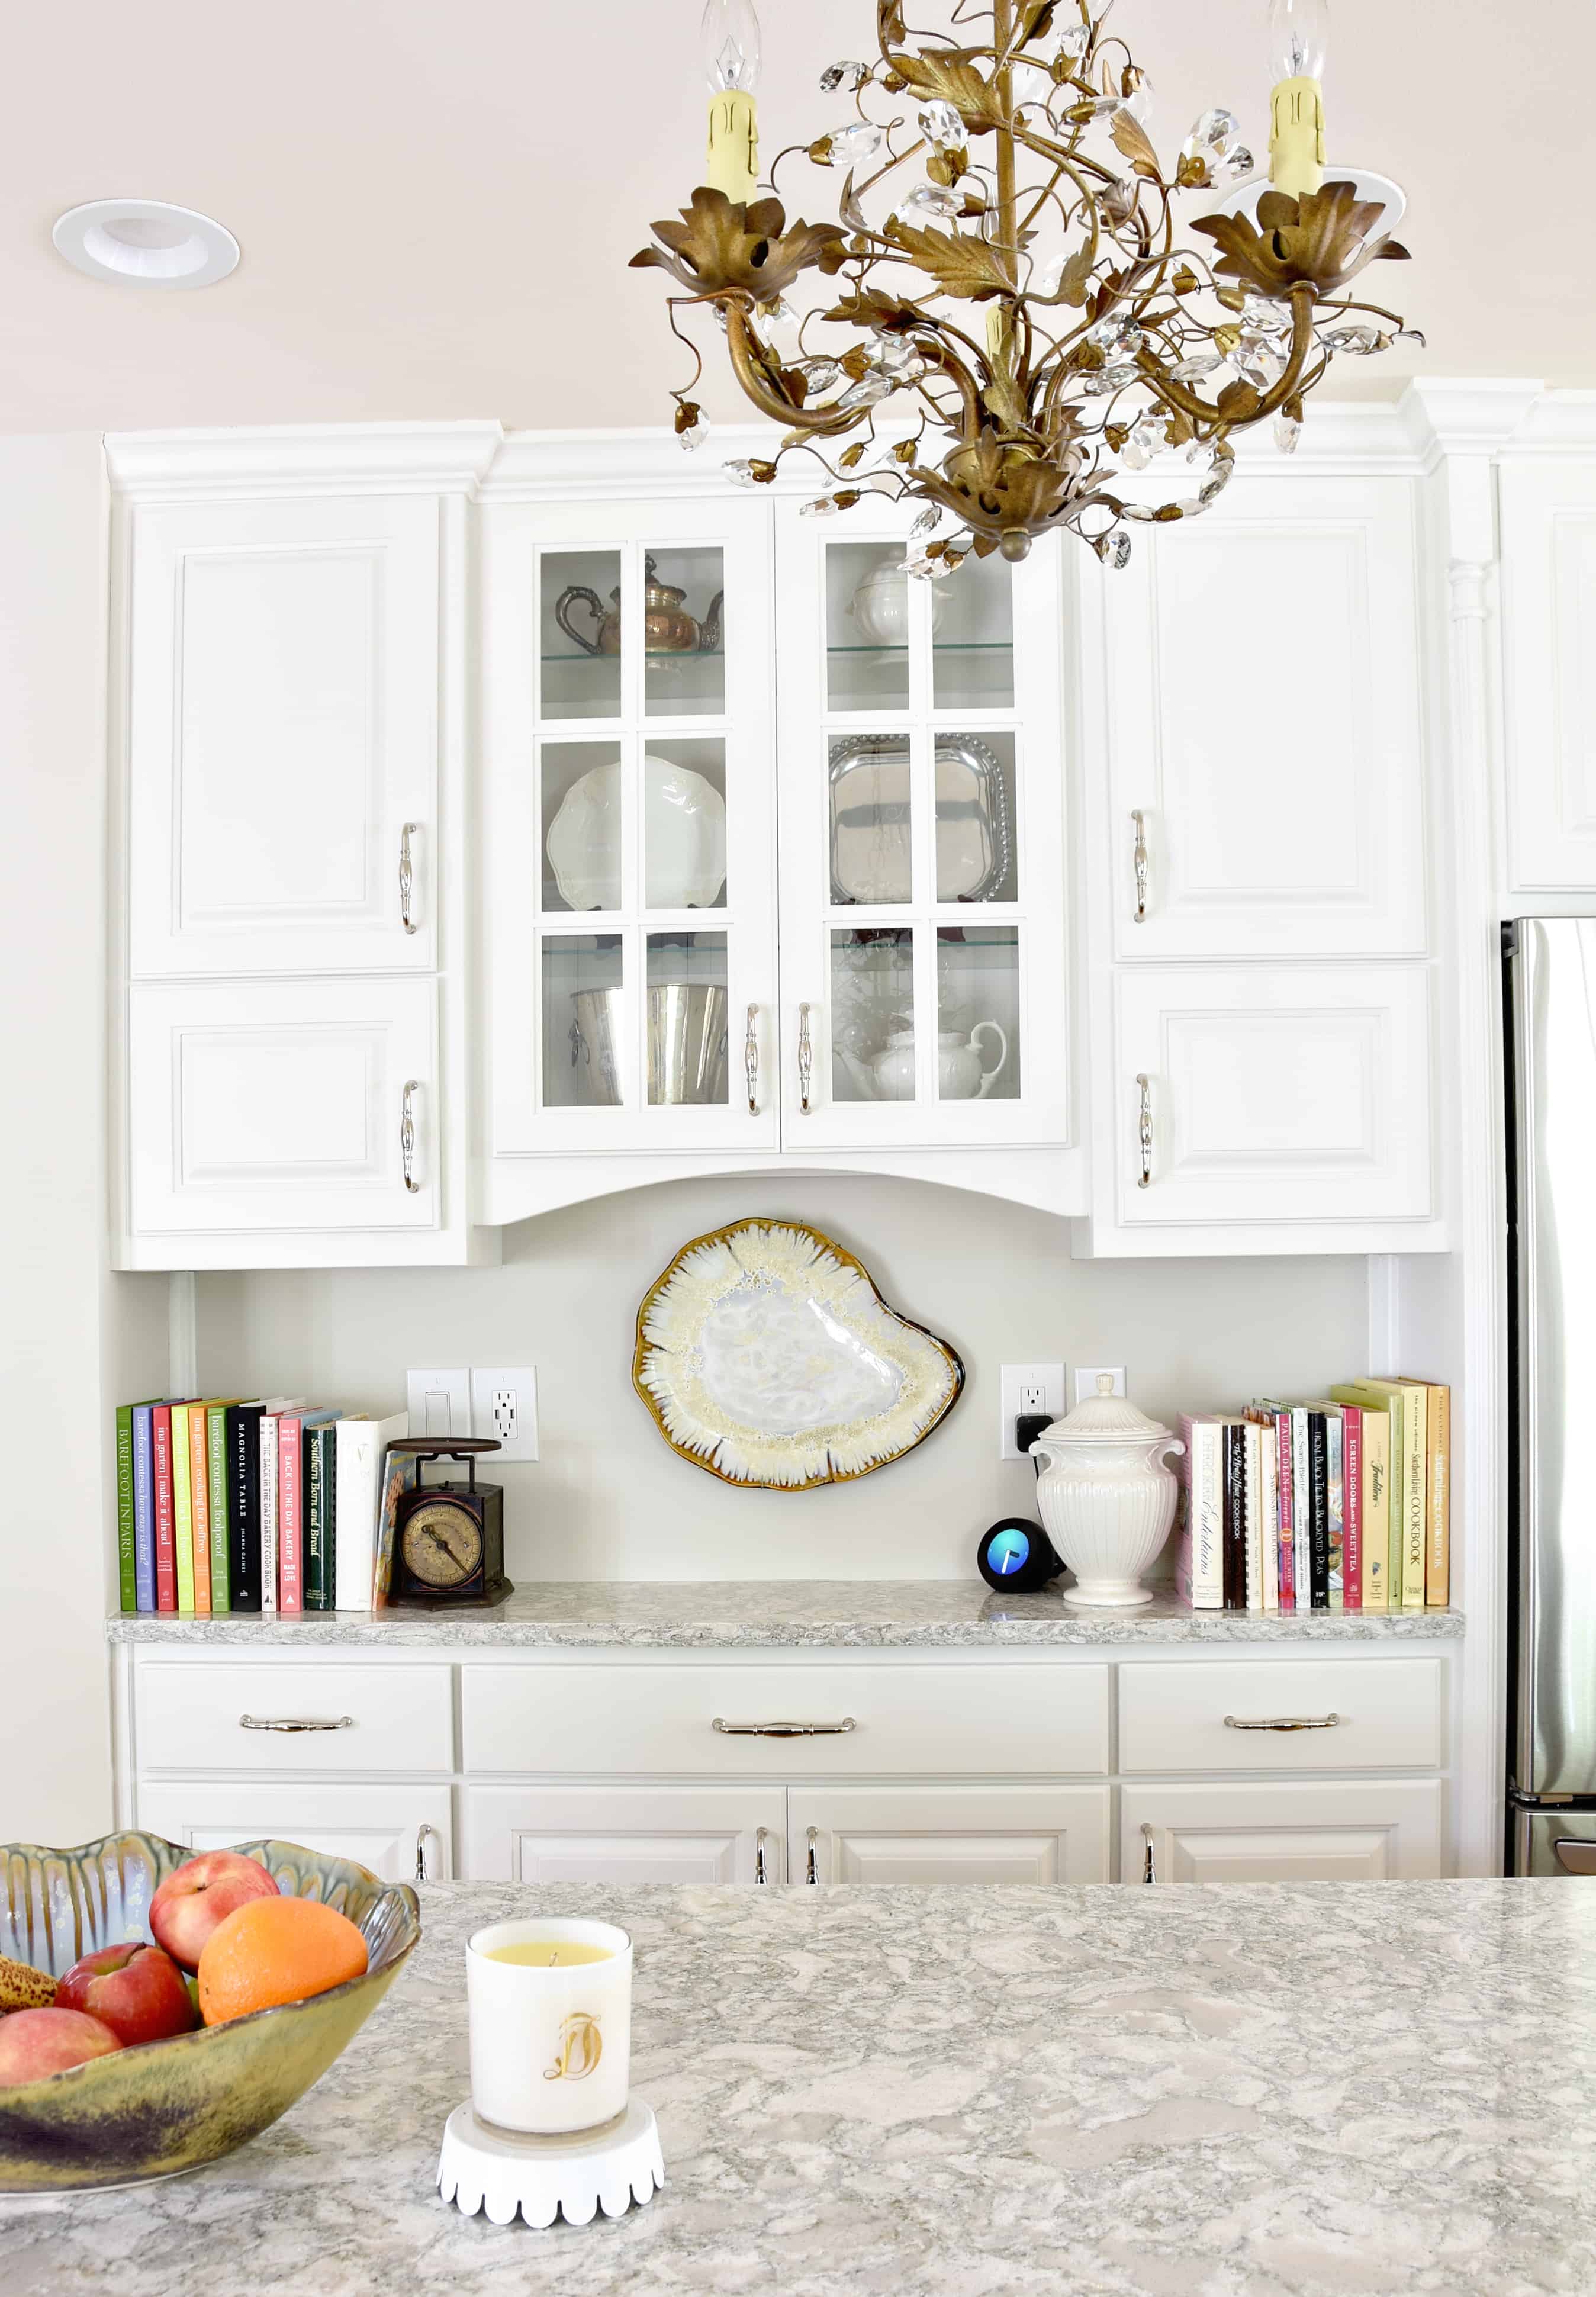
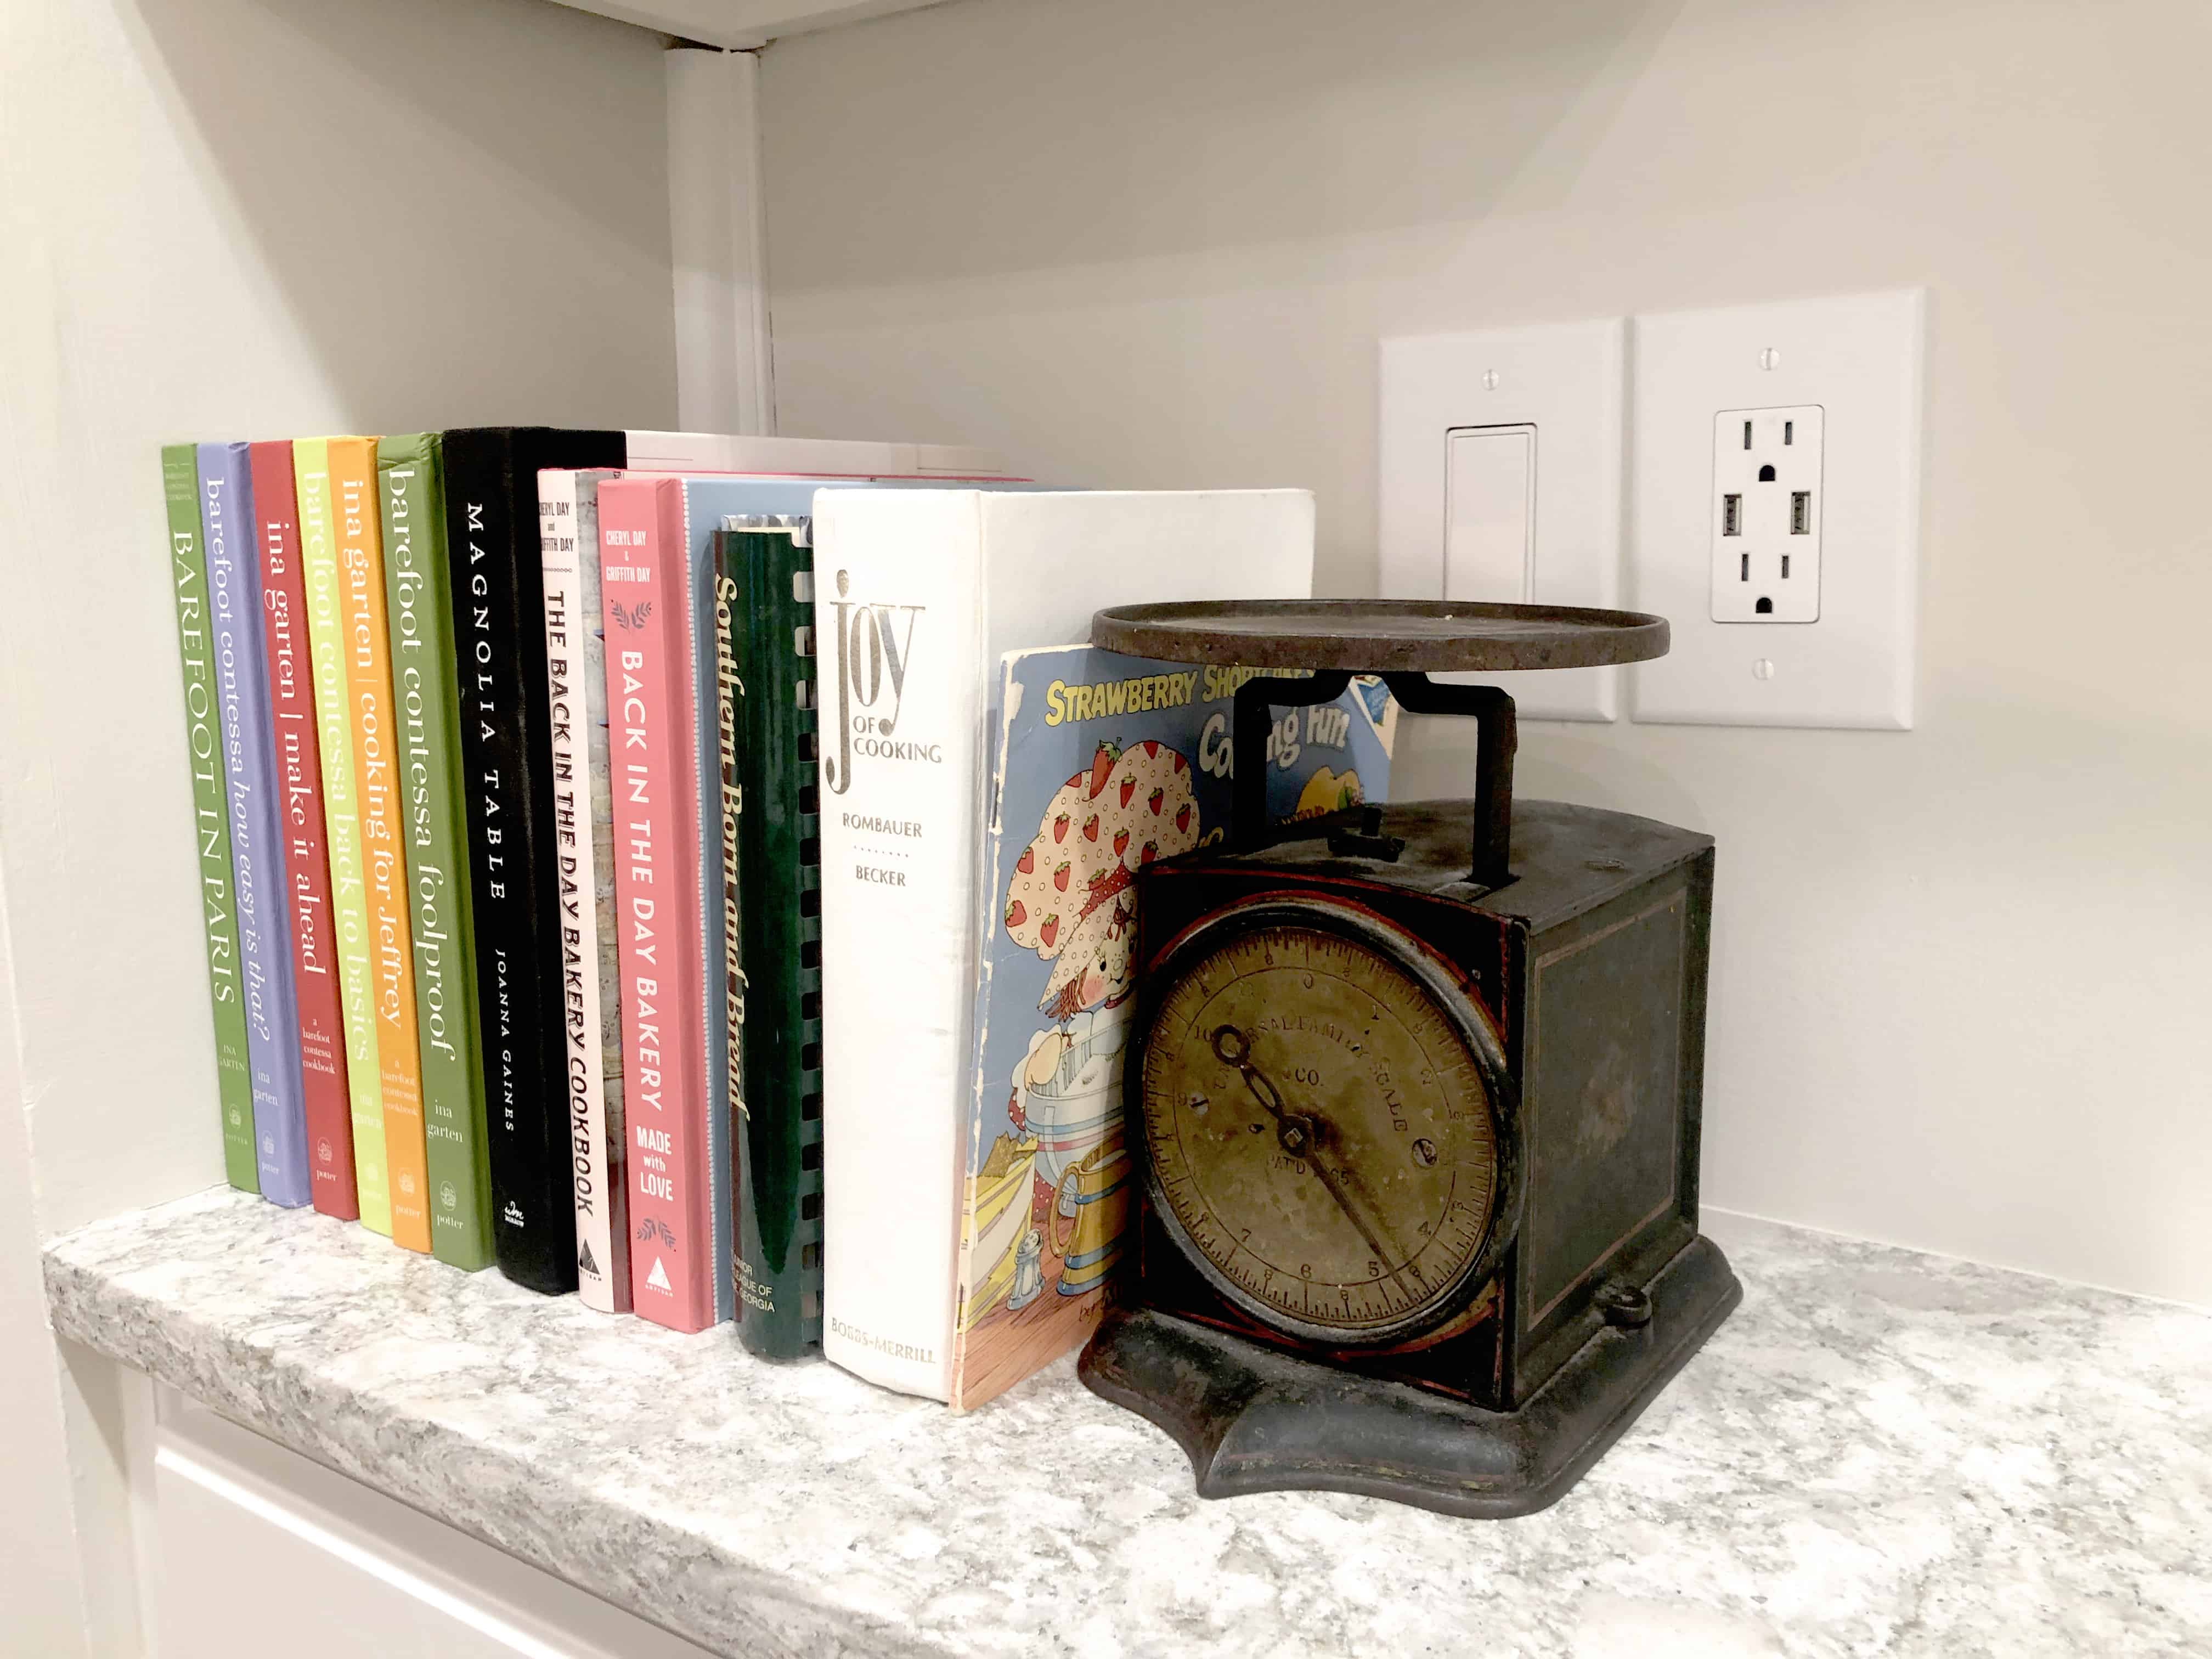
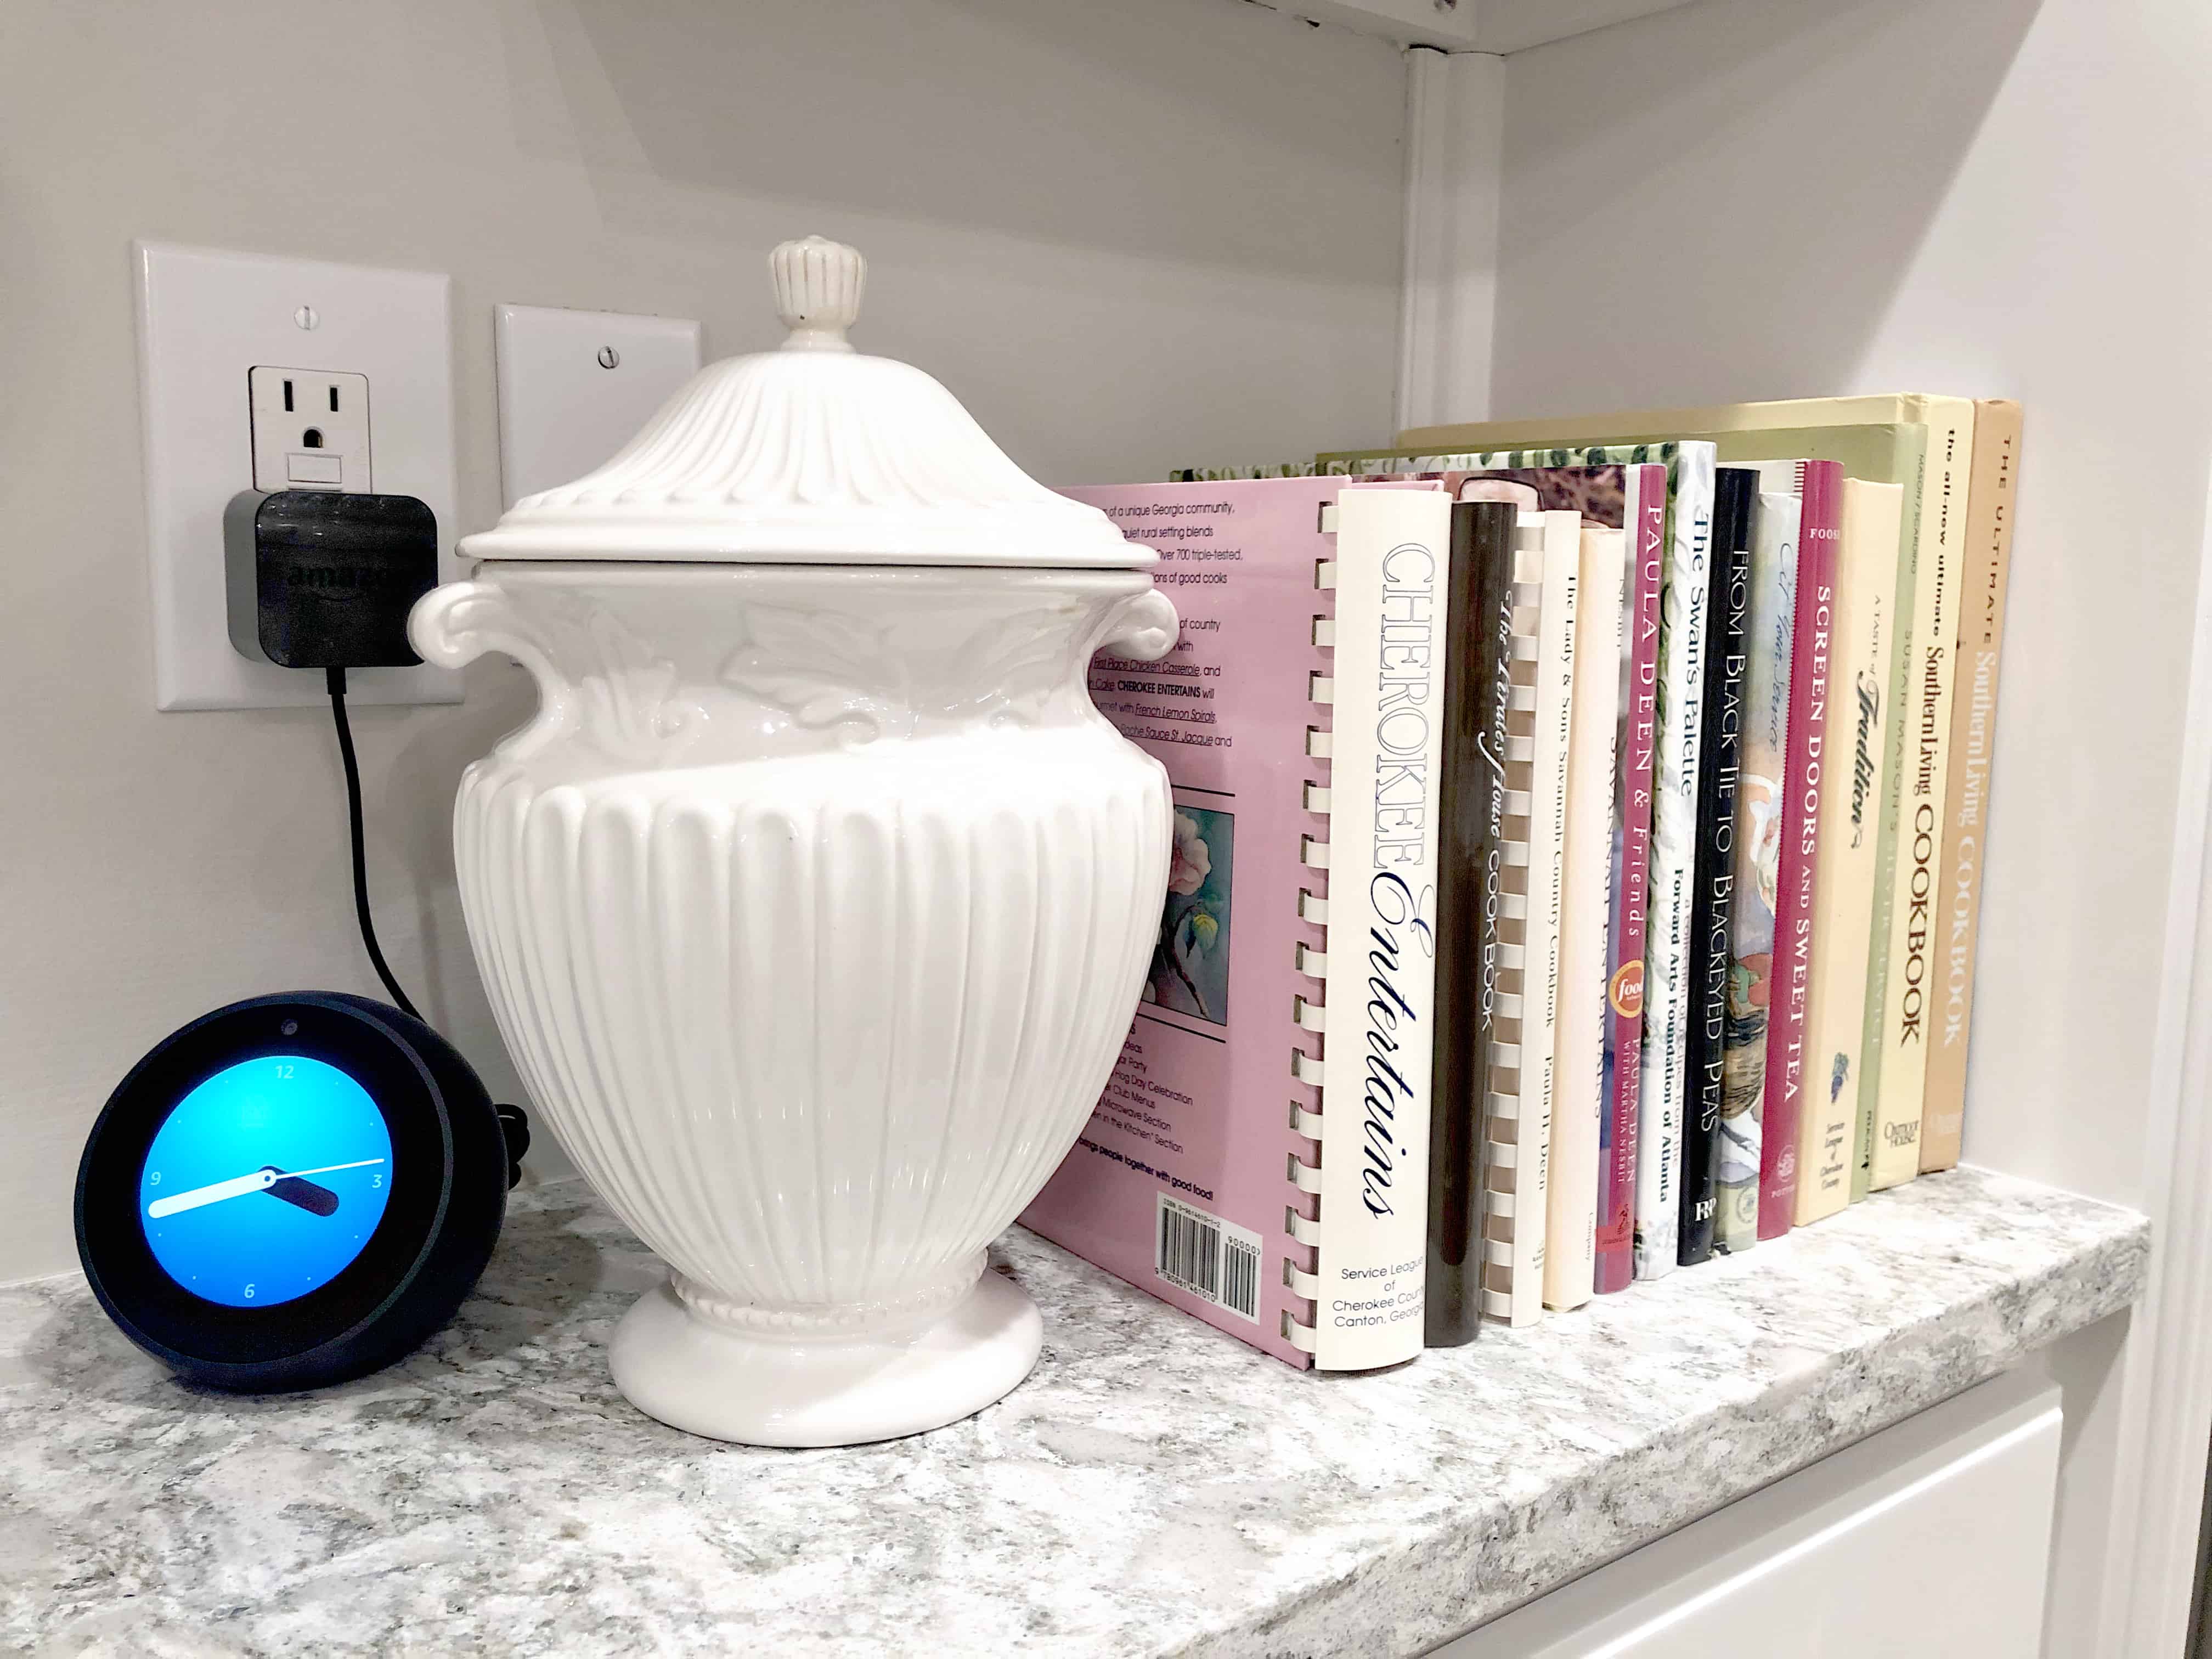
My favorite part of the kitchen has always been this area. It offers LOTS of storage, as well as space to display a few pretty things. Honey had previously replaced all of the can lights in the kitchen, and more recently replaced all of the outlets and switches, adding a few with USB chargers, which we all love having.
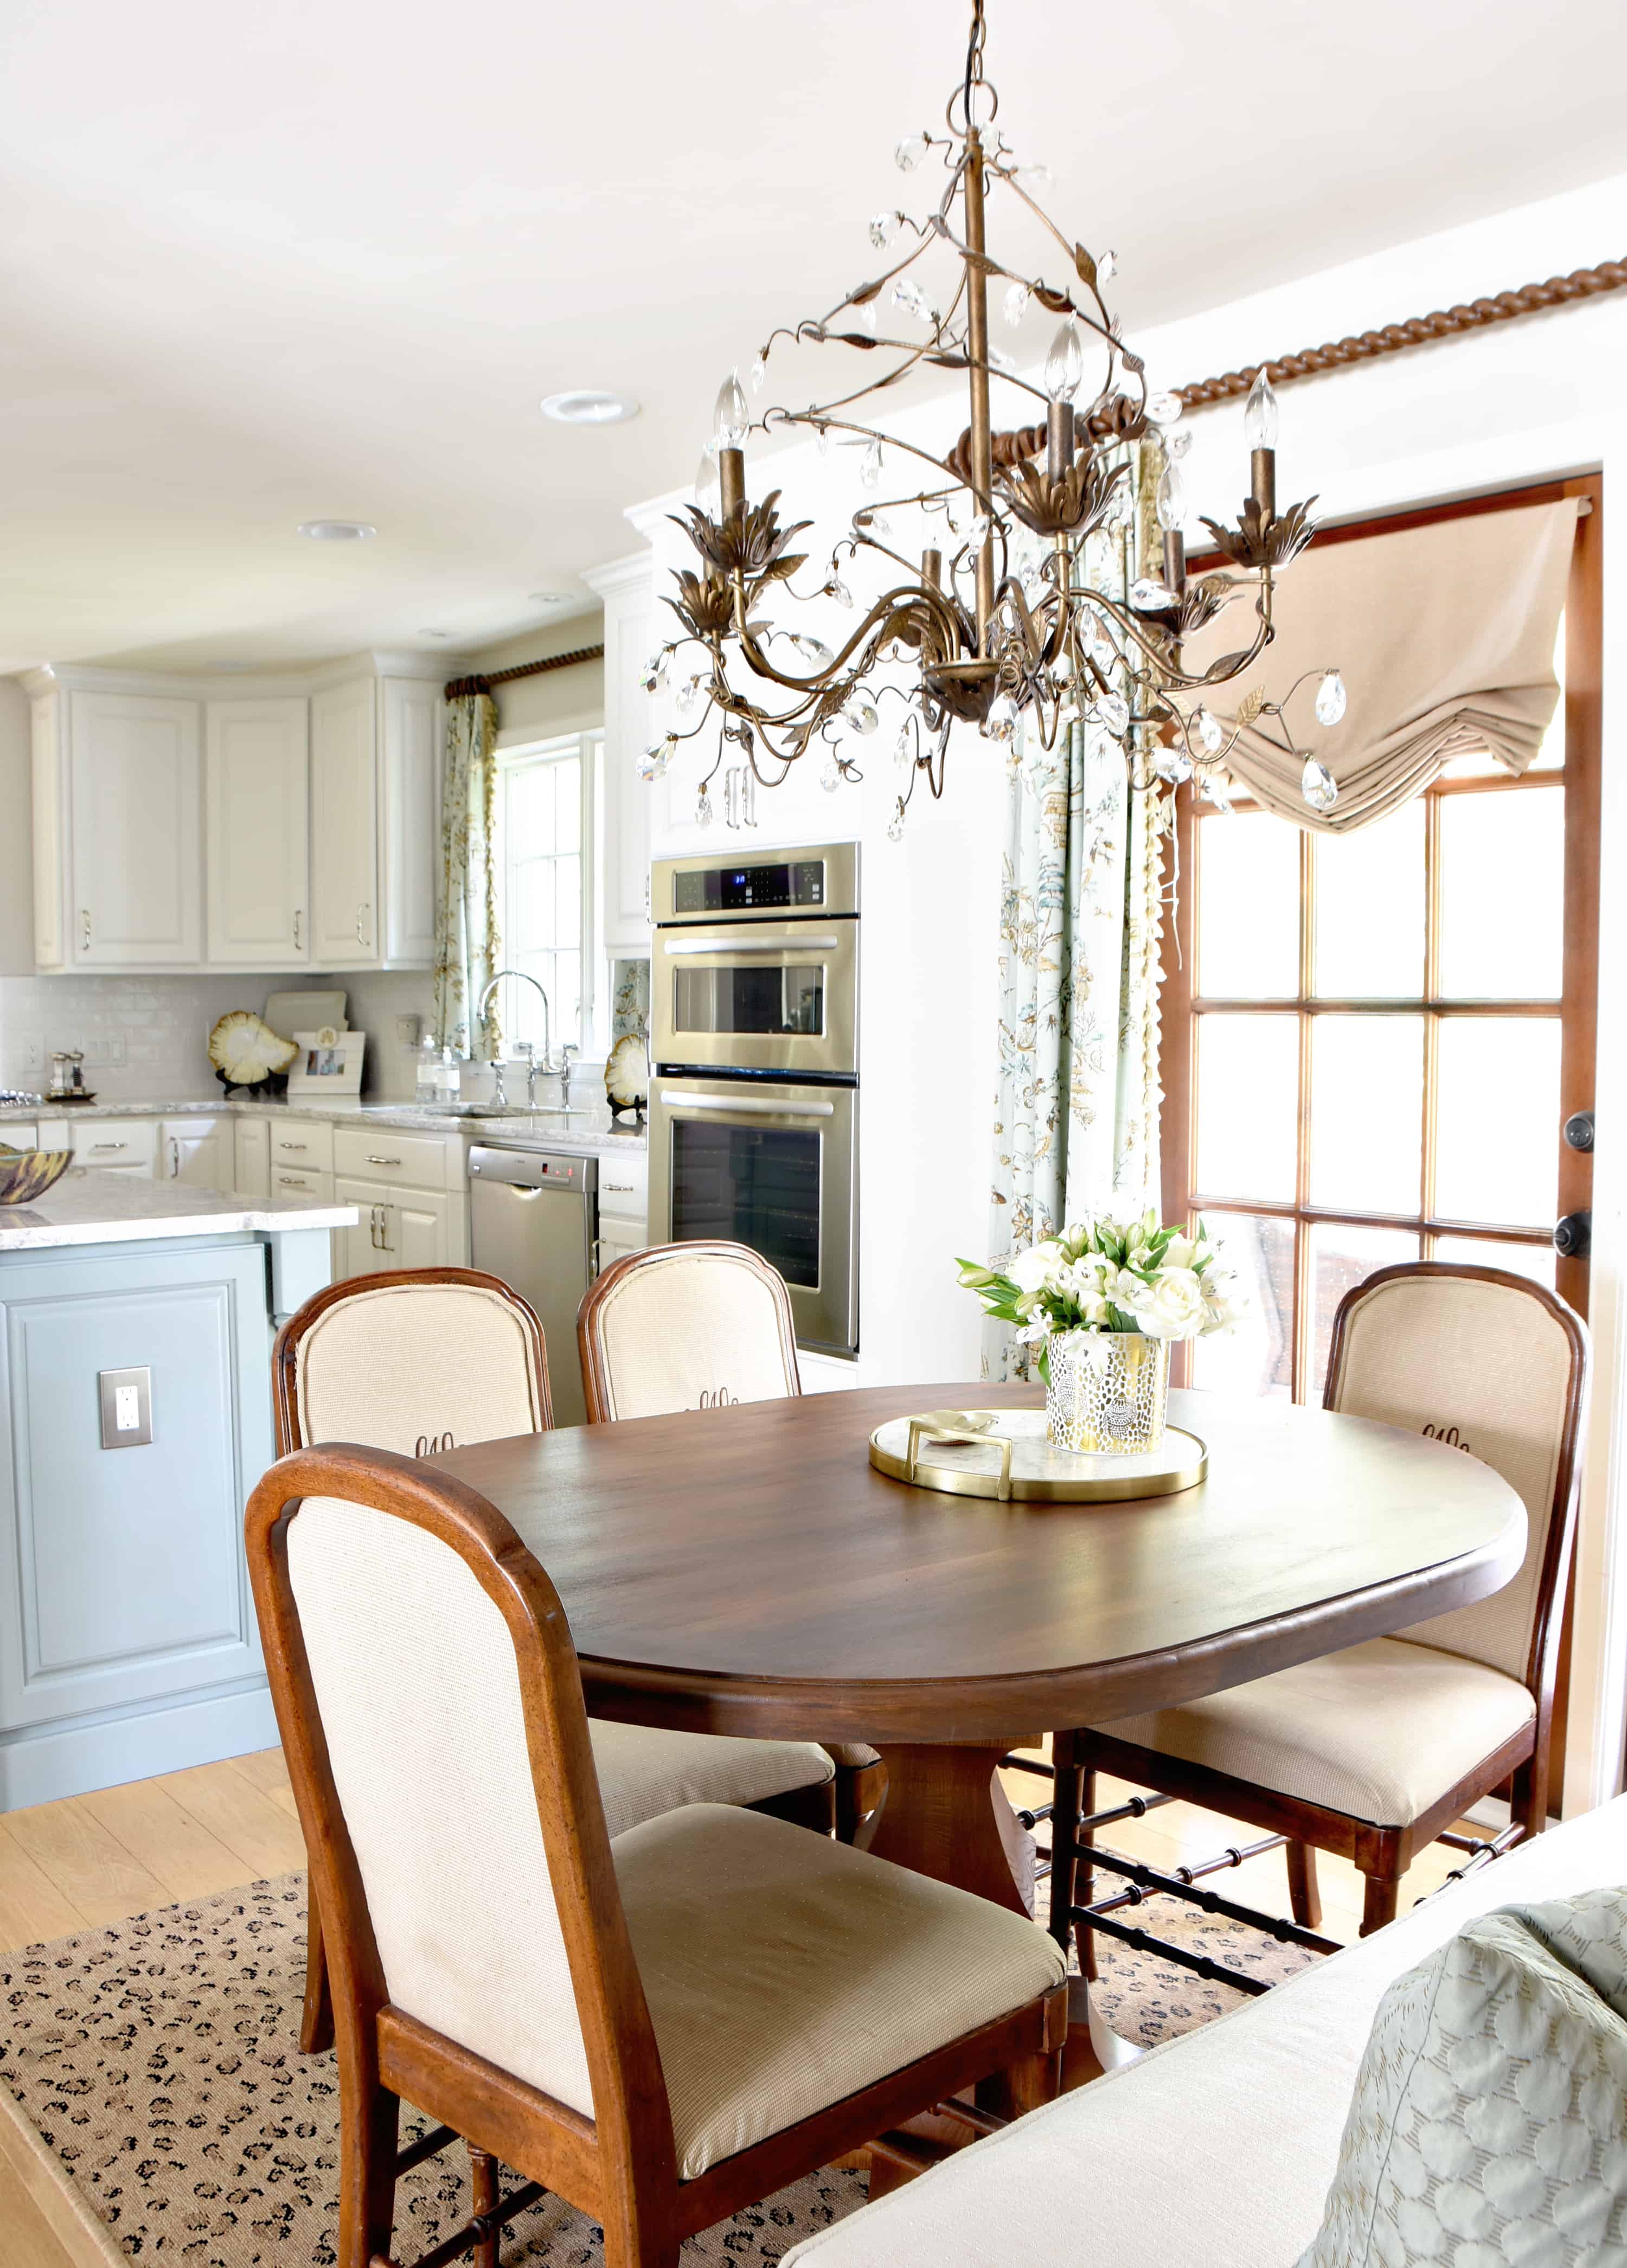
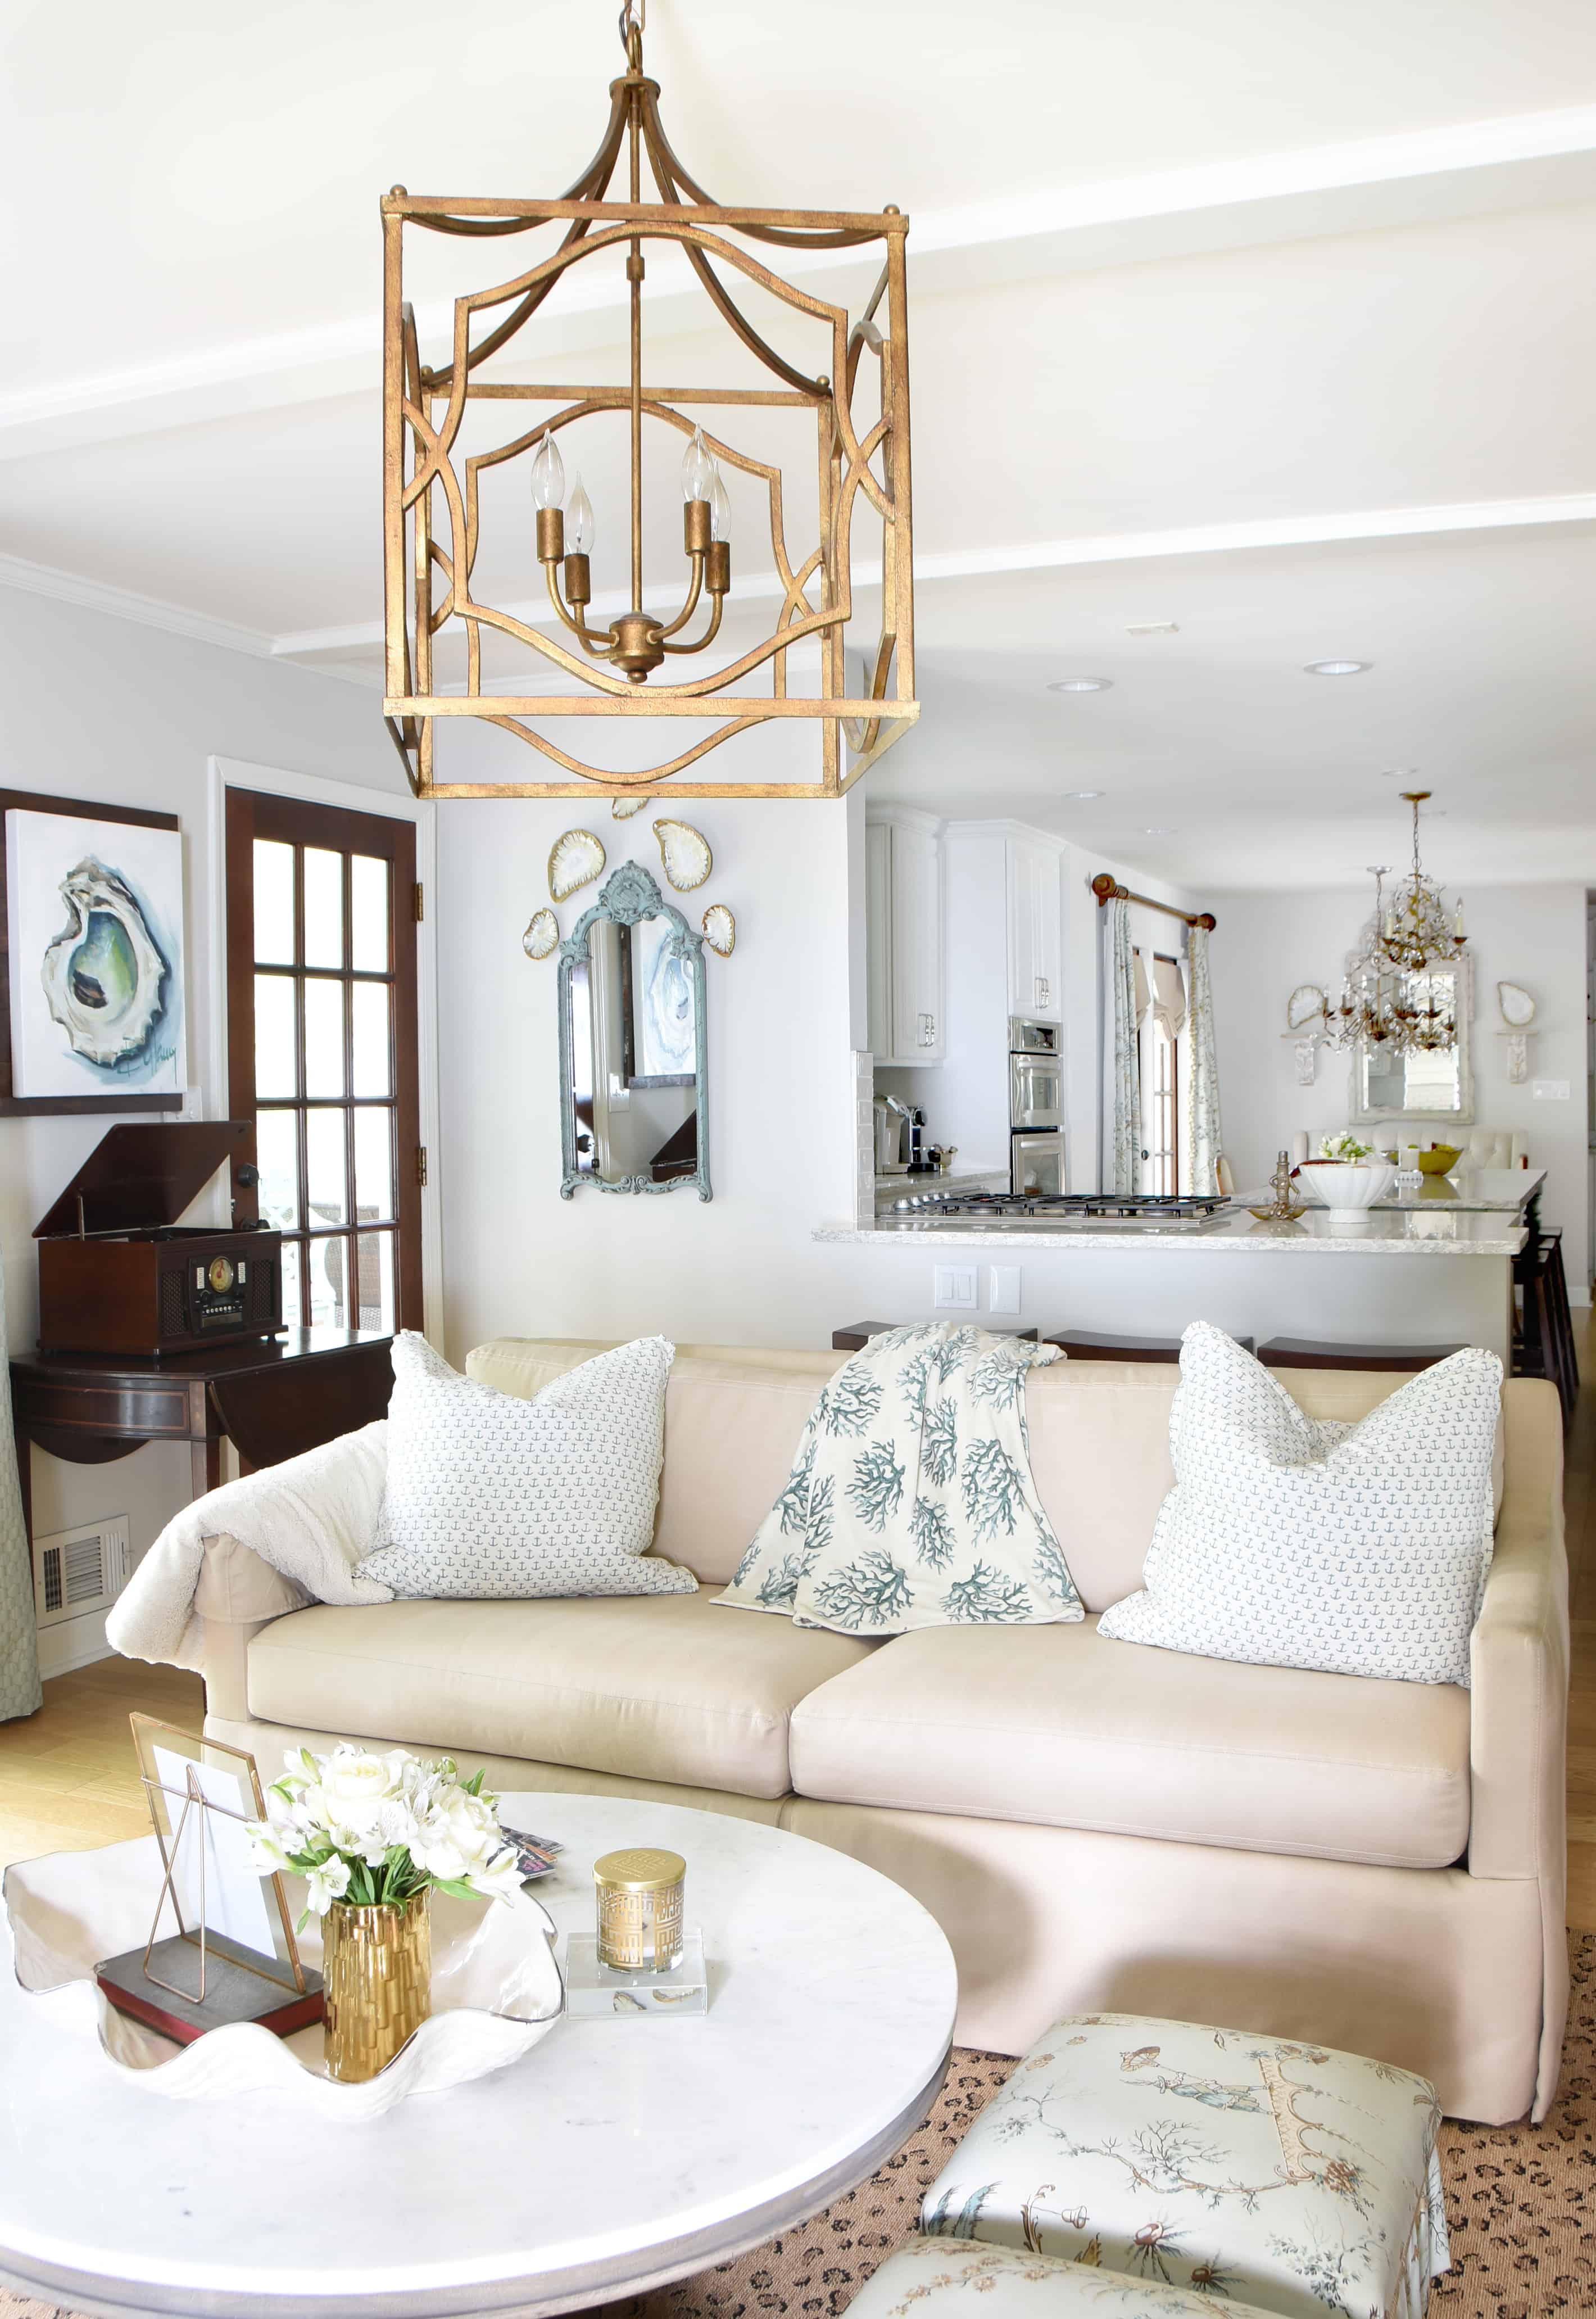
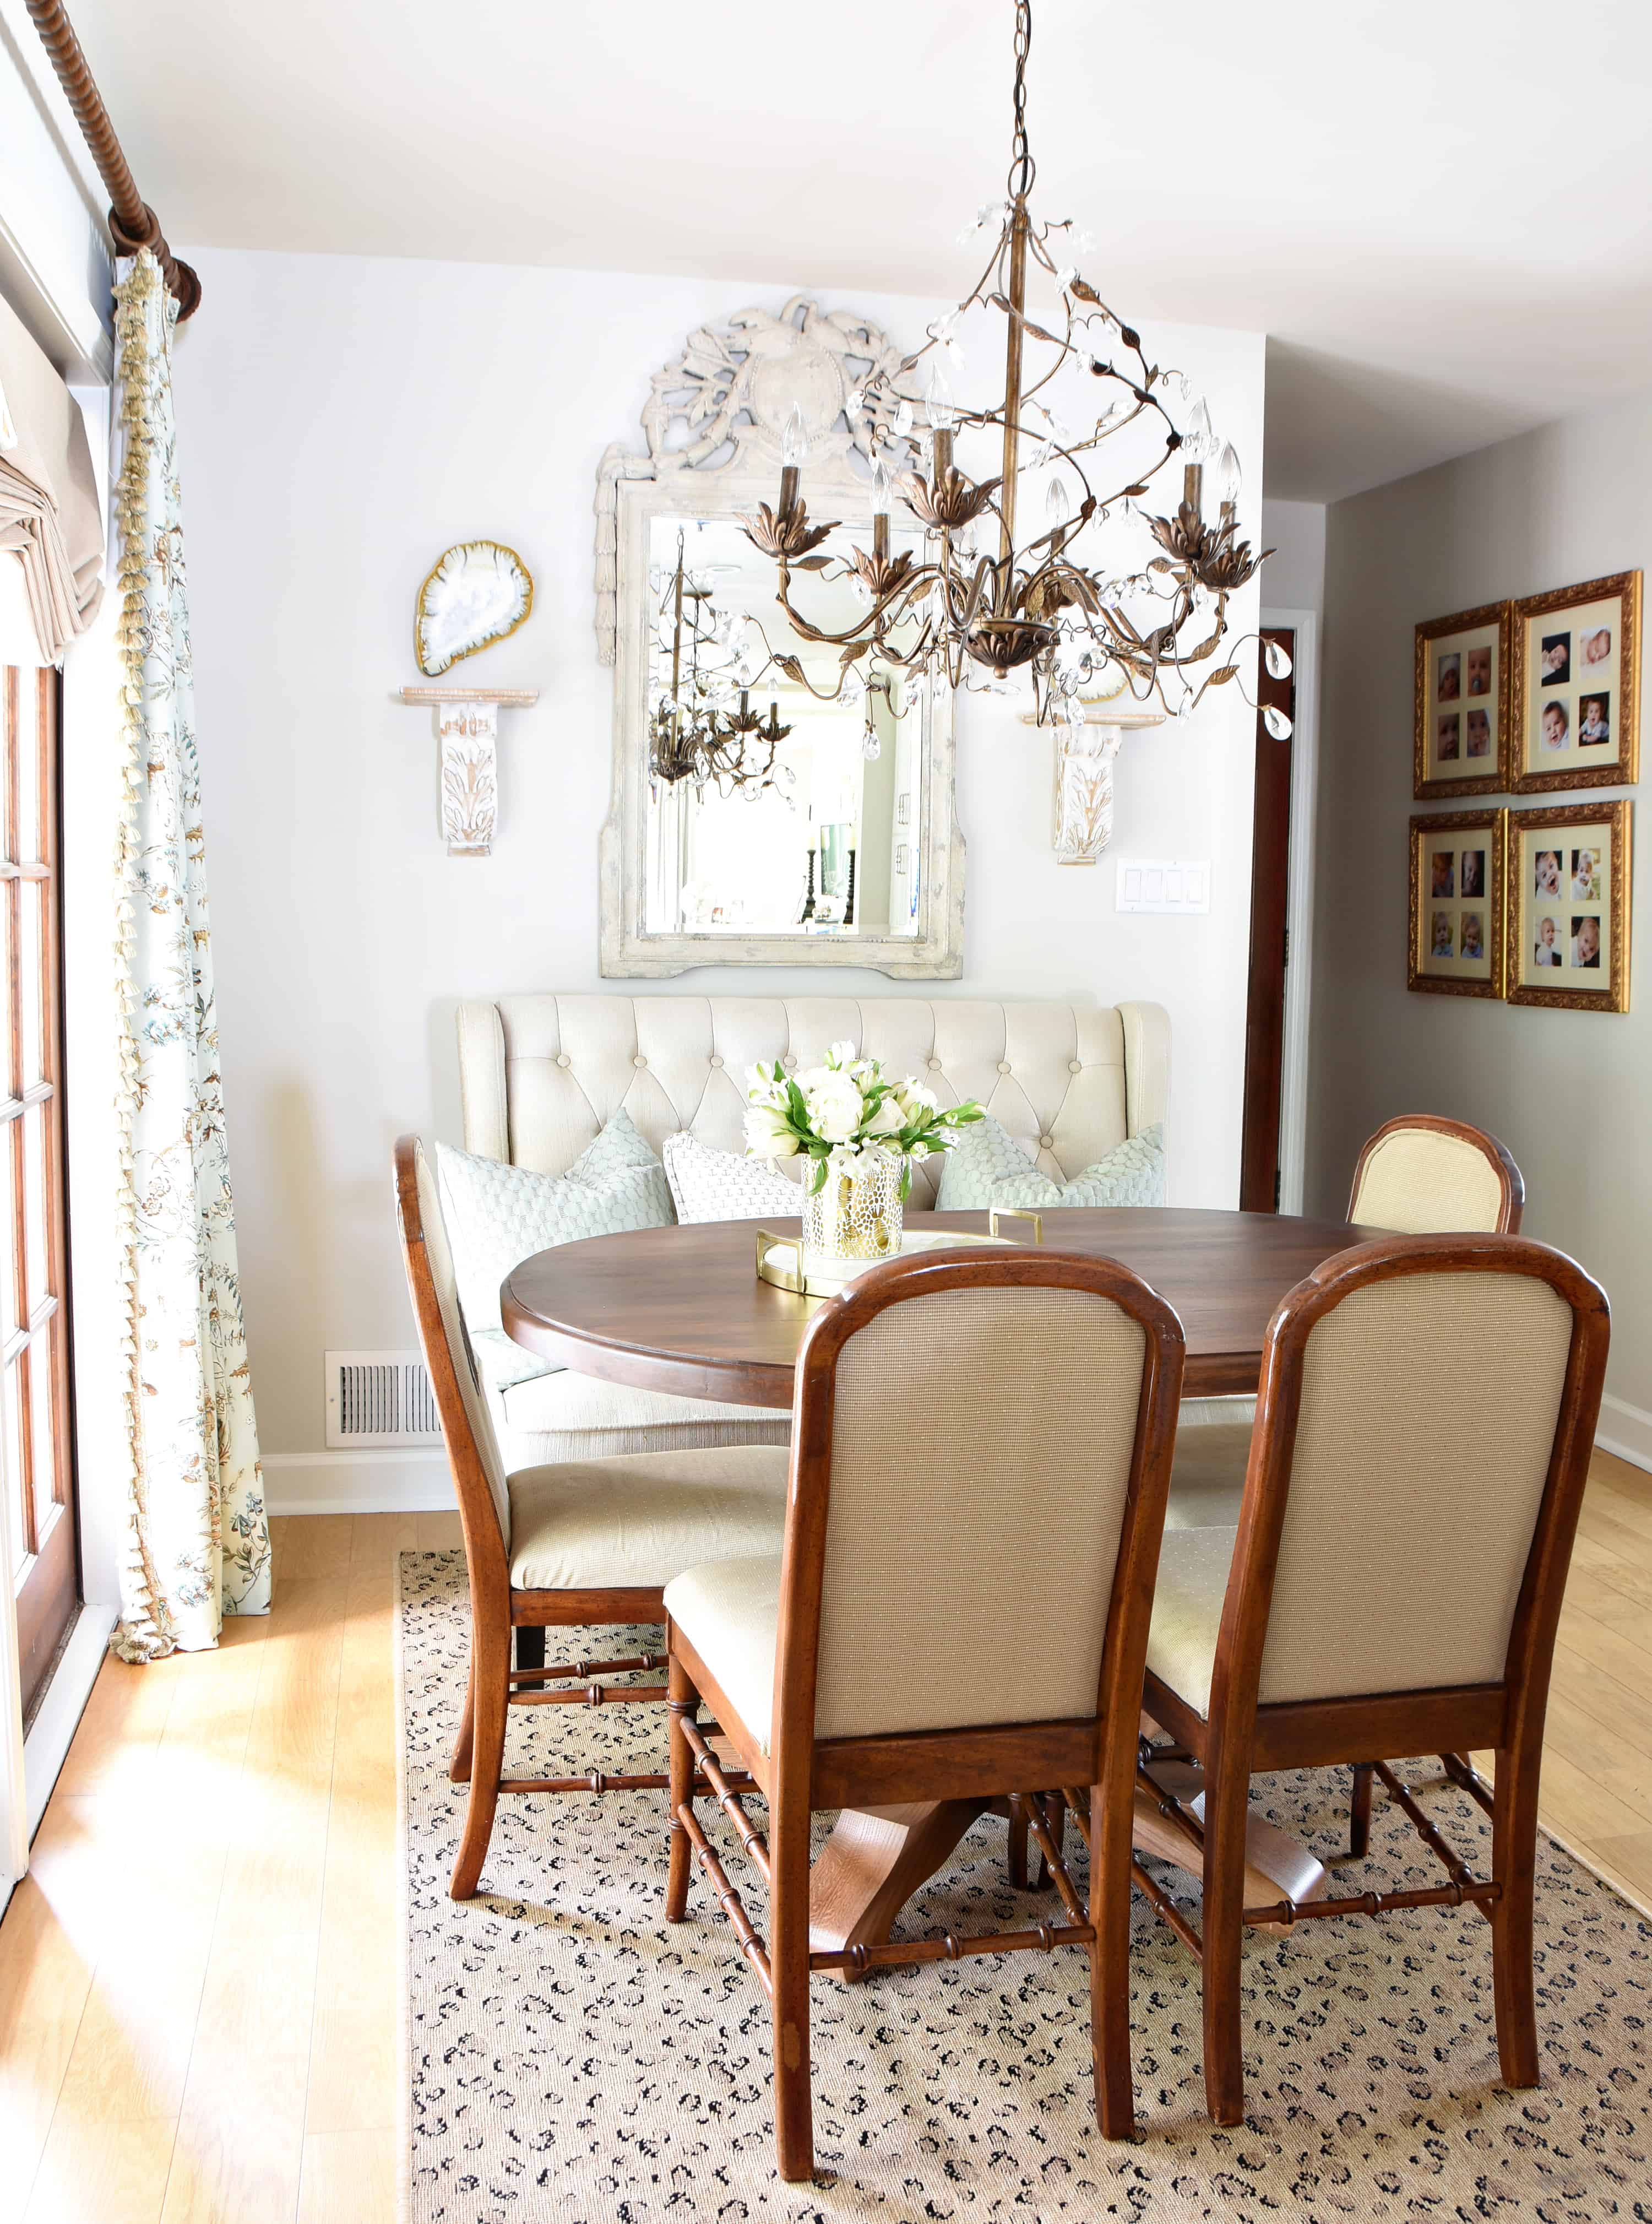
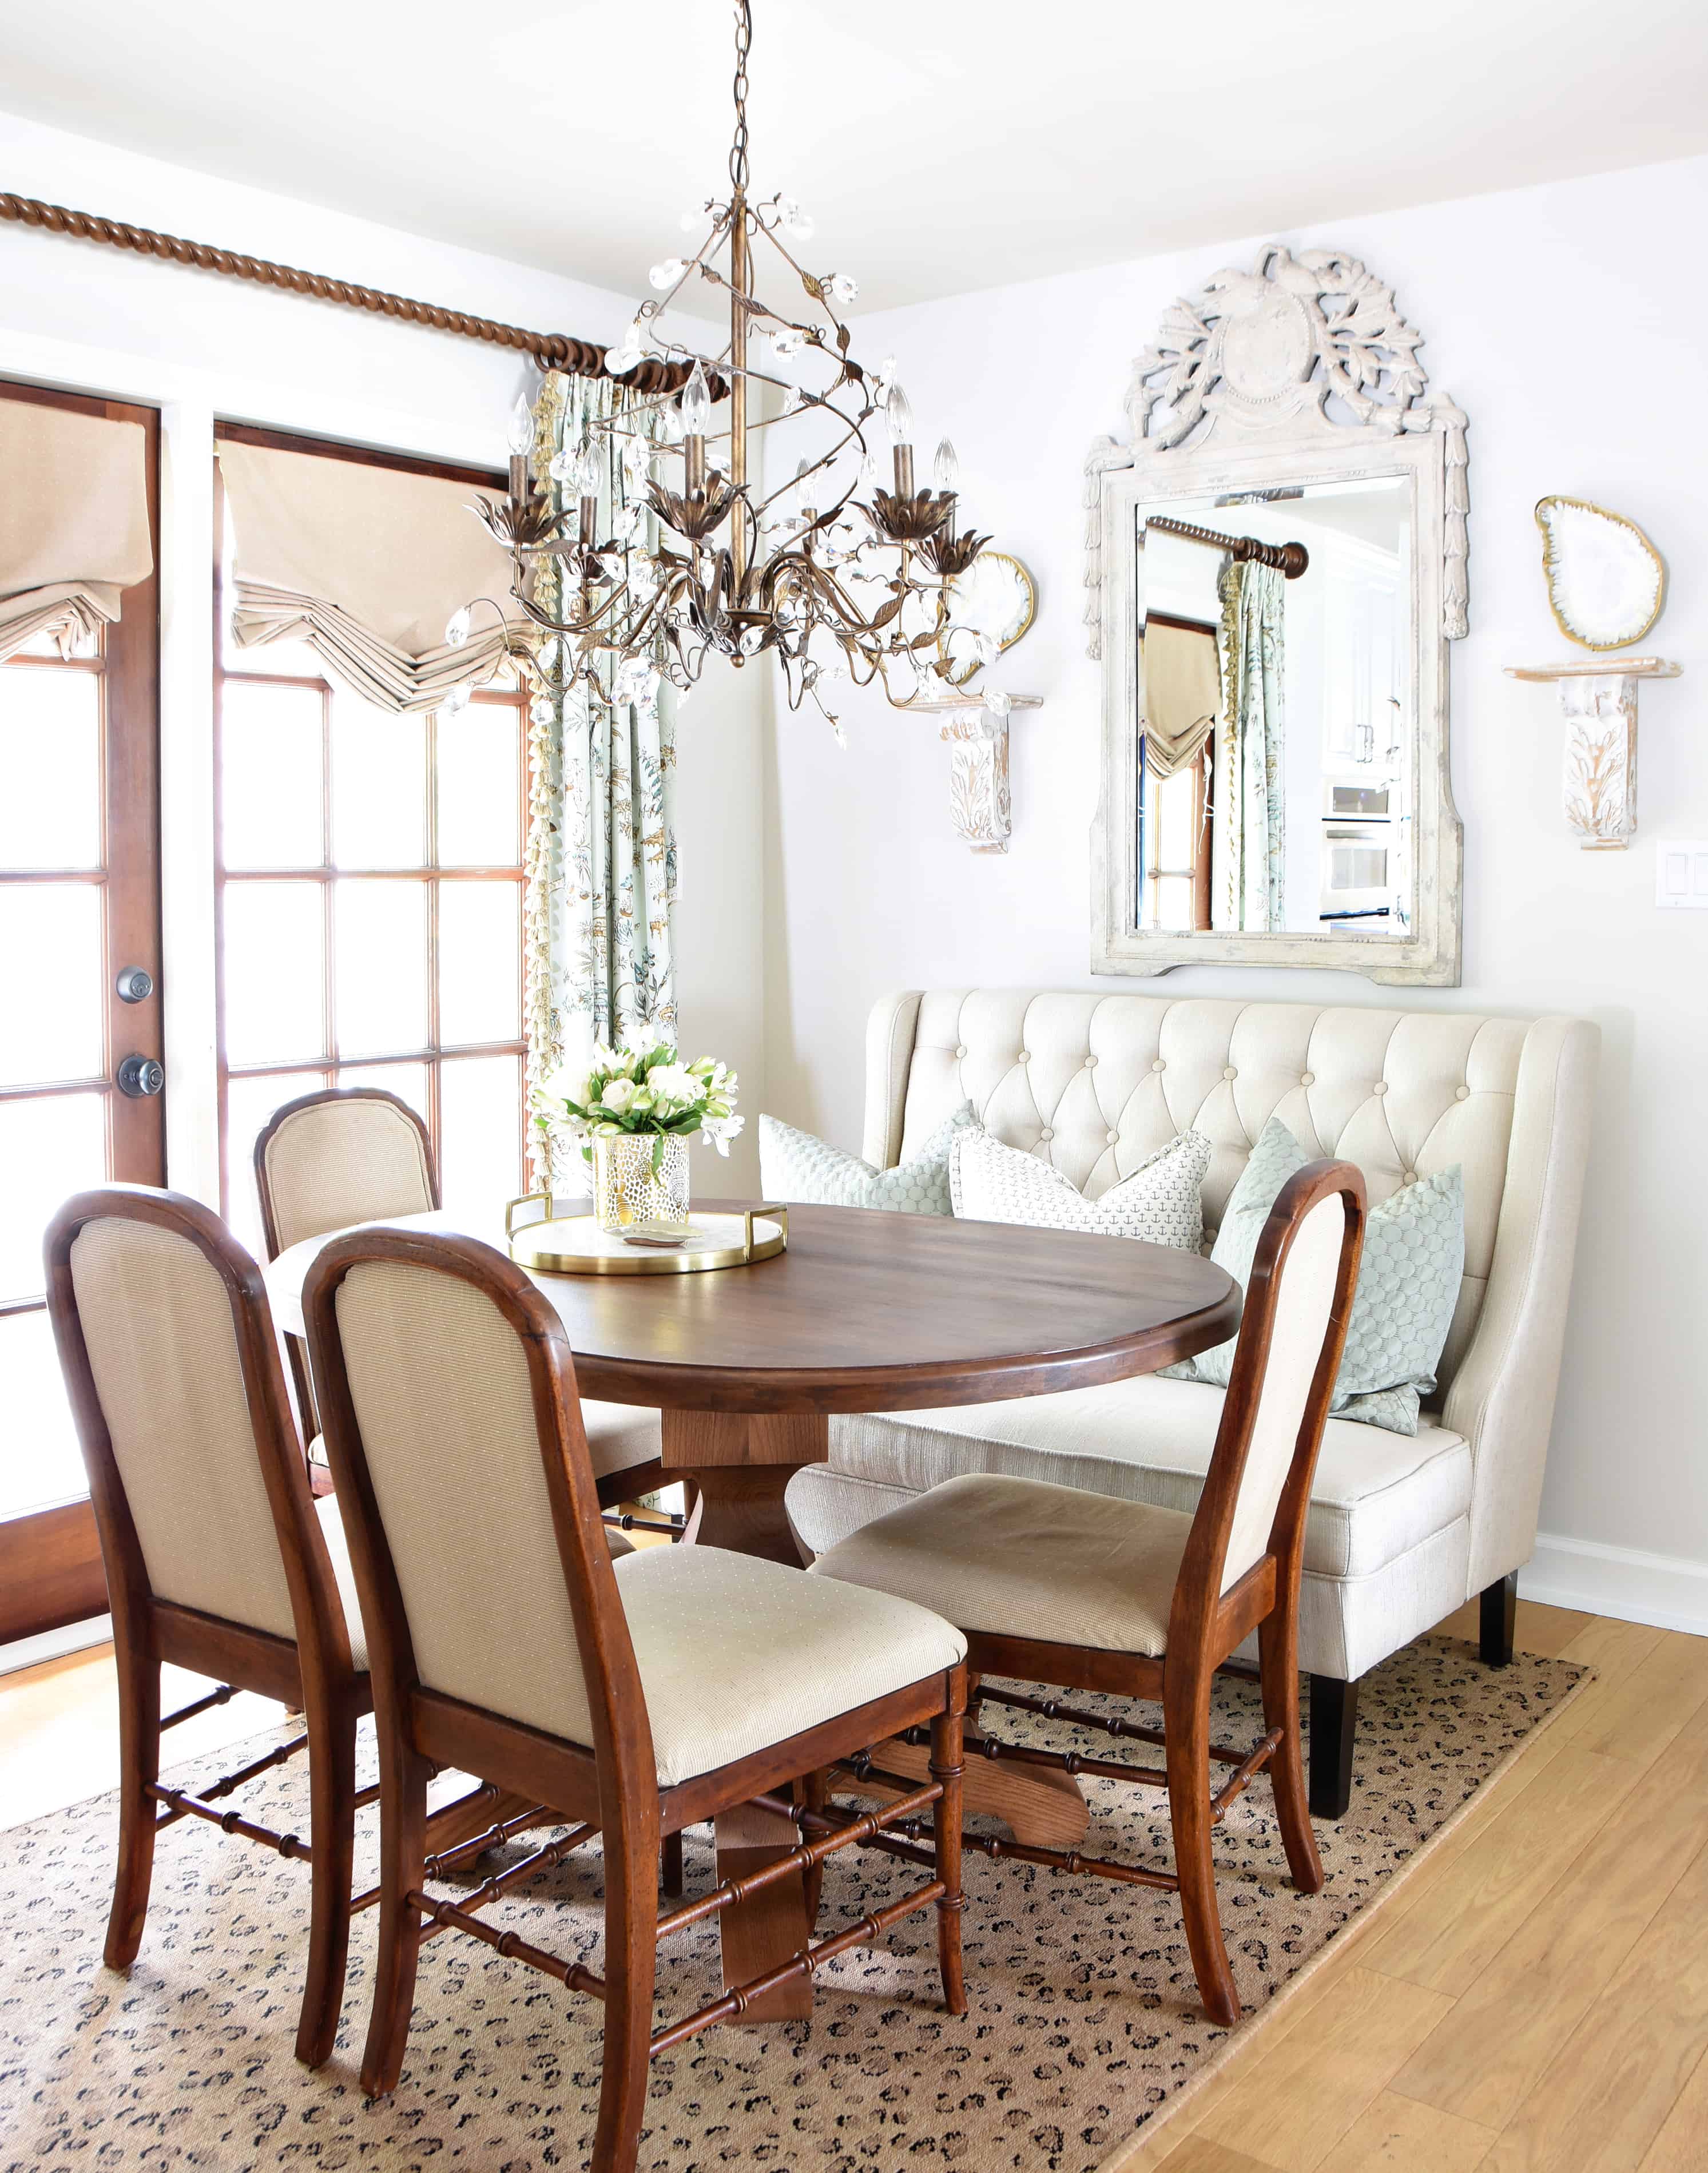
Looking towards the breakfast area, not much changed here since I had just updated it in the last year.
The chairs belonged to Honey’s grandma and I added his upholstered settee in early 2018. After hunting for the perfect sized table for years, I finally had one made to the exact dimensions of my space and it makes a world of difference! I worked with Todd Frusciente on Custom Made, after submitting and reviewing proposals from various artisans. I had him make a 36″x48″ oval table with a pedestal base – something that is impossible to find anywhere. :-)
The final part of the update was a new coat of paint on the walls! I went with Pale Oak since I have used it in multiple rooms already. It is actually just two shades lighter than the original color Stone Hearth.
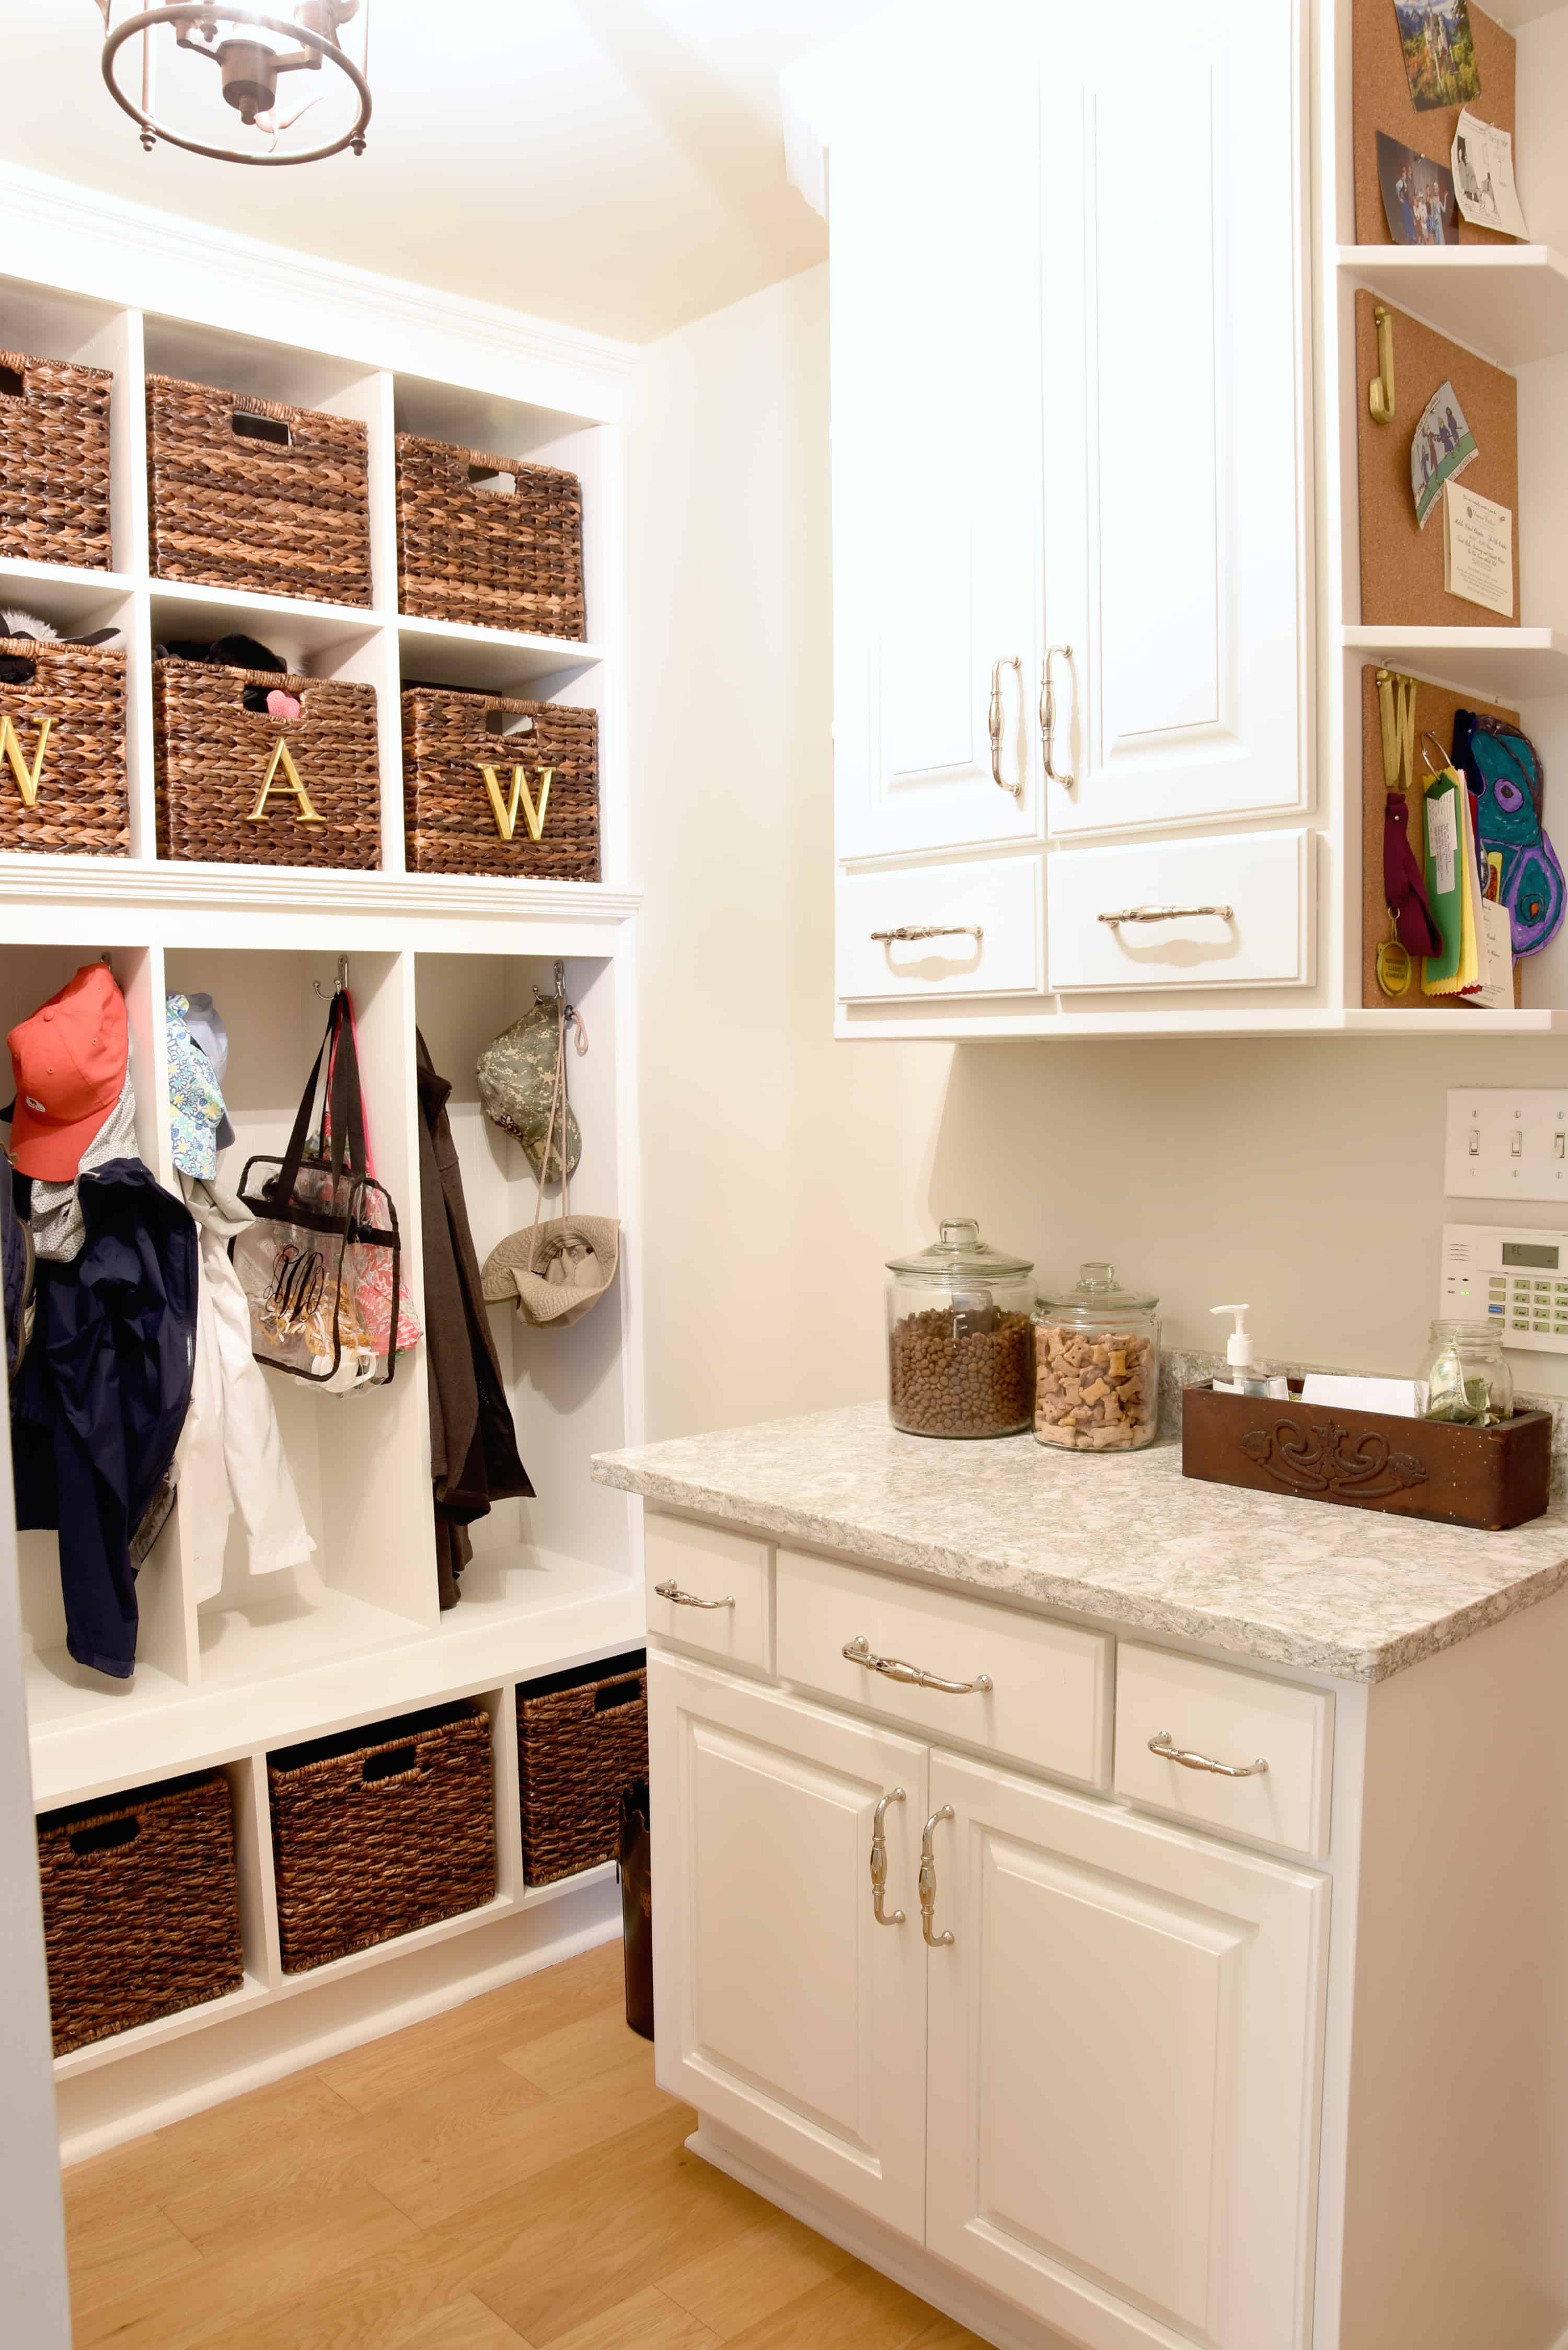
We updated our attached mudroom at the same time. Tour that space here:
https://dixiedelightsonline.com/2019/09/the-delightful-home-mudroom.html
Renovation Sources:
Rohl Faucet | Amerock Granby Drawer Pulls
(affiliate links)
Sink | Small Side Grid
(comes with large side grid)
Counter:
Berwyn by Cambria
Tile:
Acquarella in White by Nanda Tiles
Paint:
Benjamin Moore Decorators White on Cabinets
Stonybrook on Island
Pale Oak on Walls
Alabaster on Trim
Steamed Milk on Ceiling
Decorative Sources:
Curtains – Drapes are Chatelet in Breeze, relaxed roman shades are Pizzicati but I don’t know the colorway (Lewis and Sheron)
Curtain hardware – Barley Twist by Antique Drapery Rod Company (Calico Corners)
Floor – unstained white oak
Rugs – Indoor/Outdoor French Leopard by Ballard Designs
Chandeliers – Claire from Ballard Designs
Dishes – Alison Evans Coastal Ceramics (oysters) and Butler’s Pantry by Lenox (white)
Chairs – passed down from Honey’s grandmother
Table – Custom Made
Marble Tray – Target
Vase – Lilly Pulitzer
Antique scale – Habersham Antique Market
Sconces – Home Goods
Chalkboard cabinets
See other posts in the Kitchen Update series here:
Thank you SO much for being patient on this reveal post and for continuing to come by the blog. It is time for me to put away the computer and make some dinner in our beautiful new kitchen!

Dixie Delights Home Tour | Everything Decor
Dixie Delights
join me as I travel, decorate, create & celebrate
Instagram | Pinterest
Dixie Travels
perfectly planned trips & our travel adventures
Book Now | Learn More
Instagram | Facebook | Pinterest

I am so excited to see the reveal! Your kitchen is “delightful” and so YOU! I can’t believe what a difference it made by leveling out the island and adding the extra few inches on the peninsula. You must be so thrilled with your updates. What a beautiful kitchen, Amanda!
Cheers!
Shelley
It’s amazing how big painting the cabinets white made!
I love the changes you made; now the kitchen flows seamlessly with the rest of your home.
Lovely, as always, friend! xo
Hi! So you did have the painters fill the old holes and you got pulls with new dimensions that did not reuse the old holes? Can you tell on the cabinet or it looks great?
Yes, exactly! You cannot tell that there was EVER anything else there. I’m not sure how they did it, but it is flawless.
Looks gorgeous. I didn’t realize your home was built in the 60’s! I love old homes. (Mine is 100 ish! ) Your former kitchen really aged well, and you did a great job of keeping it modern looking until the very end. I can see this kitchen lasting a good decade or two- until y’all retire down to Orlando, I assume? Haha.
Thanks Shauna! Yes, we hoped to retire to central Florida or even Tampa but after Alaska Honey might have other plans. :-)
Absolutely beautiful, you must be thrilled. Thanks for sharing.
Yes, we are! <3
Absolutely gorgeous kitchen update! You did a stunning job!
Thank you!
Oh Amanda, it is just gorgeous! And so “delightfully” you. The changes were perfect and I love that the island is a different color. You have such a lovely home, filled with the beautiful memories you create. Thank you so much for sharing everything with us😘😘.
Thank you so very much! <3
I absolutely love your kitchen! I’ve been itching to get my cabinets painted, and this is really making me want to do it. Can you give me a ballpark idea of how much it costs to have them done professionally?
The place we used was expensive, compared to the other quotes we got, but they specialize in cabinetry. Ours was about $5k for the kitchen and mudroom (including the cabinets and lockers in there).
Kitchen is beautiful! And I noticed your Strawberry Shortcake cookbook. I had the same one! ❤️
That was my favorite! My friend Laura gave it to me for my birthday one year!
Amanda,
I cant believe how painting the cabinets white, new countertops and having a clean sight line opened your kitchen up and gave it a brighter, more spacious feel! I know how pleased you must be with the results.
We are thinking about getting our stained cabinets painted and like you our old cabinets are in great shape and solid wood so it wouldn’t make since to me to replace them with a less superior material. I really have no idea what to expect in price for painting cabinets. I do know that I want them sprayed professionally off-site like yours rather than brushed.
The place we used was expensive, compared to the other quotes we got, but they specialize in cabinetry. Ours was about $5k for the kitchen and mudroom (including the cabinets and lockers in there).
Love the transformation in your kitchen. I’m local and want to paint our cabinets, too. If you were happy with the contractor that painted your cabinets, please share. Thanks!
Oh my word I absolutely love it!!!!!!
Hi! Do you mind sharing who your contractor was for your kitchen reno? It is lovely!
He fell off the face of the earth. He was a good one until he disappeared.