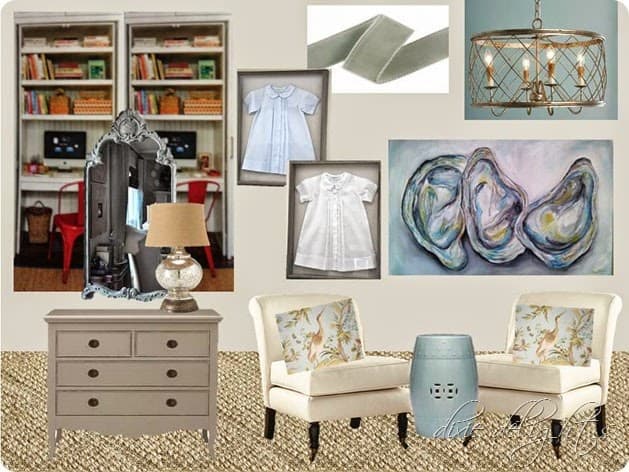
All of the littles making their First Communion were asked to make a banner to mark their family’s pew as a family project. We tackled the project while in Savannah on spring break and think it is just beautiful!
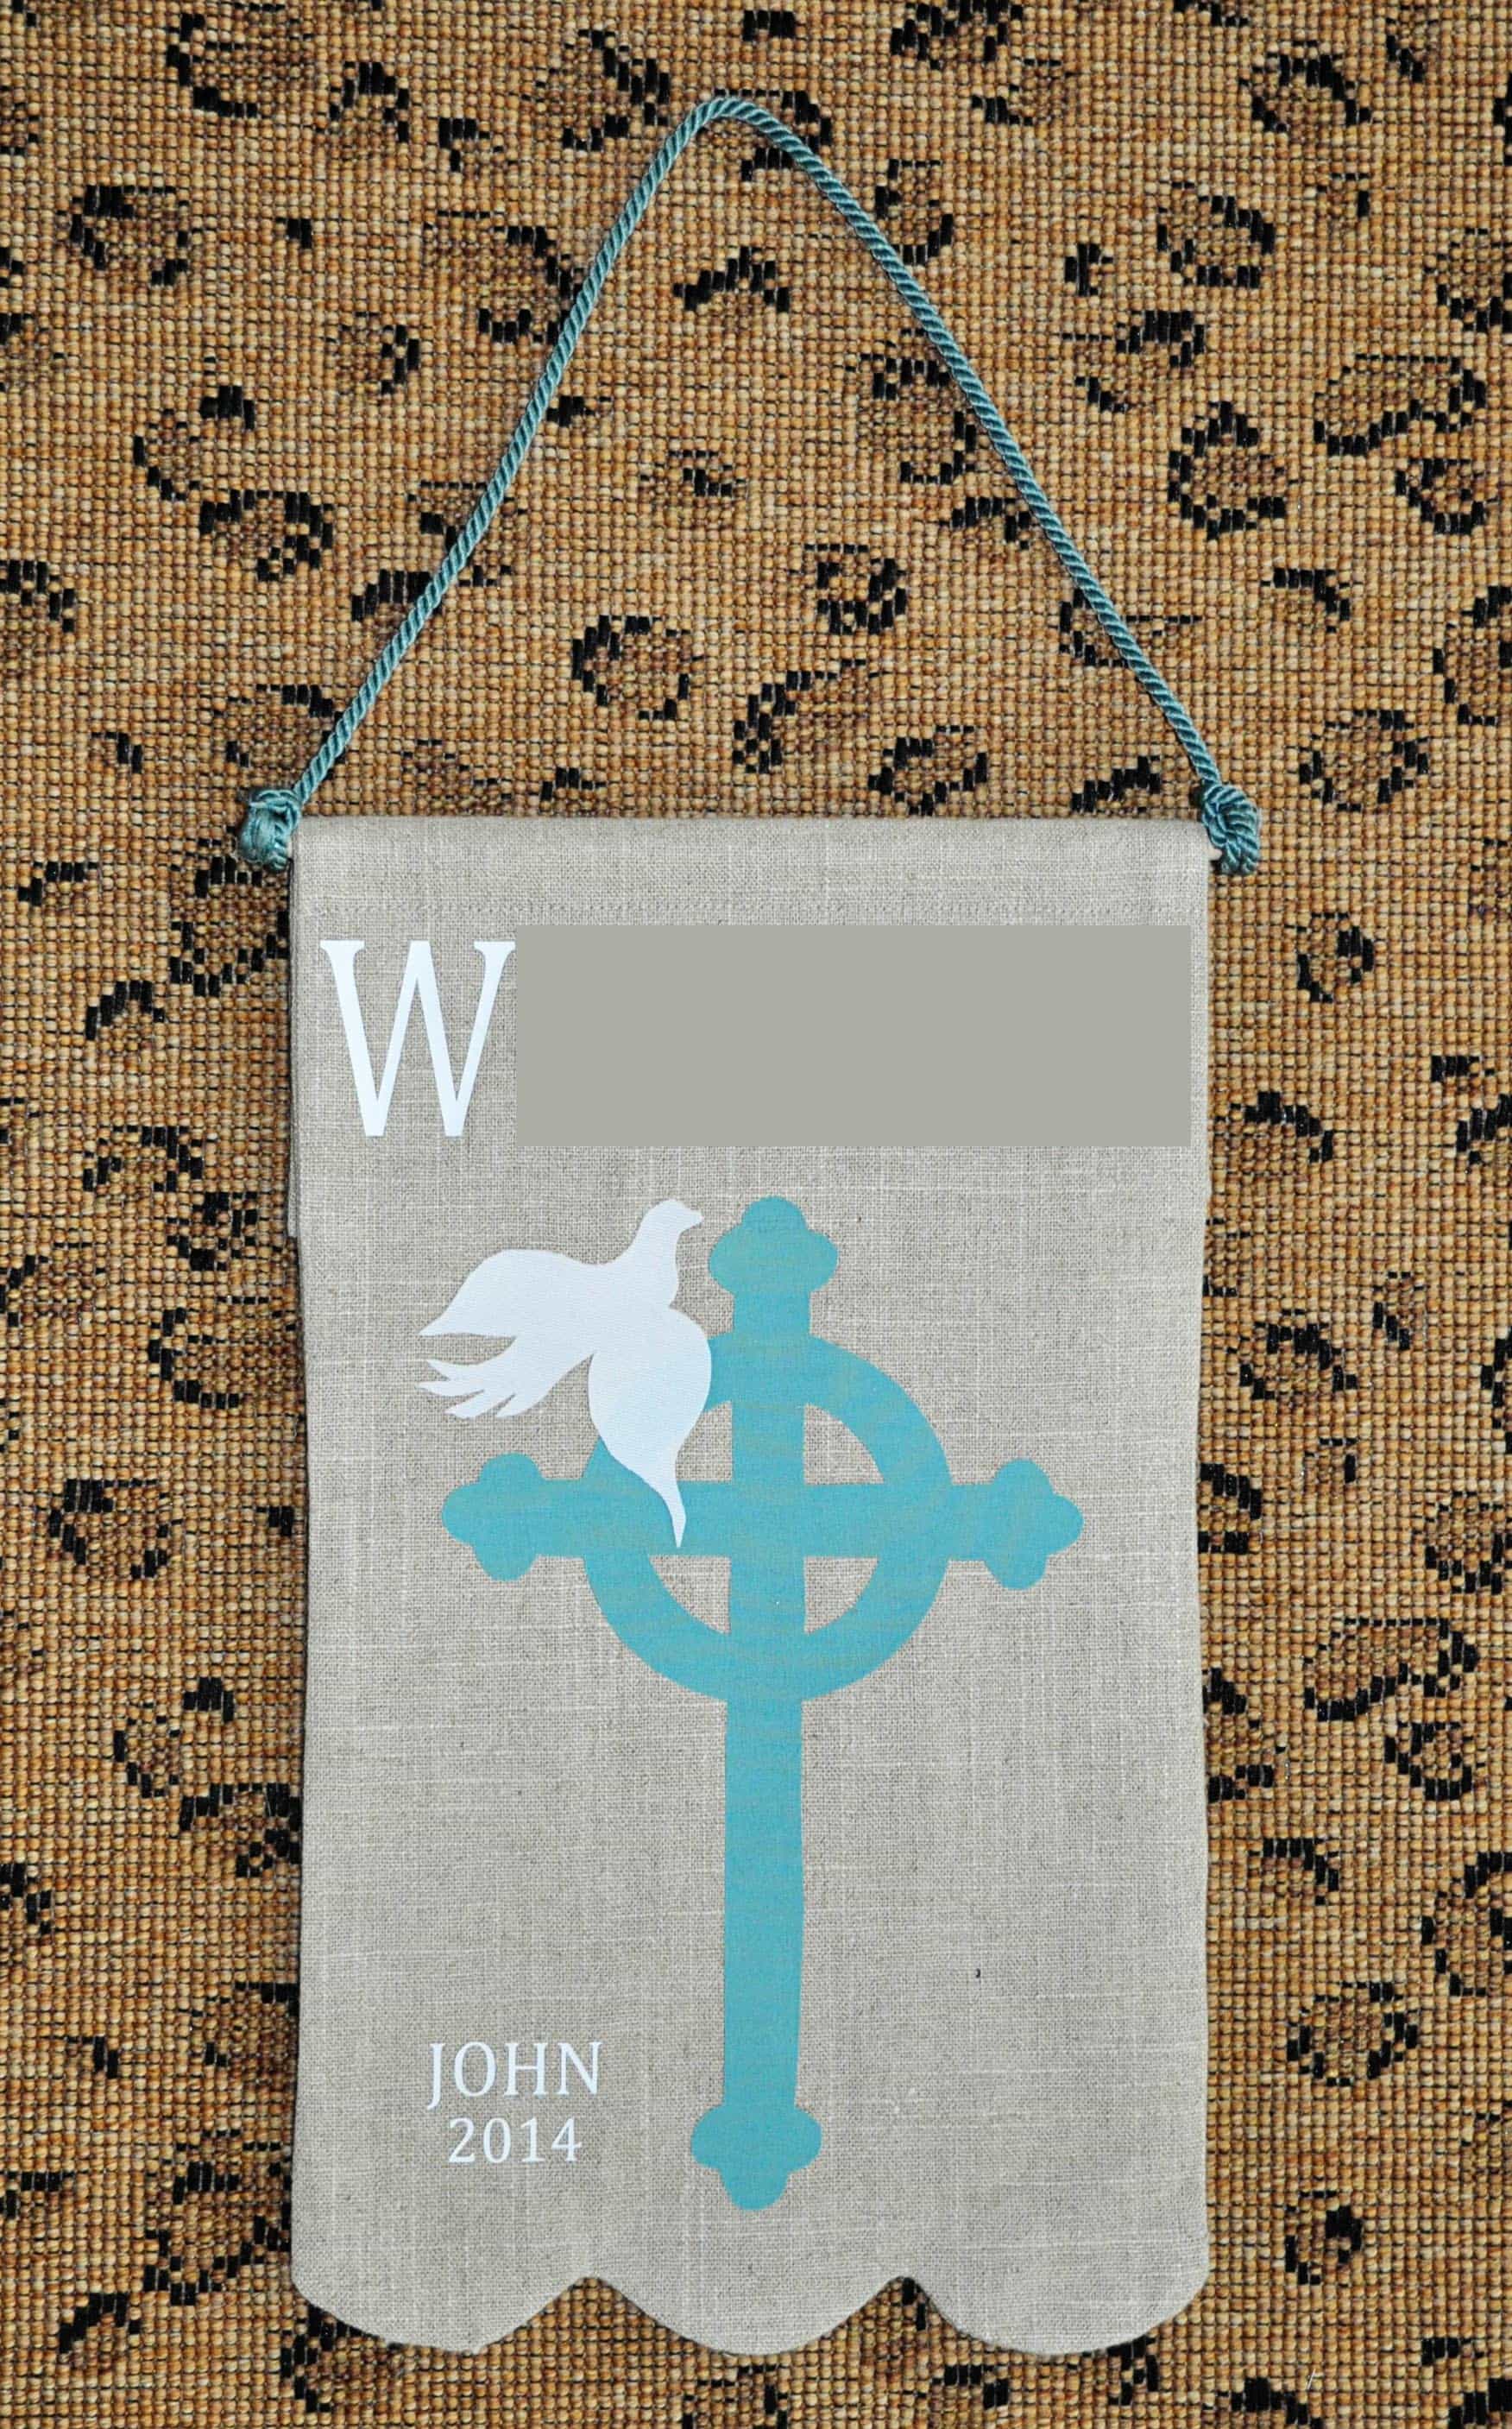
We poured through my fabric cabinet for remnants perfect for this project, choosing the linen duck from his bedroom curtains, a white canvas and a blue cotton. After searching through all sorts of appropriate symbols, John chose only to have a cross and a dove on his banner. I was hesitant at first, but then realized that it leaves plenty of room for Whit to add something of his own in three years and then to reuse it for his big day as well! To that end, we had HKL Designs go ahead and cut out Whit 2017 while she did John’s. (Fingers crossed I don’t lose that tiny thing in the next three years.)
Here’s how to make your own:
The required measurements for the banner were 9”x14”. We used a remnant of John’s curtain fabric and cut two pieces an inch larger to allow for the seam + 3 extra inches to allow for the fold over to insert the dowel rod on the top end (10”x18”).
With the two pieces of cut fabric stacked with the “good sides” facing each other, use a scallop ruler and water erasable marking pen to draw the scallops on the bottom of the fabric.

Pin the two pieces together.

Stitch around the three sides (1/2” seam) and directly onto the scallop lines. Leave a couple of inches open at the top to flip the right sides out.

Cut the fabric just outside of your scallops stitching line.

Dab with water to remove the marker lines. Flip the right sides out and close the opening at the top with a top stitch. Fold over the top and sew down to leave an opening for your dowel.

Now, as far as the embellishments, find, size and print patterns of choice from the internet. John chose only a cross and a dove for his banner :-) Since this won’t be worn or washed, we didn’t see the need to do a full stitched applique. So we used the no sew Heat n Bond Ultrahold.

Following the directions on the package, FIRST iron the heat n bond to the backs of your fabric choices. Next, pin the design patterns to the fabric and cut out. Since our lettering was so detailed, we had HKL Designs cut John’s last name for the top, as well as his name and the year to be applied to the bottom, using heat transfer vinyl.

Using both the instructions for the heat n bond AND the vinyl, we placed and ironed everything on to the banner.

Finally, insert your dowel rod (craft store, Honey had to cut down to size) and tie on your cording/ribbon. We used a dab of hot glue to keep it in place and to secure the loose ends on the back.
Now, after doing alllllllll of this, John completely freaked and ran from the room when we he first laid eye on the finished product. Mother and I stood there in disbelief. I mean, he chose the fabric, he chose the symbols, this was HIS thing. Come to find out, he thought he was going to have to WEAR it around his neck for the communion. LOL. I head tears in my eyes from laughing so hard. No, son, it is only meant to hang at the end of our family pew. I’m not sure where that was lost in translation.
And, not only will it hang on the pew, we will also use it as the buffet centerpiece for the reception and hang it in his room afterwards. It should be a perfect day!!!!!!!!! Of course, I’m slightly stressing by the fact that I can’t get around, have a bunch of errands to run in preparation, and have no dresses that “go” with this horrendous leg brace. sigh.

DIXIE DELIGHTS DELIVERED
[madmimi id=246857]