Today I’m mourning the loss of the PCP’s first front and center tooth and, consequently, his forever changed smile. He lost a few teeth on the bottom over the course of the last year and those were all call for celebration. But this one is different.  I love every square inch of that child, but that smile with those sweet little pearly whites all lined up in a perfect row was one of my most favorite sights in the world. And knowing that I’ll never see it again makes me terribly sad.
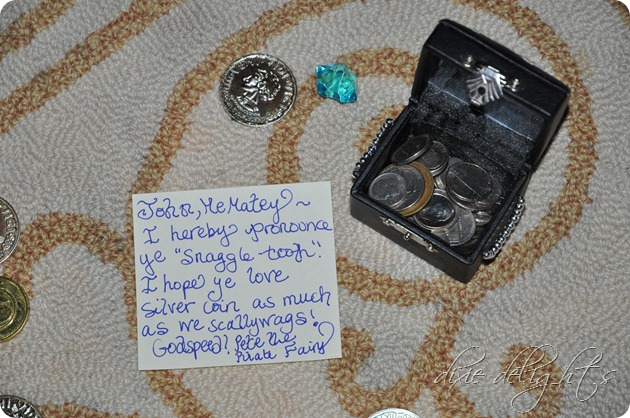
  I did manage to pull myself out of the doldrums long enough to craft an appearance from Pete the Pirate Fairy. Honey helped the PCP tuck his incisor into the “Tooth Chest” Mimi gave him last year (the impetus of Pete himself) and the sweet child fell fast asleep in spite of his best efforts to finally see the fairy at work. While Honey searched the house for a dollar bill, I set to work in the boys’ room. Pete’s modus operandi is 1) to leave the window through which he entered all askew, 2) to carelessly drop gold coin and treasure all over the room, and 3) to leave a pint sized note scrawled in pirate hand.
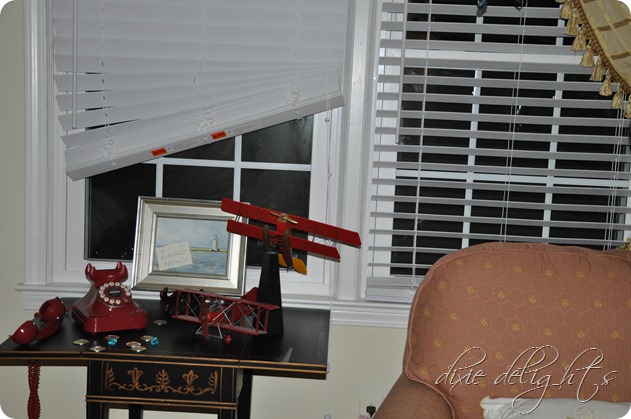
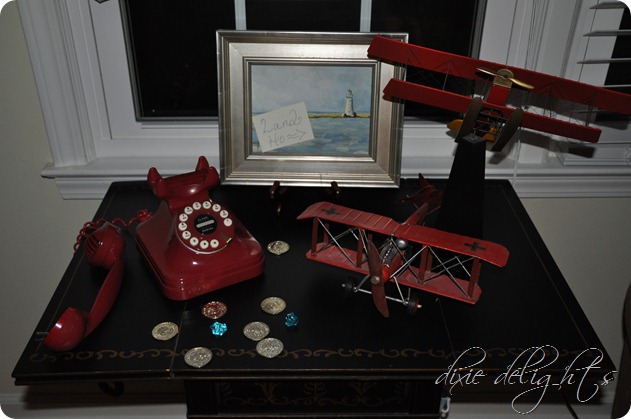
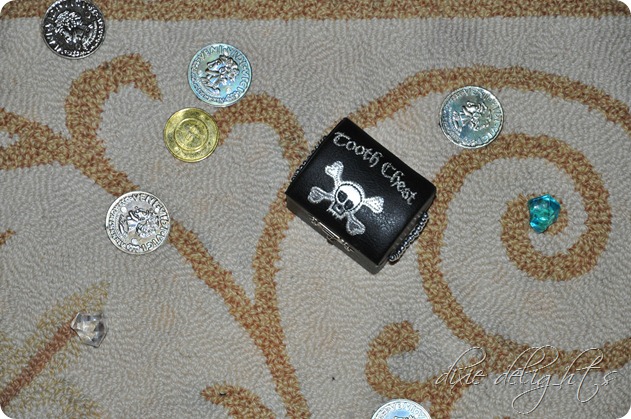 Seeing as we once again had zero cash on a tooth fairy night, Honey loaded up the chest with silver coins and batting cage tokens. The note read “John, Me Matey – I hereby pronounce ye ‘snaggle-tooth’. I hope ye love silver coin as much as we scallywags! Godspeed! Pete the Pirate Fairy”
  (Yes, he’s sleeping in a polo shirt, strange child. A battle not worth fighting.)
  Godspeed, indeed. xoxo
Room Mom
Y’all, I am so very excited to be room mom for the PCP’s class this year!! You see, last year I no earthly idea how you’d score a job like this and to say I was slightly devastated when the teacher announced her room mom would be an understatement. So, at our Meet & Greet… Read More
Guest Bathroom {Before and After}
Aside from the gleaming brass and frosted glass on the shower door, the guest bathroom had been so nicely updated we were tempted to forgo this blue monstrosity and use this as the master! Alas, we decided Mother and Daddy-O would be much more likely to come watch the littles with a lovely suite to… Read More
Flick ‘n Float
Honey and the PCP have been looking forward to this annual club tradition all summer long. When the original date got rained out, I’d never seen such sad faces moping around the place. So, last night we finally blew up the floats and headed to the pool for supper and a pool side showing of… Read More
What I Loved
What I loved about my kids this week…let me count the things… 1. The fact that my baby loves to eat the good stuff. No pb&j for this monkey. We dine together alfresco on the porch on things like pimento cheese sandwiches on italian five grain bread, spicy pickled okra and juicy fresh strawberries. 2. … Read More
Oreo Apples
Sister and I have used these Oreo molds a few times and, in spite of my best intentions, I’ve yet to share the details. I managed to take pictures of the steps most of the way through making the Oreo Apples for our First Place First Grader party and first day of first grade lunch.… Read More

